


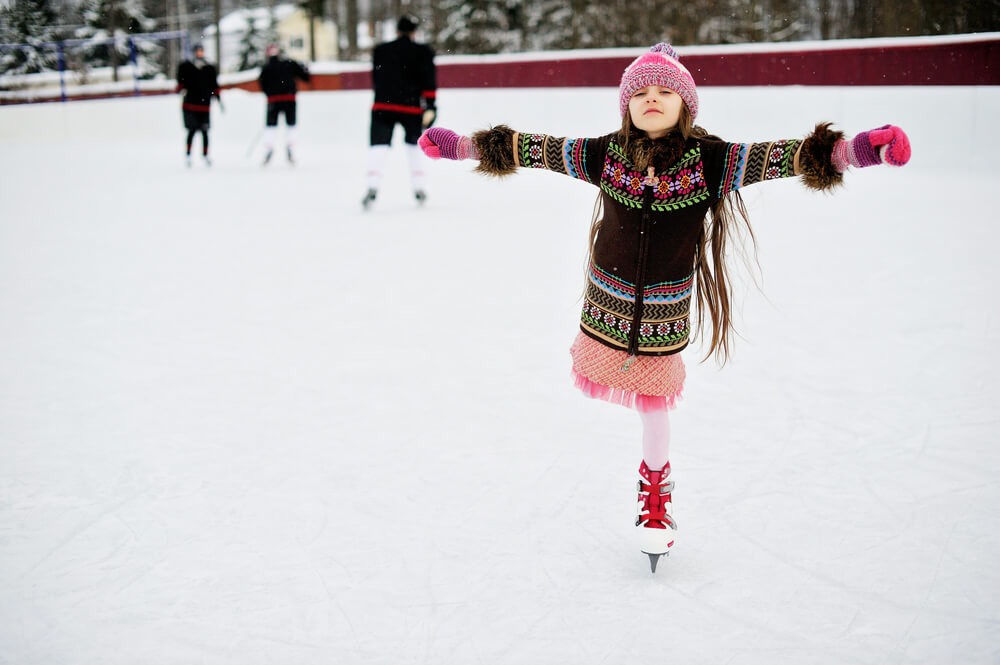
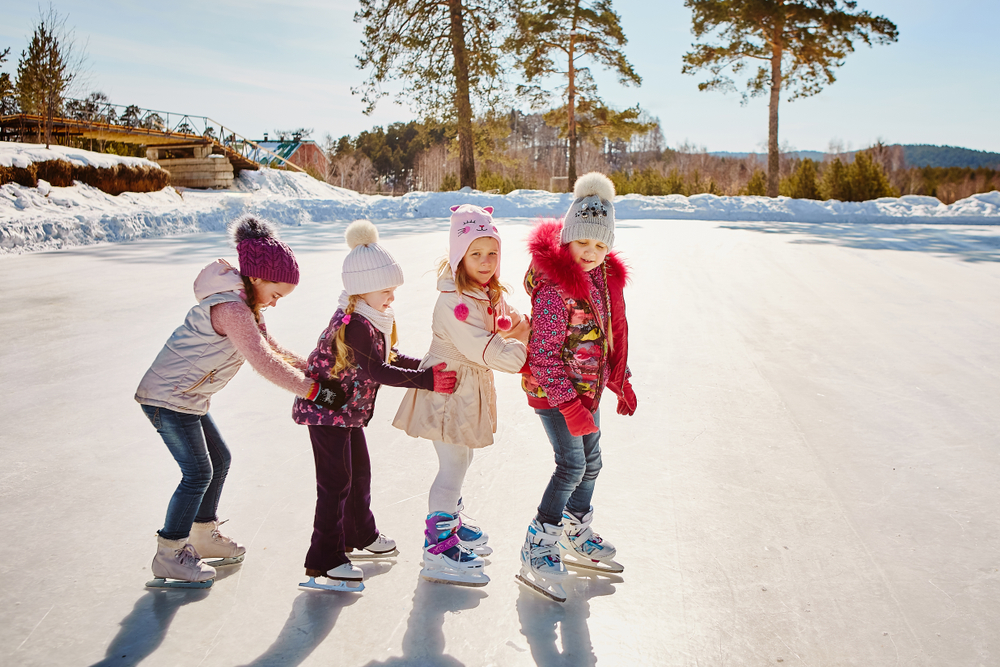
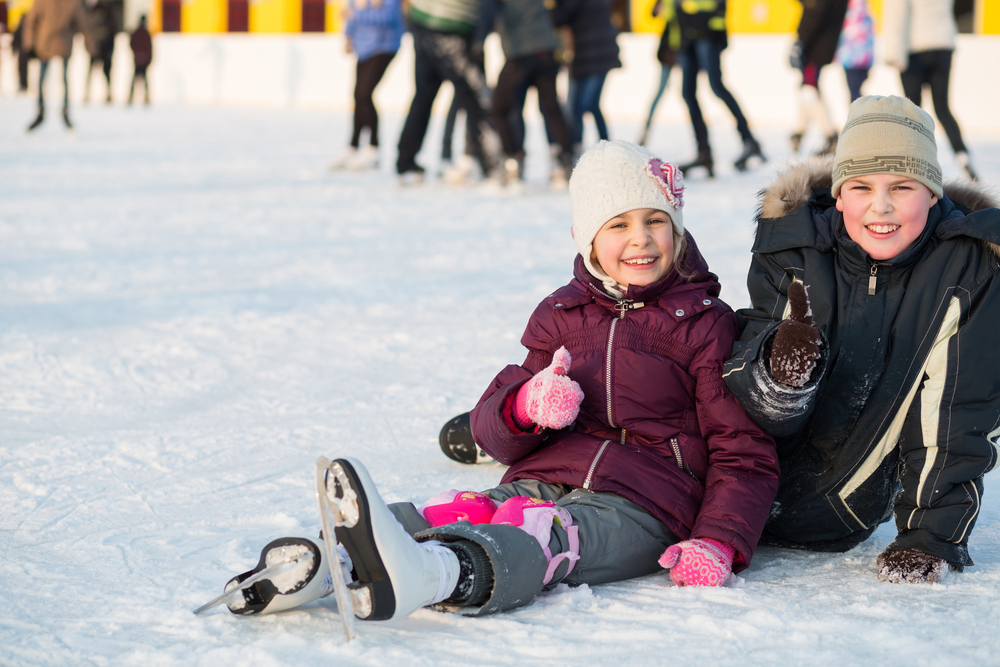
Kids love to stay active with sports, play with friends, and enjoy the outdoors in all seasons. One favorite activity amongst children is ice skating.
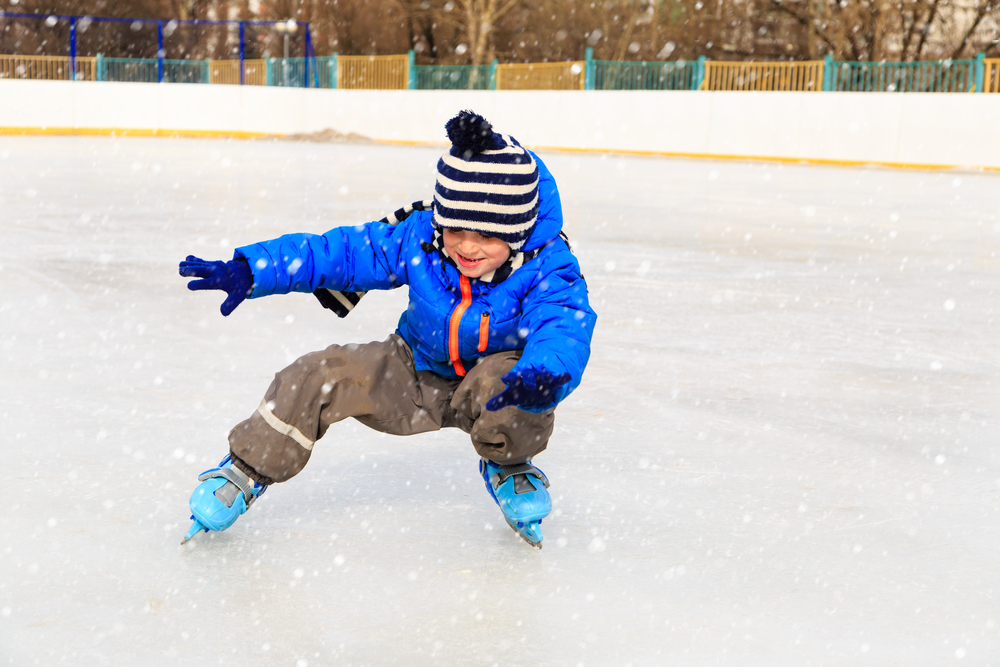
A thrilling and beautiful activity, it can take your child some practice before they gain confidence going on the ice.
Whether your child wants to glide across the ice just for fun, join skating classes, or eventually compete in competitions, such as synchronized skating or speed skating, we’ve compiled ice skating tips for beginners so your child can be on the ice in no time—no experience required!
Contents:
- Ice Skating for Children: When to Start and How It Would Be Beneficial
- How to Teach the Child to Ice Skate Properly: The Basic Techniques and Exercises
- How to Choose the Ice Skates for the Child
- Tips for Parents
- FAQs
Ice Skating for Children: When to Start and How It Would Be Beneficial
Prostock-studio/Shutterstock.com
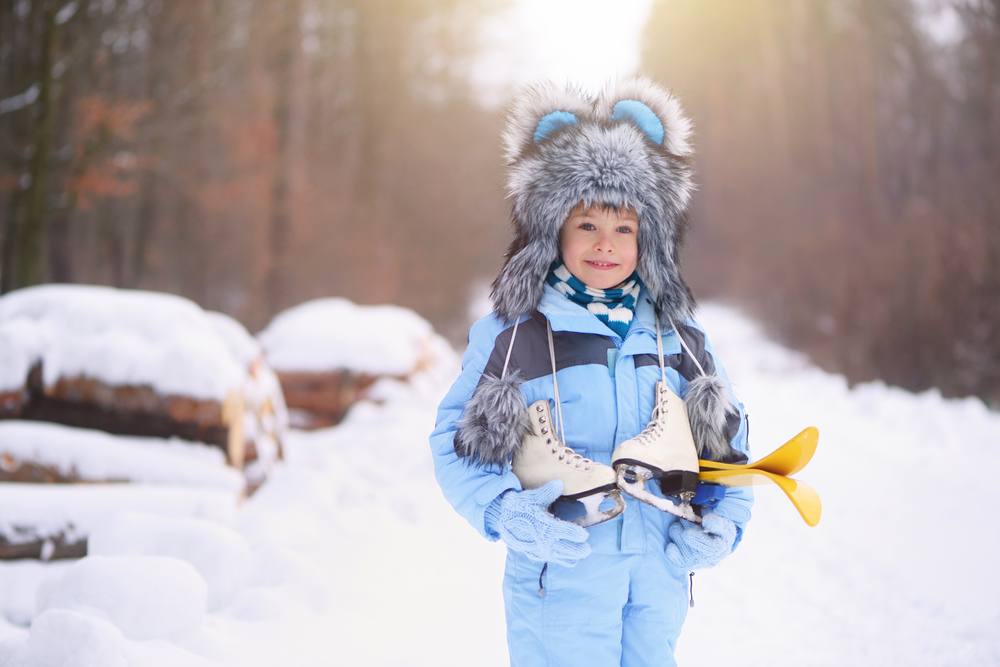
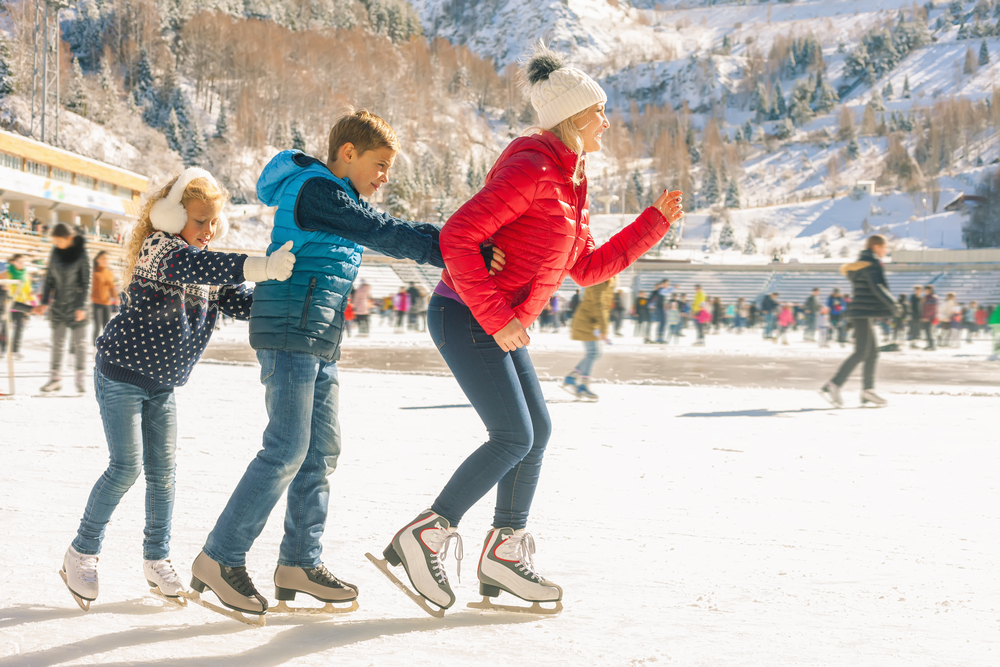
Before deciding on how to teach a child to skate, parents are faced with another important question: what age is optimal to have your child ice skate for the first time?
There is a group of parents who believe that after three years old, it is too late to teach their child to ice skate. However, this is a competitive bunch who are looking to get their children skating professionally.
Nevertheless, it is not worth starting to practice activities on ice before the baby turns three years old. Very young children’s muscles are still poorly developed. These are the ones that are involved in the ice skating activity, which means that they have a higher risk of injury than an older child.
Professional coaches consider the optimal age to start learning to skate to be 4-5 years old. In fact, many ice rinks won’t accept skaters under the age of four.
At this age, muscles become quite strong, and the child can confidently control their body movement. Most Olympic medalists began skating at the age of 4.
However, there is no age limit for when your child can learn how to ice skate. It’s never too late!
Ice skating is not only fun, but it is also beneficial for the child’s health:
- Each muscle group develops and becomes stronger, and good posture is formed
- Lung and heart function improve
- Children experience a reasonable level of physical activity that becomes a natural part of their lives
- Coordination and motor skills develop along with the ability to predict the consequences of certain actions
- Regular sports activities will help the child increase their self-esteem and, possibly, find new friends who share the same interests
If your child experiences health issues, such as problems with their joints, heart, asthma, or muscles, consult your pediatrician before ice skating. They will be able to give advice on the age at which your child can start skating, and whether it is worth getting involved in this sport in general, in your particular case.
Preparing Your Child: Equipment and Safety
When teaching your child to skate, protective equipment is non-negotiable. Kids will fall, and the right gear keeps the learning process positive and safe.
Essential safety gear for ice skating includes:
- Helmet
- Knee and elbow pads (or elbow and knee padding)
- Wrist guards
- Warm gloves
Some parents also choose double-runner or double-bladed training skates for toddlers, since these offer more balance than single-blade skates. Once your child grows confident, they can transition to traditional single-blade skates.
If your child is serious, consider investing in specialized models such as the American Athletic Shoe Tricot Lined Ice Skates, which are popular for beginners thanks to their comfortable padding and durable design.
And don’t forget—you can start your child with group lessons or skating classes at your local rink. Having peers around makes the learning process more fun and less intimidating.
How to Teach the Child to Ice Skate Properly: The Basic Techniques and Exercises
Prostock-studio/Shutterstock.com
Before lacing up your child’s ice skates and sending them out on the ice, show them what ice skating is like. Walk to the nearest skating rink or even explore other disciplines like roller skating with inline skates to help build balance off the ice. Watching kids skate—whether in person or a YouTube video—makes the process less overwhelming.
When following the ice skating tips for beginners, a specific methodology should be adhered to. You should instruct your child in the following sequence for ice skating:
- First steps outside of the rink
- Learning proper posture
- Safe falling techniques
- Different skating techniques and other ice-skating skills
What to Start With: The First Steps
Teaching your child how to ice skate takes time. It’s essential to teach them good skating and falling techniques so they can protect themselves and go on the ice prepared.
First, have your child walk on ice skates at home. Leave the blades covered, and ask your child to try to walk ten steps forward, wave their hands, and sit down. This will help your child feel comfortable wearing the ice skates and practice balancing.
When the child begins to feel confident walking on skates at home, it is time to start skating on the ice.
It’s always a good idea to take your child to an ice skating rink with supervision. Find a nearby rink and make a day of it!
Do not worry about the health and safety of your child when you let them go to the skating rink or walk without you! Always know where they are and which path they are taking, listen to what is happening around them, and call them in any situation through the Findmykids app.
The Right Pose
Prostock-studio/Shutterstock.com
Posture is vital when ice skating. Teaching your child proper posture before they go out on the ice can prevent injuries.
Here is how to teach the child the correct posture of an ice skater:
- Put the ice skates on their feet, and the rest of the skating equipment they will wear while skating.
- Position your child’s legs so they are at a narrower distance than shoulder-width apart and tell them to “bend your knees slightly”.
- Raise the child’s arms and spread them to the sides to improve stability.
- Have the child tilt their body forward.
- Instruct your child to perform a small squat, so that they will learn how to keep balance.
- When the squats start to turn out well, ask the child to try to walk around the apartment.
Make sure you position your child’s body slightly bent forward. If the child, inadvertently, straightens their body on the ice, they will risk getting injured by falling on their back.
The Correct Technique of Falling
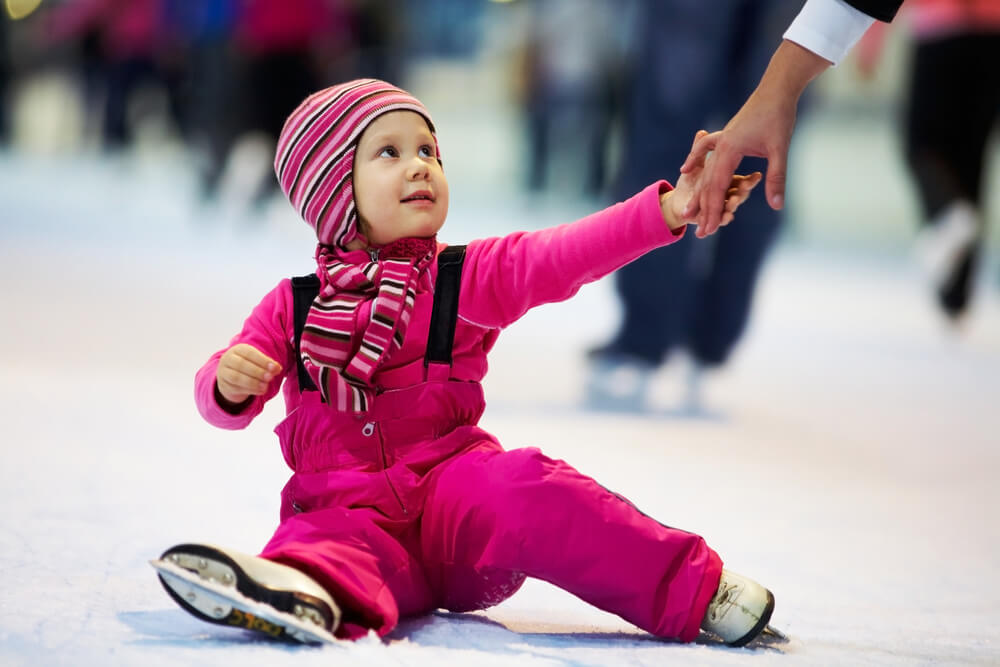
Prostock-studio/Shutterstock.com
Nobody, including the champions of figure skating, managed to learn to skate without falling. Falling safely while learning to ice skate is normal and essential. However, it is crucial to teach beginner skaters to fall correctly; sloppy falls on the ice can result in bruises and other injuries.
If your child gets hurt or leaves the ice rink with bruises, it can ruin their ice skating experience. Many children tend to choose another activity if they associate pain with ice skating.
Most often, falls occur when the person straightens their torso, thus abruptly changing their body balance. Remind the child of the importance of constantly leaning forward.
You can rehearse the technique of a few falls with your child at home before they start skating on the ice. To do so safely, follow the steps below:
- Throw a thick blanket under your child’s feet.
- Ask the child wearing ice skates with covered blades to bend their knees into a squat, or group up, but not to sit fully, and then fall on their knees protected by knee pads.
- Explain to your son or daughter that if it is not possible to regroup their body, they will need to try to fall on the side to avoid falling backward.
- Tell the child that even if they realize that a fall backward cannot be avoided, they should not panic and should try to adopt the pose of an embryo, rounding their back and pressing their chin to their neck.
- Practice falling at home until the mechanics and technique of falling become natural to the child.
It is equally important to be able to get back up after falling:
- Explain to the child that no matter the pose they take when they fall, they will need to get on all fours before getting up
- Have the child lean firmly on the blade of the leading leg of the ice skate (right-handed people lean on the right leg, whilst left-handed people lean on the left)
- Explain to the child how to rest their arm on the leading leg and vigorously push the body forward to get up off the ice
Wintertime child safety: important rules of conduct and a first aid reminder for parents.
Ice Skating
Prostock-studio/Shutterstock.com
Before getting on the ice to skate, it’s important to warm up the muscles. Instruct your child to squat several times, wave their arms, and rotate their torso, to jump or get on their toes several times.
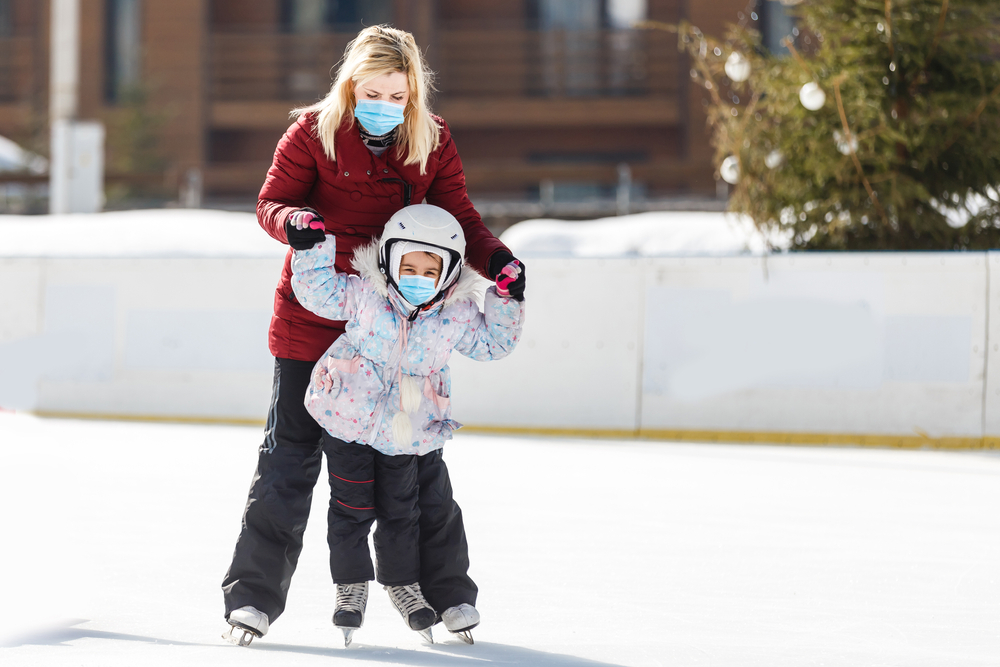
After a proper warm-up, it’s time to get on the ice.
Until the toddler feels relatively confident skating, they will need an adult to accompany them. For the very first time skating on the ice, the following set of exercises for beginners can be performed to start off.
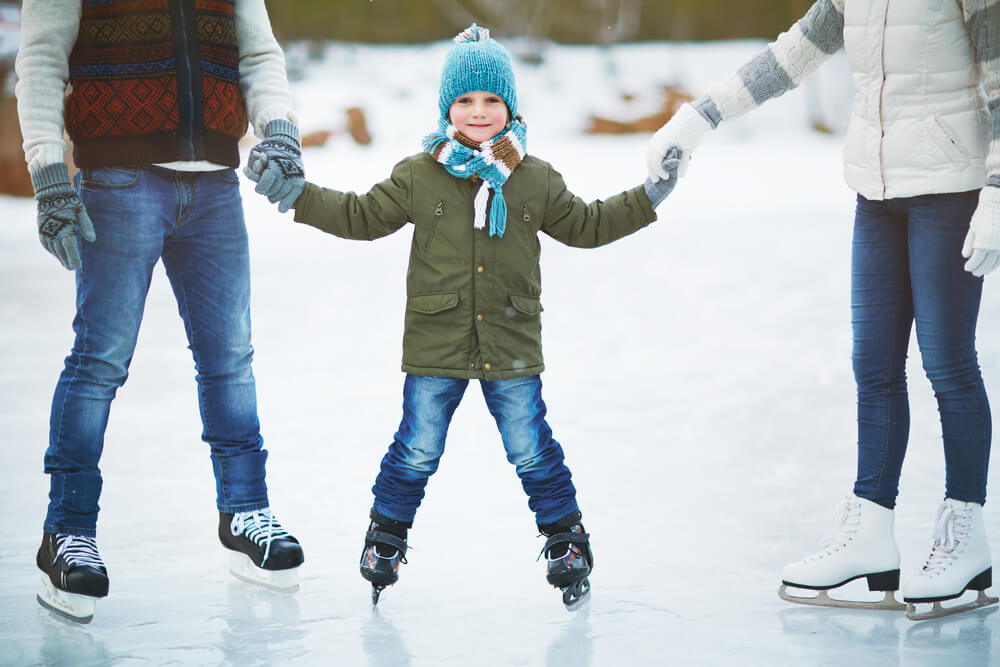
1. Going along the edges of the skating rink
Face the child, take their hands, and move along the side at a calm pace. Make sure that your son or daughter rests firmly on the blades of the ice skates without fully holding you.
To teach children aged five years and older to walk along the side, you can use a tug, such as a club or other similar object. Instead of holding your child’s hands while skating, you will both hold the tug. With the help of the tug, the child will immediately get used to not leaning on the adult and will keep balance more efficiently.
2. Small steps
Ask your child to walk on the rink in small steps without gliding.
3. Squats
Prostock-studio/Shutterstock.com
Squats are another way to learn how to balance on the ice. Invite your child to do squats with their arms spread out to the sides.
4. Gliding for beginners
The first step to learning to glide on the ice is to keep both feet on the ice simultaneously without lifting them from the surface. Move alongside your child whilst holding their hand.
5. Simple gliding
Ice skaters glide by pushing their feet off the surface, one foot and then the other foot, while shifting their body weight from side to side. Use this technique to show the child and have them repeat after you to practice gliding.
Braking
Prostock-studio/Shutterstock.com
The easiest way to brake for beginner skaters is by shifting the body weight on the heel of the leading foot.
- Put the skate of the leading leg against the direction of the movement, while leaning on the heel.
- Bend the other knee.
- When braking, tilt the body backward slightly to retain balance.
As soon as the child learns to stop with the leading leg, start teaching them to break with the other leg, too.
Once your child has mastered the first braking technique, they can move on to another effective method. Use the methods below to teach them:
- Emergency Braking: Press the back of the ice skate into the ice as if trying to screw the blade into the surface.
- Plow Braking: This method requires braking with both legs simultaneously, with the knees bent, and the heels spread in opposite directions.
- Side Breaking: A simpler way to try this complex braking method is to turn to the side, with one foot leaning on the outside of the blade, and with the other leaning on the inside.
Turns
Learning to turn on ice is quite simple. Simply lean to the desired side and push on the outer edge of the skate. Remind your child to keep their knees slightly bent when the turn has already been made—otherwise, they could fall.
To perform a sharp turn, the child must clean and put their weight forward as much as possible.
Simple Exercises on Ice for Children

Prostock-studio/Shutterstock.com
To take full advantage of these ice skating tips for beginners, have your child complete the following exercises:
- “Sleight” steps. Starting position: legs together, arms to the sides. How to do it: take two steps forward, squat so the buttocks lean towards the heels, spread the arms and legs in different directions, and try to ride on both legs in this position.
- “Pine tree” exercise. Starting position: knees bent, heels together, toes slightly apart. How to do it: take turns in moving the legs whilst pushing off the surface with the edges of the ice skates without the sharpest sides for moving.
- “Lightbulb” exercise. Starting position: legs together, knees bent, body leaning forward. How to do it: The child begins to move – independently or with the help of an adult – and spreads their legs to the sides and brings them back together, as if drawing semi-circles or a figure in the shape of a lightbulb on ice.
- “Half a lightbulb” exercise. Starting position: the knee of the supporting leg bent, the other leg straight and set aside. How to do it: push off with one leg, draw a semicircle on ice with the skate, then switch legs.
- “Snake” exercise. Starting position: legs spread slightly wider than shoulder-width, body leaning forward. How to do it: push off the surface alternating your feet using the outer edge of the skate, while the free leg slides on the inner edge of the ice skate.
How to Choose the Ice Skates for the Child
Prostock-studio/Shutterstock.com
It is not necessary to immediately purchase the most expensive professional skates for the child, especially if they are young beginners.
Begin with more budget-friendly and simple options. The main argument when choosing children’s skates is to choose the most comfortable pair.
Of course, you can always use rental skates when visiting an indoor or outdoor rink. Your child does not have to have their own pair unless they are serious about ice skating frequently.
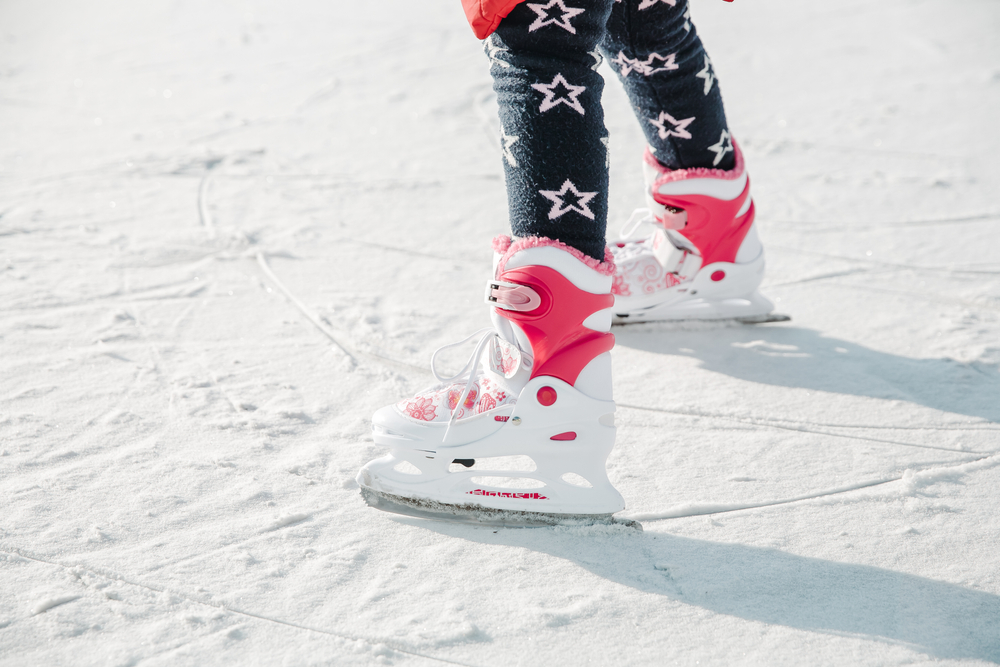
Ice Skates for Beginners
When choosing children’s skates, pay attention to the material’s density. Insufficiently stiff shoes risk injuring the shin.
To check the rigidity, try to bend the boot from the heel sideways. It should bend by a maximum of 30 degrees.
Other important factors when choosing the right ice skates for beginners:
- Sharpened and short blades
- Genuine leather
- Tough skates, if enrolling your child to play hockey
Once your child becomes a better ice skater, you can search for figure skates with a toe pick to help them spin, jump, and land safely on the ice.
How to Choose the Right Size Skates for the Child
Prostock-studio/Shutterstock.com
It’s important for ice skates to fit properly. If you want the ice skates to last more than one season, choose an adaptable model whose sizes can be modified.
When buying your own skates, have your child try them on. Shoes worn with a thick sock should not be too wide and should not hold the leg too firmly, but still offer proper support. Ask your child to walk on the skates, and if it is convenient for them, then they are the right skates for them.
Tips for Parents
Teaching children to ice skate has its own nuances. It is important to choose appropriate clothes for the weather, learn responsibly, and constantly support the child, even if they do not succeed right away.
How to Get Dressed for the Ice Rink

Prostock-studio/Shutterstock.com
If skating at an indoor ice rink, light clothing such as a knitted jacket, sweater, and jeans is enough to keep your child warm. Your child may also want to wear gloves in case they fall on the ice and use their hands to support themselves.
For an outside skating rink, opt for warmer clothing and take into account the outside temperature. It’s a good idea to wear layers that are easily removable if your child becomes too warm. Follow our layering guide below for optimal warmth:
- The first layer should be a thermal undershirt that retains heat and moisture. Avoid cotton, as it can become cold when your child sweats
- The second layer should be a turtleneck or shirt that covers the throat
- Choose a warm, yet light, coat and trousers
- Wear socks made of wool or thermal material to keep your child’s feet warm
- A warm hat that covers the ears
- Do not forget about safety equipment: helmet, knee pads, elbow pads, and wrist guards
Read more about Wintertime walks with pleasure: how to dress the child appropriately in winter, at any temperature.
The Best Place to Teach the Child
Prostock-studio/Shutterstock.com
There is some debate over whether indoor or outdoor ice rinks are better to skate on.
When it comes to teaching your child how to ice skate, it’s recommended to bring them to an indoor ice rink. While the ice may be harder and a bit more slippery, the environment is more controlled, especially the temperature, making it comfortable for your child. Many ice rinks also offer classes for children.
Once your child learns the basics of ice skating and no longer needs a rail to hold onto, you can bring them to an outdoor rink.
General Recommendations and Useful Tips
Useful recommendations for parents who want to teach their child to ice skate:
- Be patient and do not force your child to learn and practice all the time. Don’t scold them for mistakes and praise them for their achievements.
- Teach ice skating courtesy, such as not interfering with other skaters or standing in one place on the ice.
- Use ice skating games to teach and make it a more fun time.
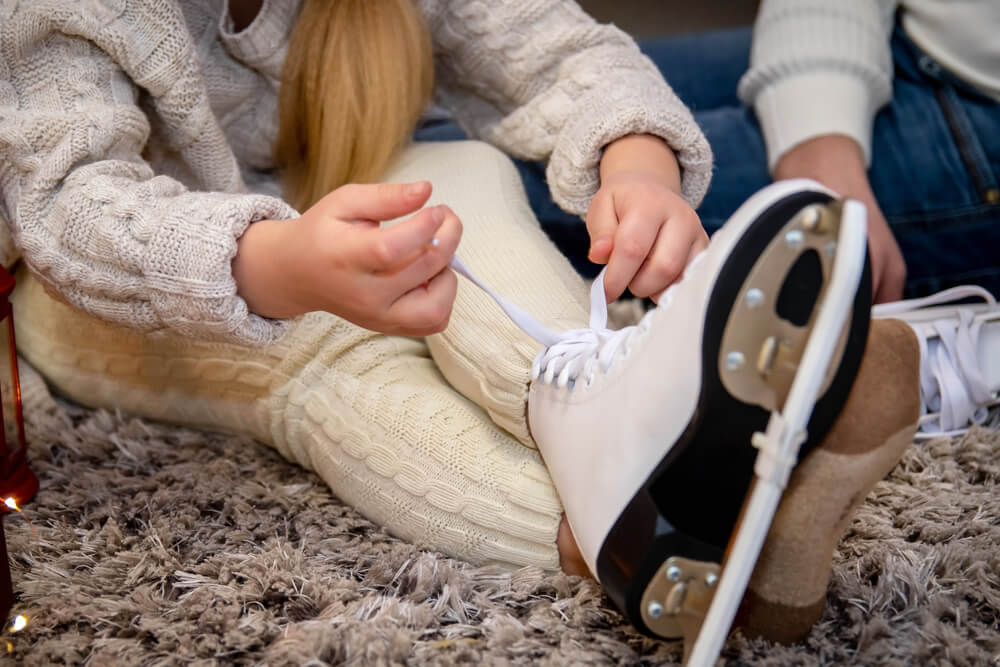
- Always lace ice skates tightly on the instep and loosely at the base and top of the skate.
- Draw attention to yourself to prevent your child from looking down while skating.
- Teach proper breathing techniques, such as inhaling through the nose and not holding their breath.
- Put your child’s ice skates on right before skating to avoid falling or tiring them out.
Learning to ice skate isn’t hard—and it’s even easier to teach your child to ice skate! Be persistent and practice ice skating if your child wants to compete eventually.
Whether they become a professional skater or take ice skating up as a hobby, it’s a fun family activity for everyone!
FAQs
Prostock-studio/Shutterstock.com
At what age can you teach a child to ice skate?
Most children are ready to start ice skating around age four. By this age, they usually have stronger muscles and better motor skills, which makes skating safer and more enjoyable. Many ice rinks don’t allow kids younger than that on the ice for safety reasons. Still, it’s never too late to learn—plenty of kids (and adults!) start later and enjoy it just as much.
How early can you teach a kid to ice skate?
While many children start around age 4, some parents use double-bladed training skates or double runners to introduce children as young as 2–3 years old to the ice. The goal at this stage is simply getting comfortable and having fun.
How do you get better at ice skating?
The only way to get better at ice skating is to practice! If your child is serious about learning this skill, take them to practice twice a week or enroll them in a class at your local ice rink.
What should you prepare for ice skating?
There are a few things you can do to prepare your child for ice skating.
- If your child is a complete beginner, teach them falling techniques and how to balance in their ice skates before getting on the ice.
- Protection is always key. To avoid injuries during falls, prepare your child with elbow and knee pads, wrist guards, and a helmet if necessary.
- Lastly, dress in layers for warmth. Removable layers will make your child more comfortable as they can remove clothing if they get too warm.
How do you skate for the first time?
Ice skating for the first time can be a bit scary, but once your child gets their ice legs, it will become easier as they do it more.
The best way to start skating for the first time is to hold onto the outer wall for balance. When your child gets used to how it feels being on the ice, they will become more confident and will start to glide. Always be near your child in case they need extra support or falls unexpectedly.
How to teach your kid to skate for beginners?
Start with the basics, like walking in skates at home, practicing posture, and learning to fall safely. From there, move on to simple gliding and braking techniques. Group lessons and skating lessons are also a fantastic option for kids who thrive in social environments.
What are the basic 5 learn to skate skills?
The foundation includes:
- Proper posture and balance
- Falling safely and getting back up
- Forward marching and gliding
- Stopping techniques
- Basic turns
What types of skating can kids try after learning the basics?
As your child grows and masters the basics, they may develop an interest in different types of skating:
- Hockey skate training helps with speed, agility, and stability for future hockey players
- Figure skating builds elegance, jumps, and spins
- Synchronized skating teaches teamwork and rhythm on the ice
- Speed skating develops endurance and balance at higher speeds
- Roller skating and inline skates off the ice can also improve balance and leg strength for winter skating
Проверьте электронный ящик