


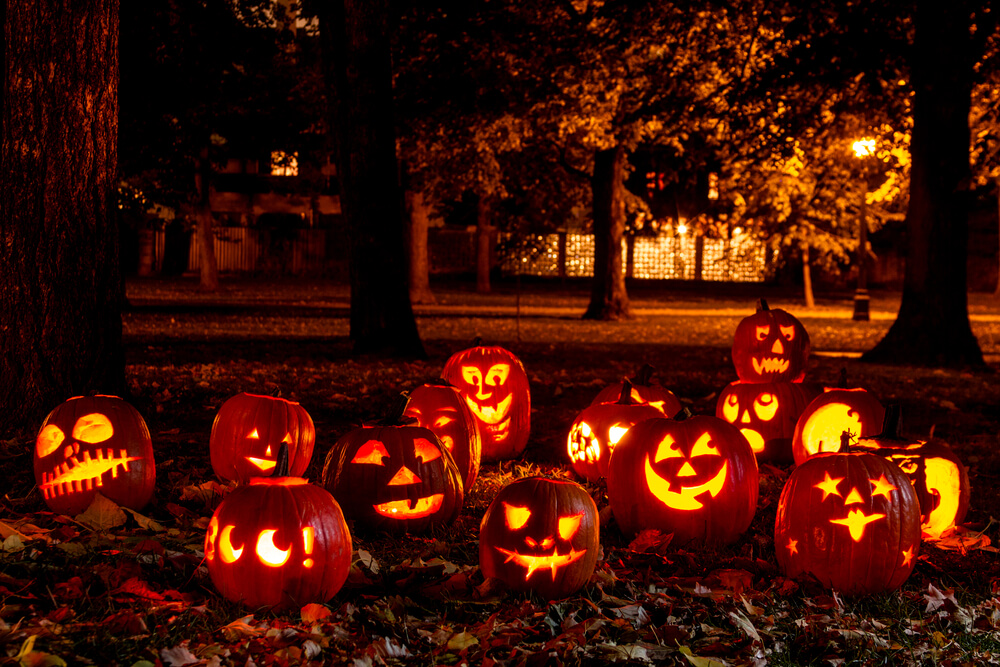
The “scariest” day of the year—Halloween, is dawning upon us. This is one of the most popular and long-awaited festivities of the year for children and adults. The holiday that historically comes from ancient Celts became so popular around the world thanks to people’s love for entertainment: the mystical objects related to Halloween motivate us to take part in the holiday preparations. And, of course, the most well-known Halloween symbol is the pumpkin lantern.
There are many ways to carve a pumpkin for Halloween; these pumpkins can be creepy, cute, or funny, as you wish! It may occur that you would want to go a more unusual way and not make a traditional face, but rather carve something interesting, such as decorating a pumpkin with silhouettes of trees or attaching a figurine of a witch or a ghost to the pumpkin. Either way, follow the step-by-step instructions, and you will be sure to have yourself the Halloween pumpkin that you want!
Contents:
- Why is a Pumpkin Carved on Halloween? Legends and Traditions
- How to Pick a pPumpkin for a Halloween Lantern?
- How to Carve a Pumpkin for Halloween: a Step-By-Step Instruction
- The Best Ideas for a Spooky Lantern Inspiration: Templates and Tutorials
- How to Store a Halloween Pumpkin?
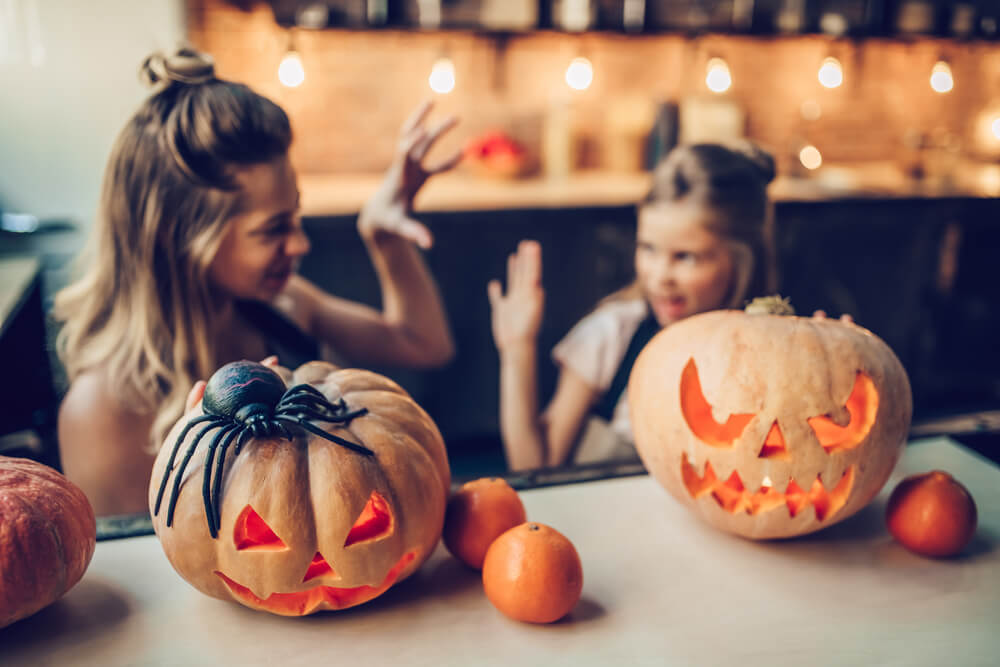
Why is a Pumpkin Carved on Halloween? Legends and Traditions

Prostock-studio/Shutterstock.com
The tradition of having scary Halloween lamps dates back to the 19th century. And, like any old tradition, it is filled with many myths that are quite distant from reality.
For example, even in Britain, where the celebration of Halloween originated, it is believed that lantern pumpkins attract dead souls. In fact, the ancient Celts used lamps made from turnips, for the exact opposite purpose: to drive away evil spirits.
Legend has it that a rascal named Jack managed to fool the devil twice. The wounded lord of hell did not let Jack enter hell after his death, and Jack could not get to heaven due to his abundance of sins. Nevertheless, the devil threw Jack a lamp with embers that never turned into coal. Because of that, according to the legend, Jack was now doomed to roam the world with a pumpkin lantern in his hands. Because of this legend, the traditional Halloween pumpkin is also often called the Jack-o-lantern.
Halloween has not been associated with religion for a long time and is recognized as an international holiday. Therefore, today it is for anyone who simply wants to have fun and to carve a pumpkin face!
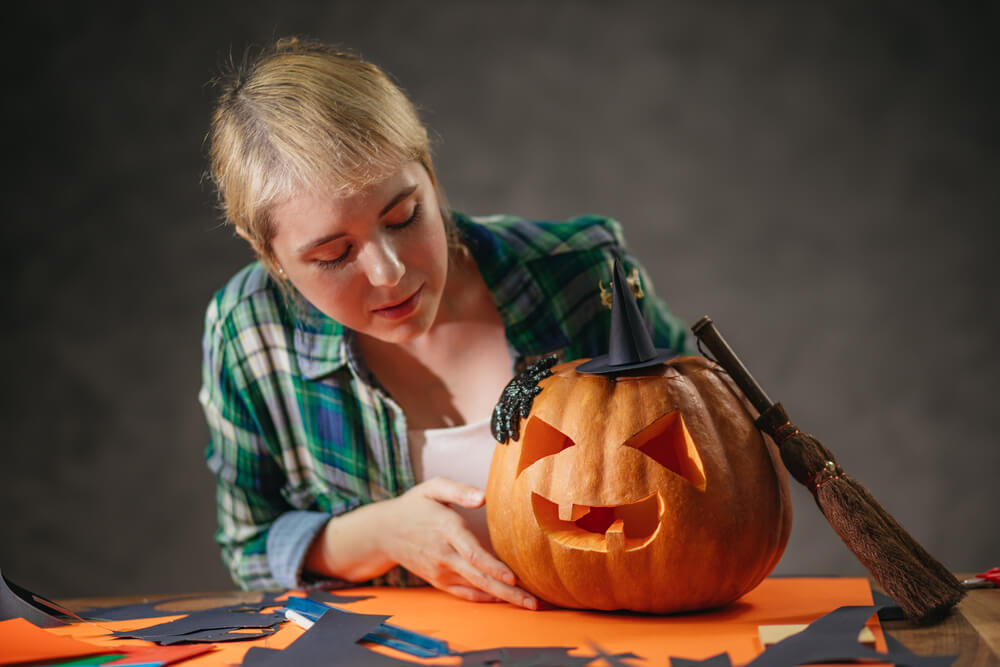
How to Pick a Pumpkin for a Halloween Lantern?

Prostock-studio/Shutterstock.com
The main requirement of a good Halloween pumpkin is for it to be medium in size, about 15 centimeters high, and as close as possible to a round shape. A lantern made out of a small pumpkin can have its inside part melt whenever a candle or other lighting fixture is placed in it. You can work with a large pumpkin, but only if you are ready for some hard and painstaking work, as the skin of this Halloween symbol is dense, and you will have to spend a lot of time working with it before something pretty turns out from this large vegetable.
An oval-shaped vegetable is perfect for creating a great Halloween lamp. However, when going for an oval pumpkin for carving, remember that it will be much more difficult to remove the peel from the inside, in comparison to a round one.
Decorative pumpkins are best suited for crafting, however, if you can’t find one, go for a normal one. Before you buy a pumpkin, make sure that it is ripe enough, but not rotten; a pumpkin that has started to rot, even every slightly, will not work for creating a Halloween lantern.
What Else Needs to Get Ready?
Here is what you will need to carve a pumpkin:
- A sharp knife that is not too long, or several knives of different lengths if you are going to make a rather complicated decor;
- A flat spoon for removing the pumpkin’s pulp. If you don’t have a flat spoon, an ordinary spoon or other tools that can perform the role of a scraper will do;
- A marker or another instrument that writes. It will be convenient for drawing the outline on the pumpkin’s dense skin;
- Bowls in which you will place the pumpkin’s pump and other waste;
- Candles or other lighting devices;
- Newspapers to protect the surface (it is not a ‘must’ since the pumpkin juice and pulp can be easily washed off).
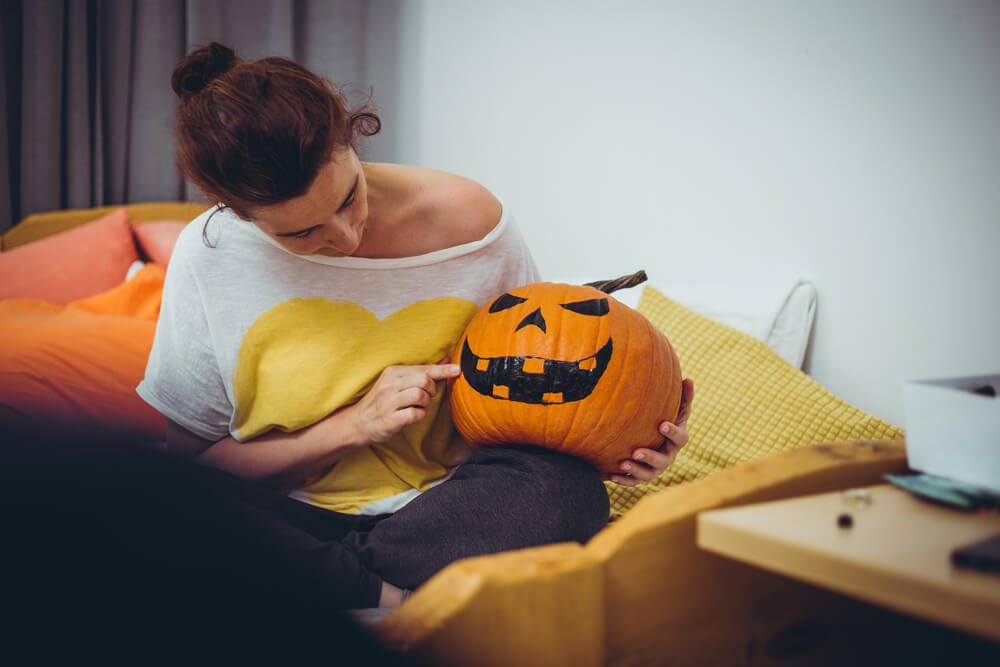
How to Carve a Pumpkin for Halloween: a Step-By-Step Instruction
Prostock-studio/Shutterstock.com
Step-by-step instruction on carving a Halloween lantern:
- Cut off the top of the pumpkin—this will be the future cap of your lantern. Do it by cutting right away or drawing contours and cutting along them. Cut out a round lid or of a certain shape, such as a star. Working on a cap of a particular shape will require more time and skill.
- Remove the seeds from the detached lid and from the pumpkin itself by using a spoon, a scraper, or simply with your hands. Most people are comfortable with picking the seeds with their fingers.
- Remove the flesh from inside the pumpkin, leaving a small amount on the walls. The walls of the future lantern should be thin enough, however, not too thin, so that they are less likely to be damaged by flame and will last longer. Use a long knife for this.
- Cut off about half of the flesh from the lid.
- Place the outline of your design onto the skin of the pumpkin, such as the holes for the eyes, nose, and mouth. If you have little experience in making Halloween lanterns, avoid having rounded shapes, as the easiest way to cut the peel is along straight and pointed lines. A classic Halloween pumpkin is supposed to have teeth in its mouth, and if you’re not sure that you can carve out multiple rectangular teeth, you can also have one or two teeth.
- Carve an image on the pumpkin by using a knife or several knives: make a funny or scary face, or any other, according to your choice. You can also apply certain designs by using templates that are firstly created on paper, to simplify this task for yourself.
- Place a light device into the clean inner part of the pumpkin, it can be an ordinary or electric candle, as well as a flashlight. A Christmas garland would also look very impressive inside the pumpkin lantern.
- After you are done carving, cover your lantern with the lid.
Video tutorial on how to carve a Halloween pumpkin:
Тop 10 Lifehacks on Halloween Pumpkin Carving
Prostock-studio/Shutterstock.com
Here are ten ways to make the creation of the Jack-o-lantern with your own hands even easier:
- if you are planning to draw a face or another image on the pumpkin’s skin before starting to carve, take an easily washable marker, for example, a blackboard marker;
- to easily remove the pumpkin pulp, make the cuts inside the pumpkin with a knife, and only then pick up the pulp with a spoon or scraper;
- when taking out the pulp from the inside of the pumpkin, pay special attention to the place on which the face or another design will be located. The thinner the peel is in this place, the easier it will be to work with a knife;
- when working with a template, attach it to the peel with tape, as the glue will be difficult to be washed off from the pumpkin;
- it is better to work carefully with a pumpkin peeled from the inside as the pumpkin becomes rather fragile without the inner part, and it can get accidentally damaged if you press on it too hard with a knife;
- It is most convenient to put some notches of the future drawing in advance with a sharp needle. You will then be able to cut out the image with a knife;
- if you chose a garland as your Halloween symbol decoration, you will also need to make a hole in the lower part of the pumpkin so that the garland is not too visible from the outside;
- in case your Halloween lamp will be lit with traditional wax or paraffin candles, light the candles up before placing them inside the pumpkin or use long matches in order not to get burned;
- in order for the wax or paraffin candle not stop burning inside the pumpkin, make the eyes and mouth of the lamp large enough to allow the oxygen to flow into the pumpkin, and for the candle to burn brightly and evenly;
- the pumpkin lantern will look beautiful and neat if you peel the fiber off the fruit with a knife.
The Best Ideas for a Spooky Lantern Inspiration: Templates and Tutorials
Prostock-studio/Shutterstock.com
A Halloween lamp is made according to your own tastes and your amount of free time. It can be creepy or cute, simple or complex. Follow the step-by-step instructions and everything will certainly turn out great!
The Easiest Option
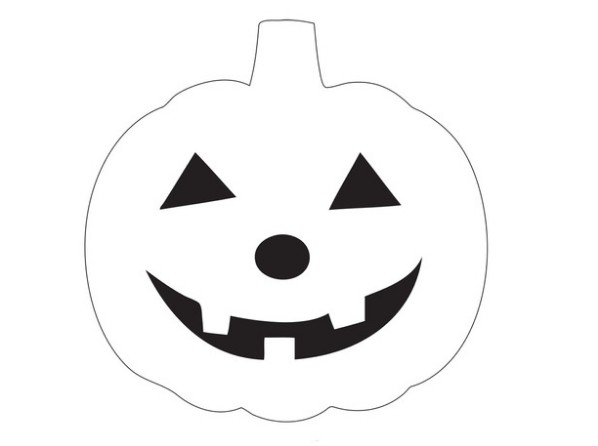
Source: corgit.xyz
How to make a pumpkin for Halloween in 5 minutes: a step-by-step instruction of the easiest method:
- Cut the top off the vegetable and remove the pulp.
- Draw a face on your pumpkin ‘head’: draw the eyes, nose, and mouth with a marker by creating sharp lines, which will be much easier to cut out in comparison with rounded ones.
- Cut the created outline with a knife.
You can also use the template on the photo which makes it easy to cut out a face on a pumpkin:
Download a high-quality printable template.
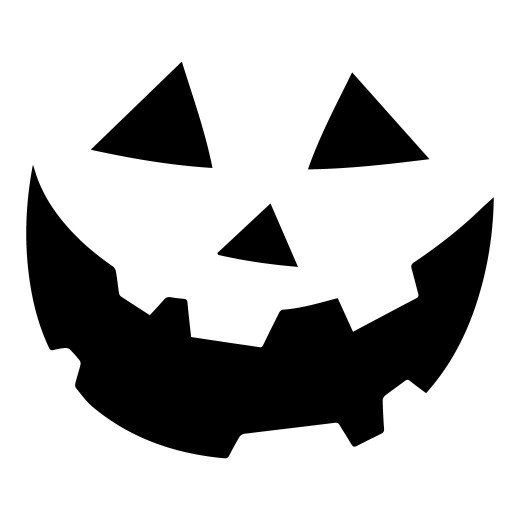
The Creepiest Pumpkin
If you are planning to really spook someone, take a larger pumpkin and be sure to carve a curly zigzag cap—this will make your pumpkin look even scarier. It is not difficult to depict a creepy face on the vegetable’s skin: the sharper the facial features of the lamp are cut, the creepier it will look. For example, you can use a pattern like this:
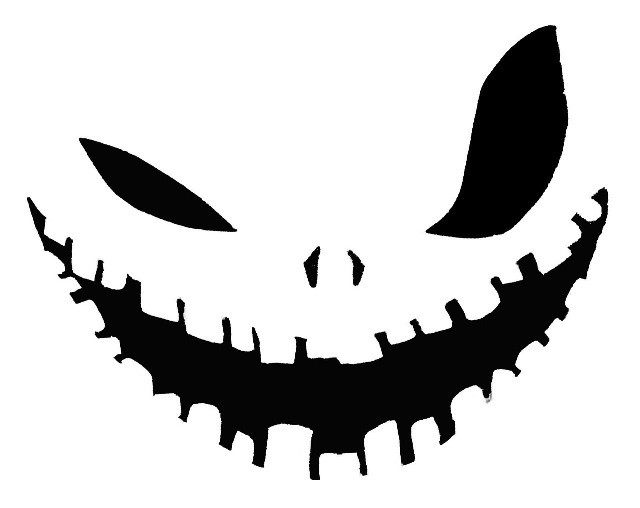
Source: inform-progulka.by
Here are some options for inspiration:

Select and download high-quality printable templates.
Cute Pumpkin
Not everyone likes to create scary crafts, even as a joke. If you don’t like scary Halloween lamps—make your pumpkin cute and will surely not scare anyone:
Source: holidappy.com
You can also select a cute face to your taste:

Select and download high-quality printable templates.
Funny Pumpkin
You don’t like to scare anyone and prefer making your guests laugh? Make a funny pumpkin lamp that will cheer you up with its ridiculous looks!
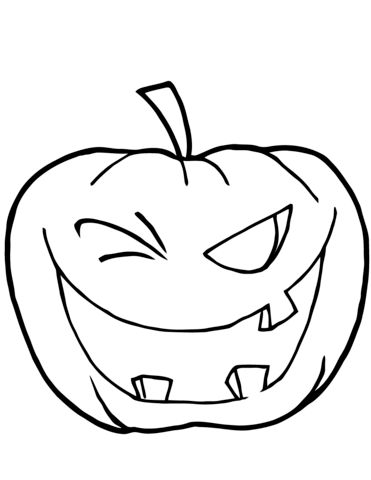
Source: www.supercoloring.com
More options:

Select and download high-quality printable templates.
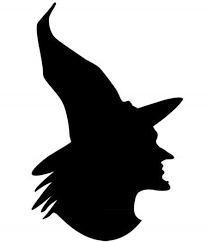
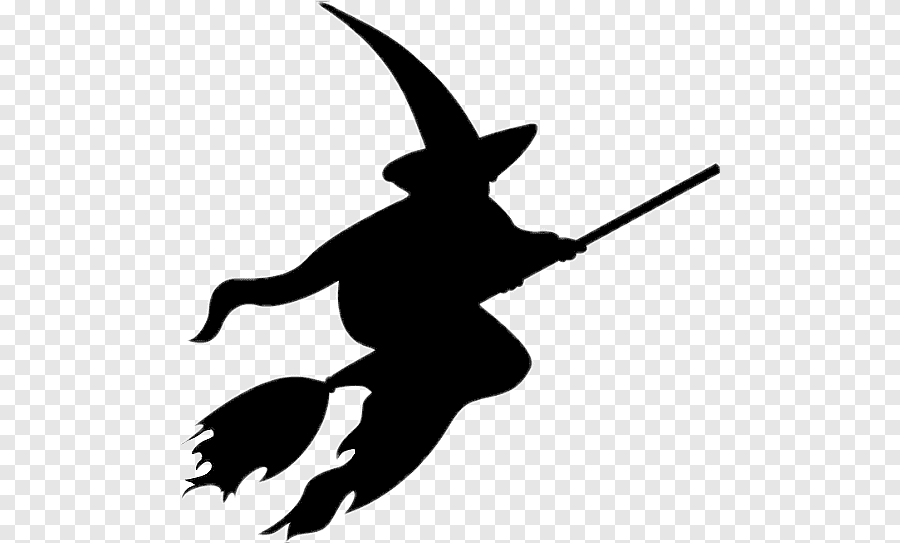
Witch Pumpkin
To fully experience the mysticism of Halloween, draw the silhouette of a witch on a pumpkin. You can think of how your witch will look like or select a template that you will like:

Source: www.pngwing.com/ru
Source: mr-shkaff.ru/
Source: www.pngegg.com/ru
Select and download high-quality printable templates.
Pumpkin Carriage
Everyone knows the tale of Cinderella, and the pumpkin is strongly associated with this story. If you would like to make an unusual craft out of a Halloween symbol, try creating a carriage for a princess.
Here is what you will need:
- medium-size pumpkin;
- markers;
- knife;
- spoons;
- napkin of any color;
- toothpicks;
- cardboard;
- scissors;
- beads and pearls.
A step-by-step instruction:
- Mark the windows of your future carriage with a marker on both sides of the pumpkin: they should be opposite each other.
- Cut out the windows with a knife. Use a spoon to remove the pumpkin pulp through the resulting holes.
- Cover the windows inside the pumpkin with napkins or cloth and secure these little curtains with toothpicks.
- Use your decorative elements, beads, rhinestones, artificial berries, to adorn the carriage.
- Cut four carriage wheels out of cardboard and attach them to the pumpkin with the help of toothpicks.
Here is a video tutorial on how to do it:
Pumpkin Owl Made Without the Knife
A great craft option for a fun DIY session with young children that will create a nice Halloween atmosphere.
Here is what you will need:
- not a bright but a very round pumpkin;
- felt;
- paint and brushes;
- markers;
- piece of white paper;
- scissors;
- glue gun.
Step-by-step instruction:
- Dye the pumpkin into the color that you choose with your child. Allow the paint to dry.
- On a sheet of white paper, draw a wing, an eyebrow, and a triangular nose of the future owl, as well as three circles of different sizes for the owl’s eyes: a large circle, a medium one, and a small one (you can use a compass or glasses to draw even circles).
- Transfer the paper templates to felt.
- Cut out the felt to create two wings, two eyebrows, one nose, and six circles for the eyes.
- Glue the resulting parts onto the pumpkin by using a glue gun, in order to form the shape of an owl.
How to Store a Halloween Pumpkin?
Prostock-studio/Shutterstock.com
It takes a lot of time to make a beautiful Halloween craft. And, of course, we all want for the carved pumpkin is to remain fresh for as long as possible, sometimes even after the holiday. The problem is that a pumpkin without the pulp does not last long, it becomes moldy in just a few days. Here are some methods that will help to extend the life of a Halloween lantern:
- The easiest way is to use special pumpkin food preservatives. They can be found in online and offline stores that offer Halloween goods. If you will treat the pumpkin with this product every day, then the craft will last for about two additional weeks.
- Use silica gel. These are the little bags that manufacturers place in bags, shoes, and even some food items. Take out the gel balls and place them inside the craft. This will protect the pumpkin from the accumulation of excess moisture. Use silica gel with caution as it can be dangerous to pets.
- Soak the whole pumpkin in a bleach solution every day. The solution is to be made by adding a teaspoon of bleach into 3.8 liters of water. This will prevent the rapid growth of mold-causing bacteria.
To make a Halloween lamp last even longer, store the pumpkin correctly. Put it in a dry place where the temperature does not exceed 15°C. Avoid placing it under direct sunlight.
Carving vegetables is an ancient form of art popular with people all over the world. Creating a pumpkin lantern for Halloween is a great opportunity to become a part of ancient art and to modify an ordinary object by using your own imagination, as well as to add some creativity into your life. Get the Halloween spirit, use your imagination and create your most unusual Halloween pumpkins!
Проверьте электронный ящик