


Join us on a creative journey as we delve into the step-by-step process of learning how to draw a pumpkin.
It’s the month of October, we are in the middle of autumn. The pumpkin is an indisputable star of the season. There are dozens of artistic activities for fall. Carving, decorating, or simply drawing pumpkins are all fun activities that kids and adults can enjoy.
Thanks to the simplicity of its shape, drawing a pumpkin is not a complex project to carry out. It’s basically a balloon with a stem at the top! Whether you are a child learning to draw or an adult pondering on how to draw a pumpkin, our step-by-step guide to pumpkin drawing will help you out. So, read on!
Contents:
- What to Prepare Before Drawing?
- Easy Step-By-Step Method How to Draw a Pumpkin
- Making it Unique: How to Draw a Pumpkin Face
- Drawing On Pumpkin Ideas
What to Prepare Before Drawing?
Zoomik/Shutterstock.com
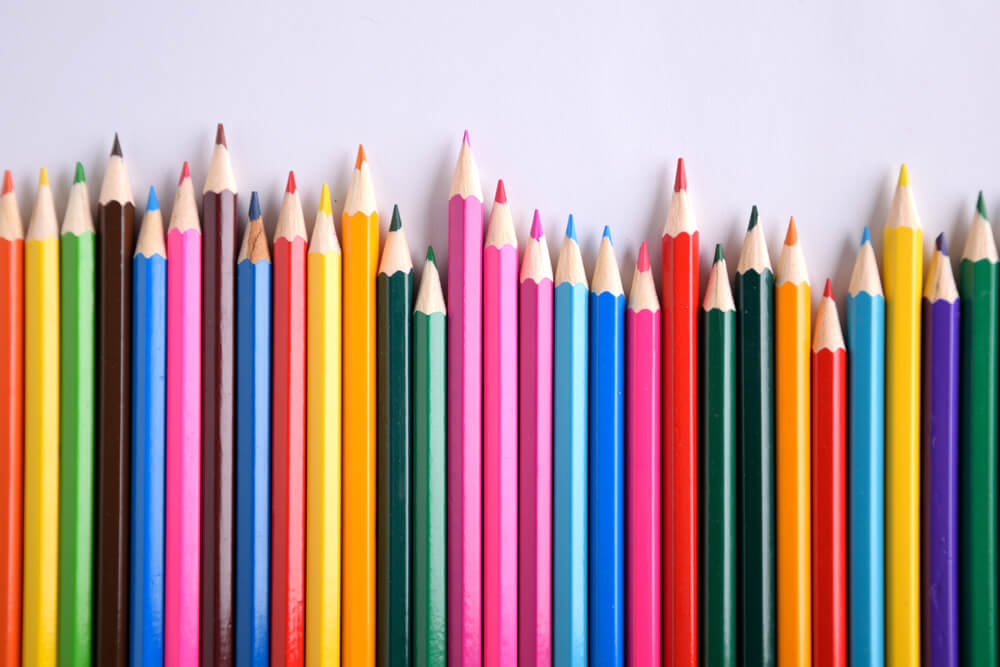
Get your drawing stuff ready. What materials must one obtain in advance to draw a pumpkin? You will need a few sheets of drawing paper, an eraser, and a pencil. Prefer HB, B, or 2B graphite pencils whose hardness is medium and the drawn lines are soft. Also, get a felt-tip pen or black fine-tip marker to trace around the outline of the pumpkin after the graphite drawing is complete. Finally, colored pencils, wax crayons, or colored markers will come in handy when you get to the coloring stage. When you have arranged all these art supplies, we can start.
If you’re short on time you can learn to draw a pumpkin step by step in this Youtube Video, if not, you may follow our tutorials below!
Easy Step-By-Step Method How to Draw a Pumpkin
Asia Milo/Shutterstock.com
As promised, here is the easiest step-by-step drawing tutorial to help you draw a pumpkin. We all love pumpkins, and if you’re looking for an easy way to draw a great-looking pumpkin our step-by-step guide will make the process incredibly simple for you. Whether it’s a Halloween or the fall season drawing session. Just ten straightforward steps and you will be able to draw a simple but reasonably realistic-looking pumpkin!
Step 1
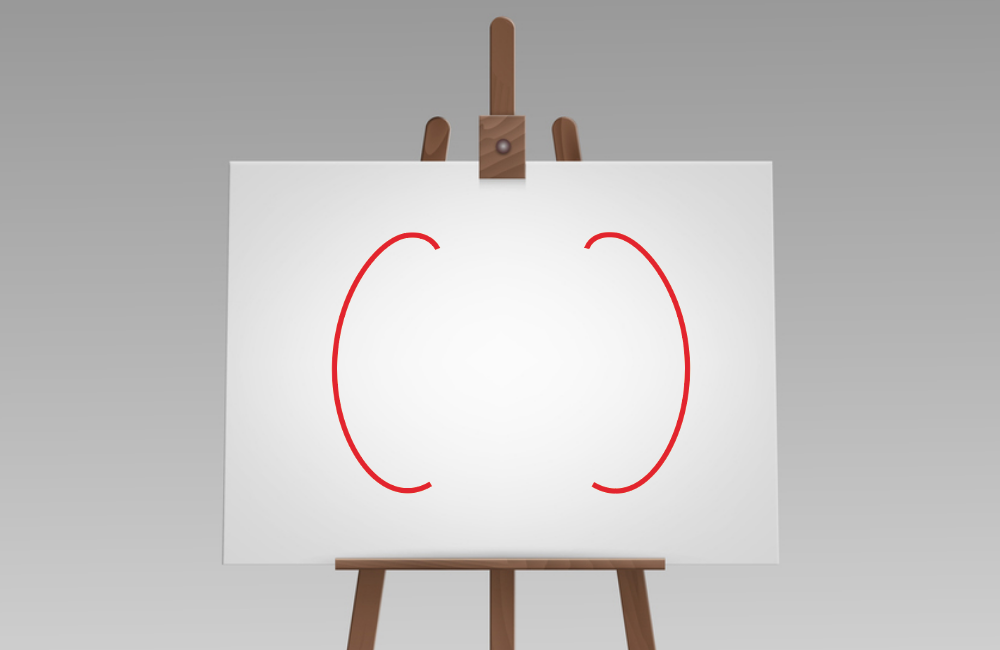
The first step of this tutorial involves drawing two curved shapes. You will start by drawing a letter C on the left and an inverted “C” in the right-hand corner, as shown below:
Zonda/Shutterstock.com
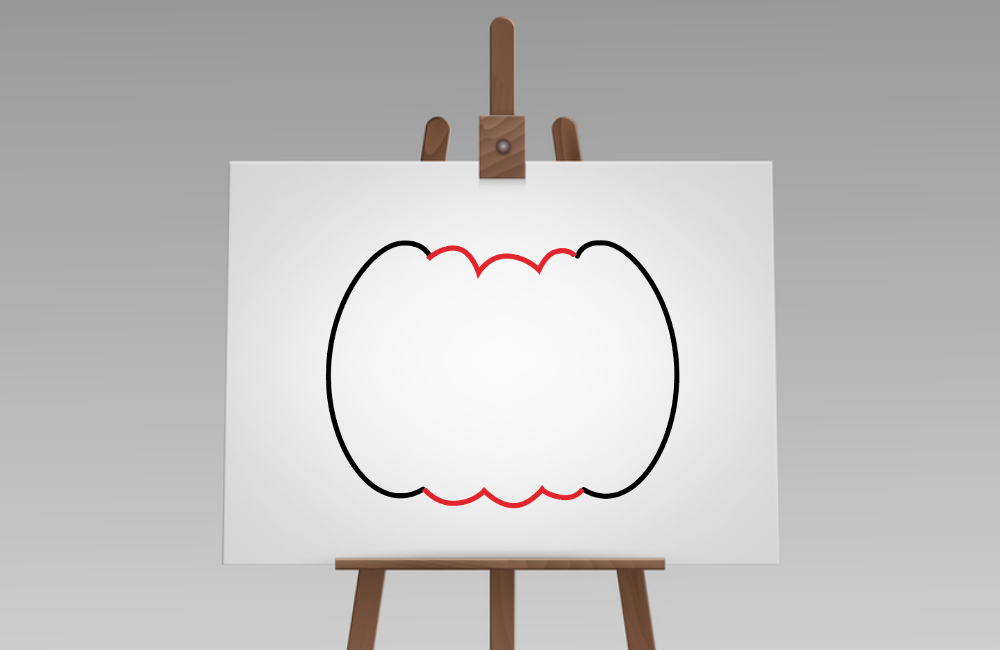
Step 2
Next, you need to connect the top and bottom of your arch by drawing three more arches. Make sure you use exactly six ends in total—two on either side for stability as well.
Zonda/Shutterstock.com
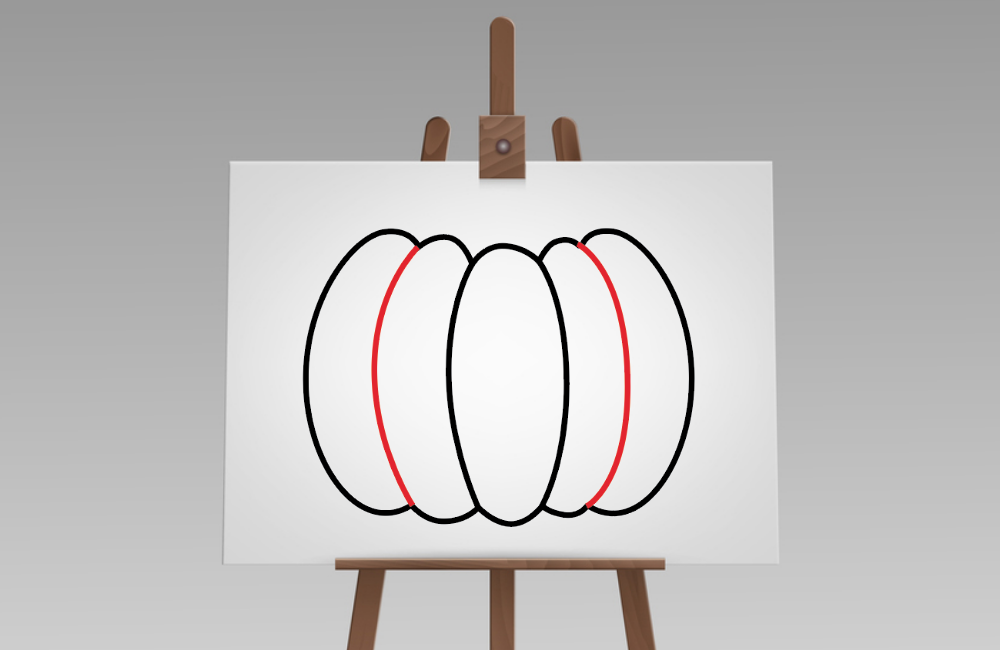
Step 3
Take a look at the pumpkin’s middle arch and draw two curved lines to create its first rib. This one can be wider than other parts of your design, so it might not always fit with what you’re doing!

Zonda/Shutterstock.com
Step 4
Your pumpkin is taking form! Now draw two more curves, and you’ll have a pumpkin!
Zonda/Shutterstock.com
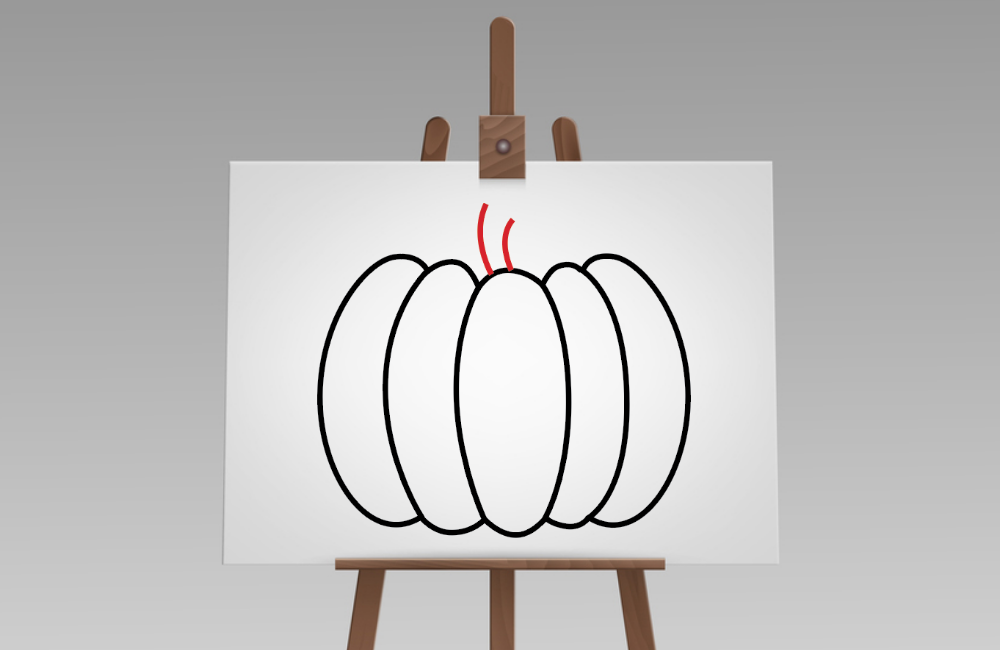
Step 5
From the middle of your pumpkin, draw two curved lines that extend to a point on top to create an elegant stem for the pumpkin.
Zonda/Shutterstock.com
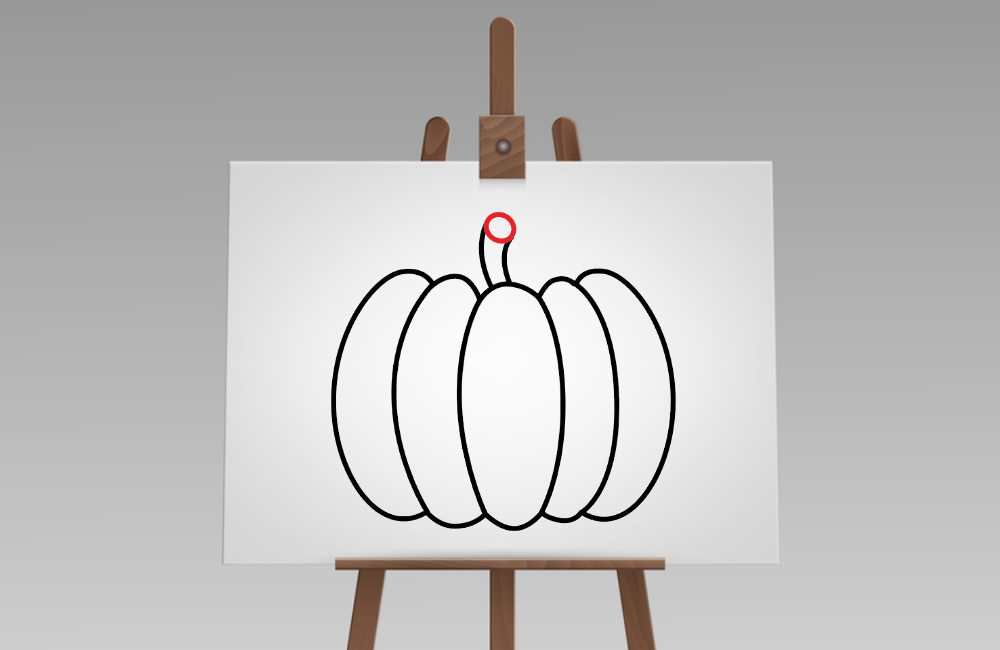
Step 6
Now, draw a small circle on top of the curved lines that are meant to be the pumpkin’s stem, to complete it.
Zonda/Shutterstock.com
Step 7
Next, add a line to the left of the stem that looks like two small arches, as shown below…
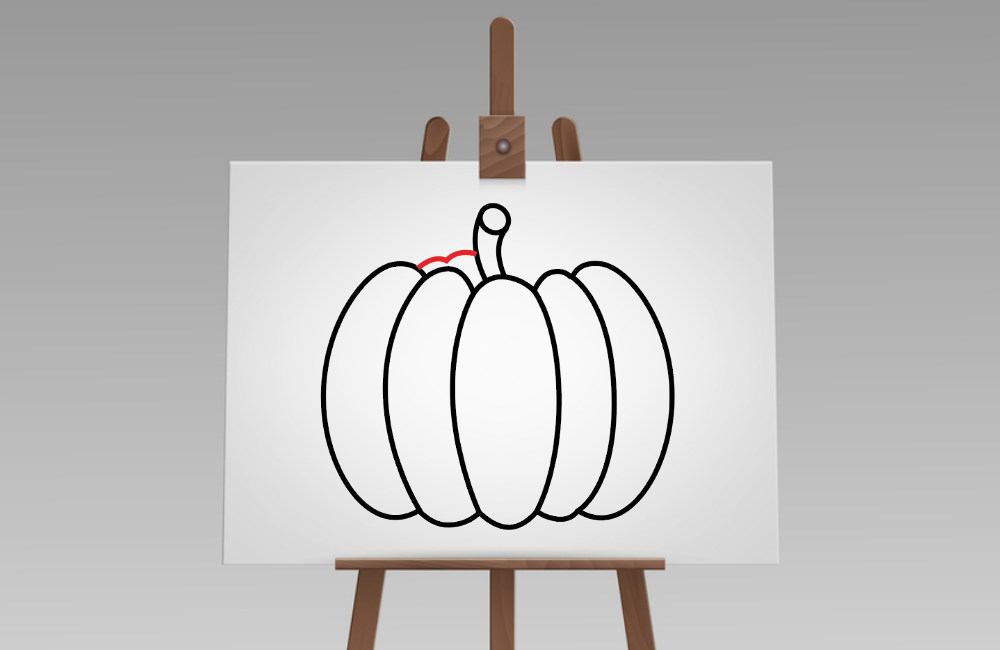
Zonda/Shutterstock.com
Step 8
Now draw another line on the right, that looks exactly like the one you drew in Step 7 above.
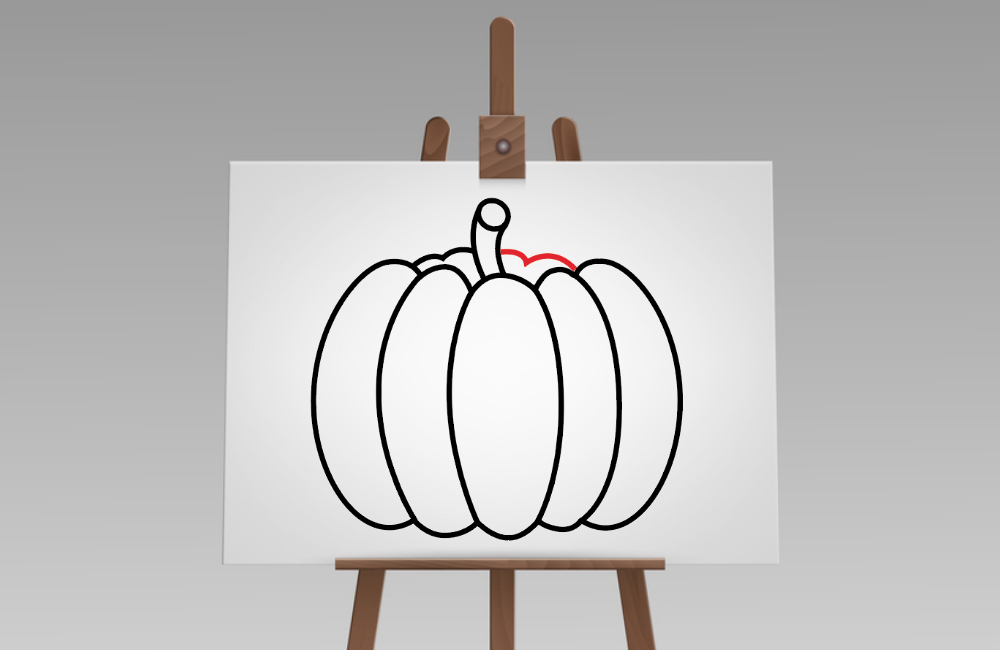
Zonda/Shutterstock.com
Step 9
You’ve basically completed drawing your pumpkin. Now as a cool finishing touch you’ll draw a small vine starting from the stem.
And that’s it. You’ve learned to draw a realistic pumpkin!
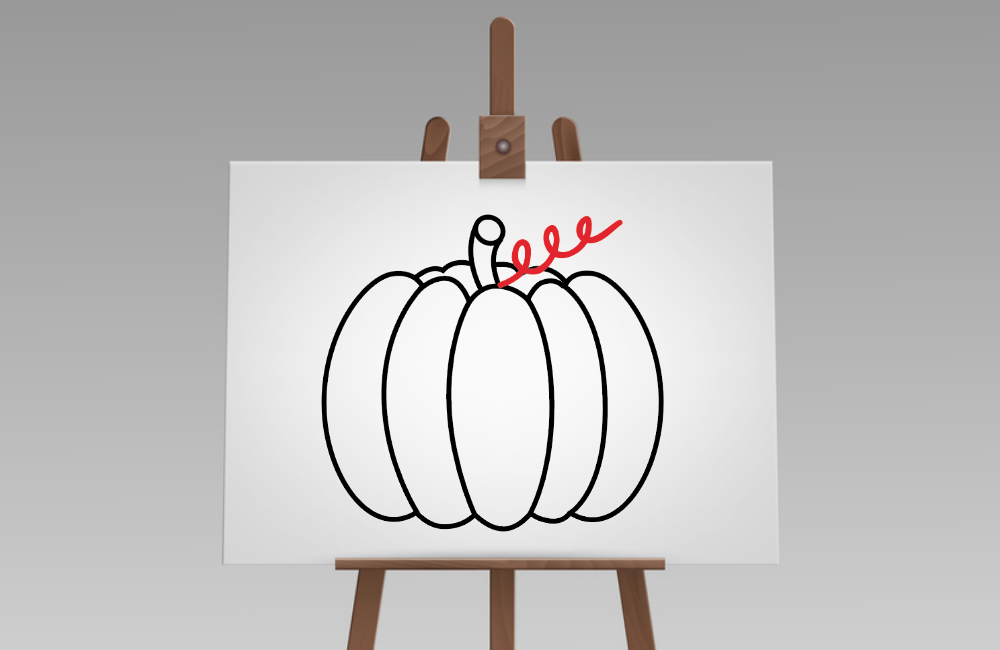
Zonda/Shutterstock.com
Step 10
In the end, you’ll fill in the colors in your drawing. We recommend that you experiment with shades of orange and yellow.
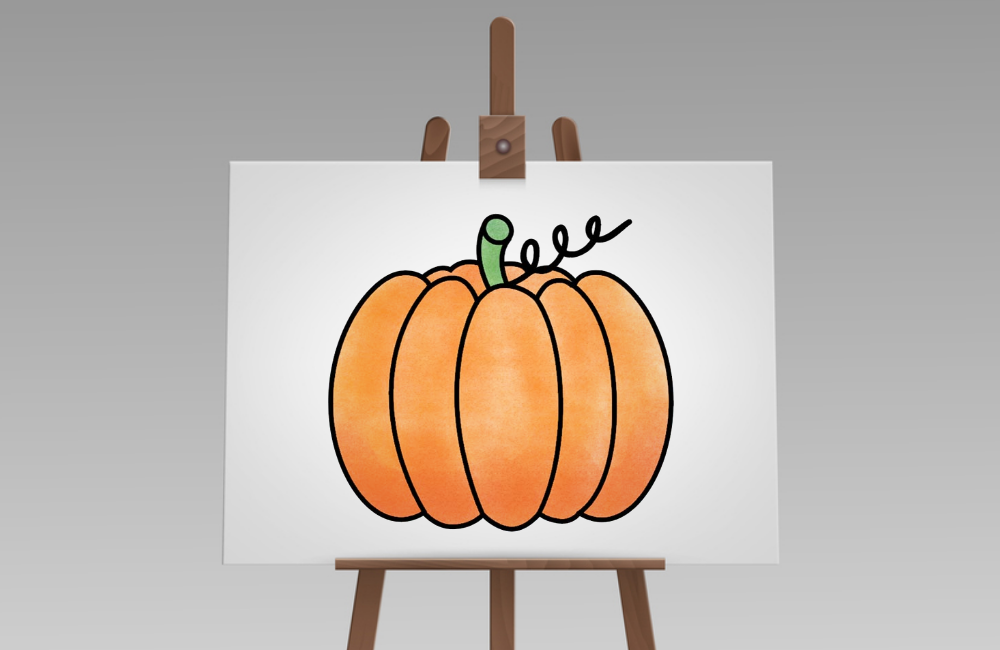
Zonda/Shutterstock.com
Making it Unique: How to Draw a Pumpkin Face
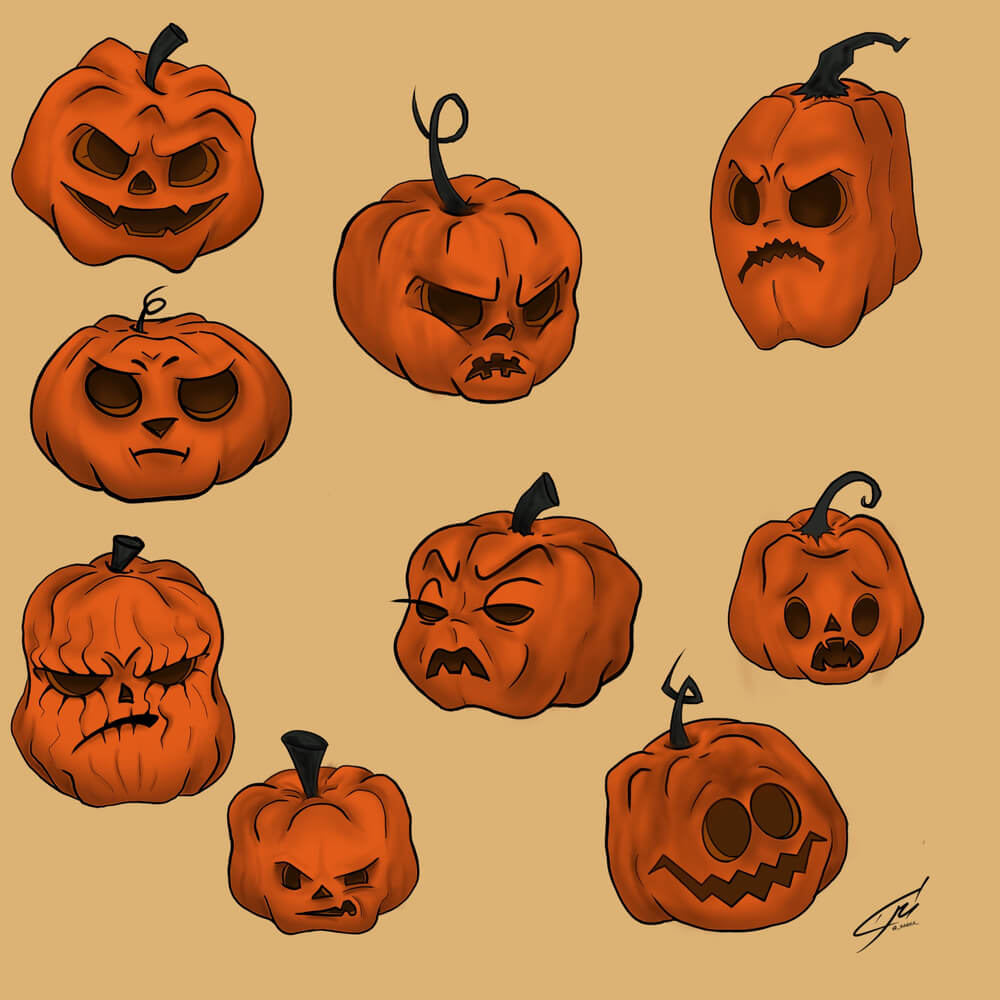
Sa6ka/Shutterstock.com
Now, that you know how to draw a simple but realistic pumpkin, it is time to step up your drawing game and draw pumpkins with different faces on them. Before you know it, you’ll be drawing Halloween pumpkins and cartoonish pumpkins for your school art projects with great ease. Let’s carry on!
How to Draw a Cute Pumpkin: Step-By-Step
Let us learn to draw a pumpkin with a cute face. Just follow the tutorial steps below.
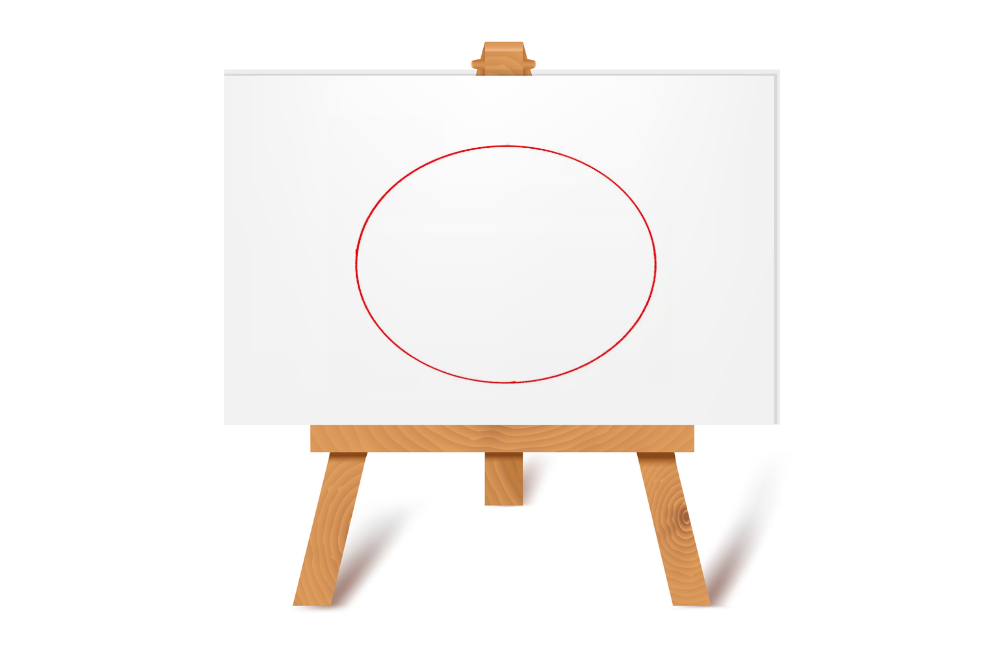
Step 1
Initially, you’ll draw the outer outline for your pumpkin.
Create an even circle and decide on the drawing size of your pumpkin.
barbaliss/Shutterstock.com
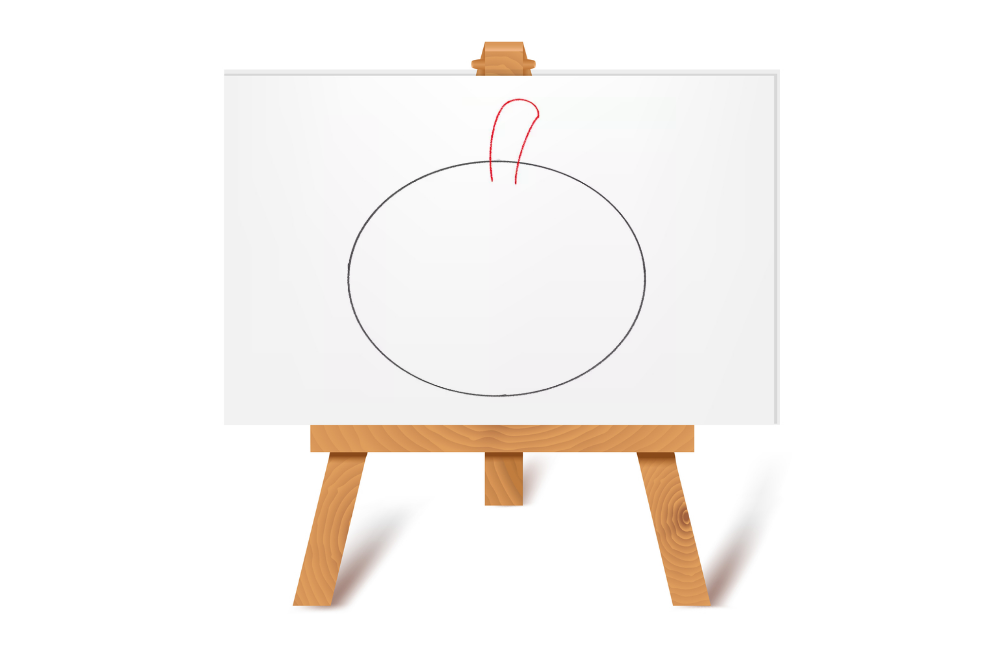
Step 2
Next, we’ll add some details inside the circle you drew in Step 1.
You need to draw to depict the stem of the pumpkin, as shown below:
barbaliss/Shutterstock.com
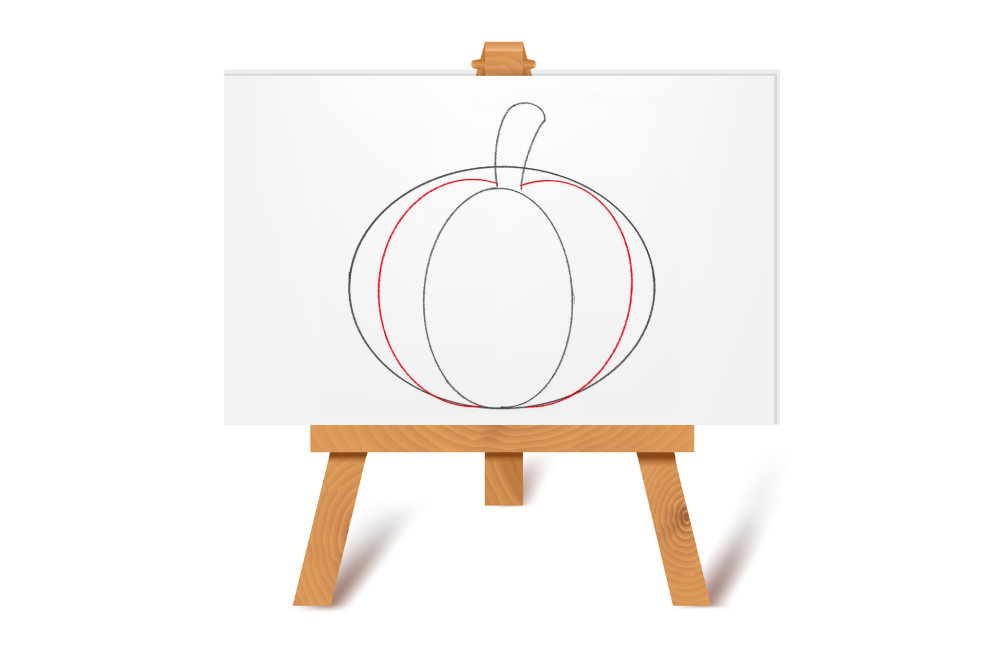
Step 3
Now we’ll draw the inner relief of the pumpkin.
Draw another oval in the middle of the pumpkin that is evenly shaped.

barbaliss/Shutterstock.com
Step 4
Sketch out two similar reliefs from the even oval in the middle to the sides of the initial circle.
You will now have a rounded and smooth line on each side.
barbaliss/Shutterstock.com
Step 5
Now again we add more details to our pumpkin.
Draw some more smooth rounded lines that’ll touch the edges of the outer outline of the pumpkin.
barbaliss/Shutterstock.com
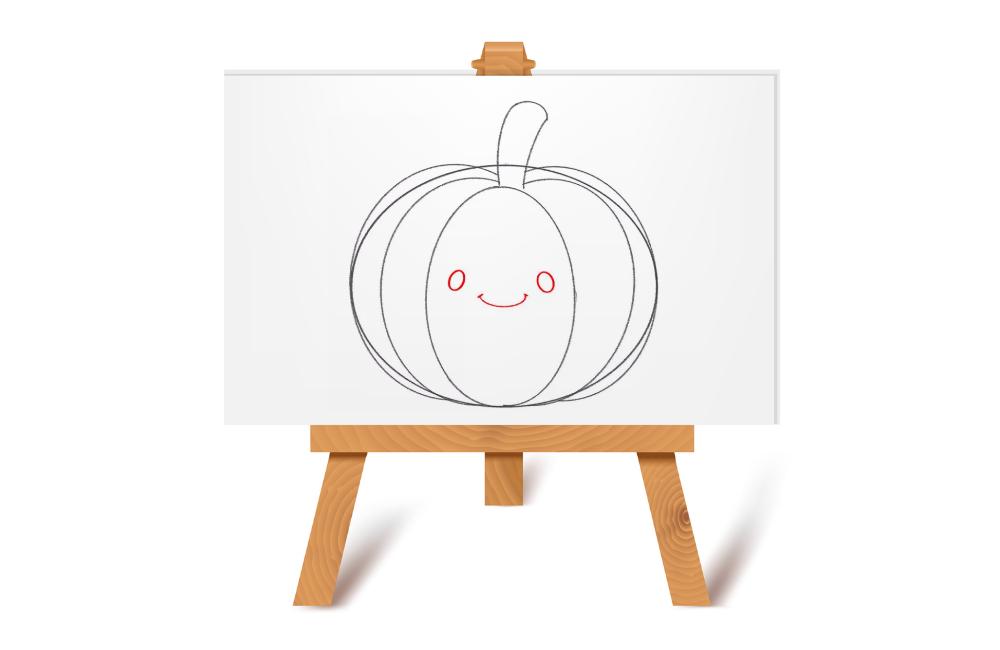
Step 6
Now that we have drawn the basic shape of our pumpkin. We’ll add our required facial features. Draw two eyes and a smiling mouth.
barbaliss/Shutterstock.com
Step 7
In this step, we’ll get back to detailing the pumpkin. Add details to the stalk of the pumpkin.
Draw two arched lines on the top edge of the pumpkin and draw two more straight lines inside the stalk.

barbaliss/Shutterstock.com
Step 8
Now we’ll correct any inaccuracies left in our drawing.
Using your eraser from your art supplies, carefully rub off all extra lines. Your cute drawing of a pumpkin is now complete.

barbaliss/Shutterstock.com
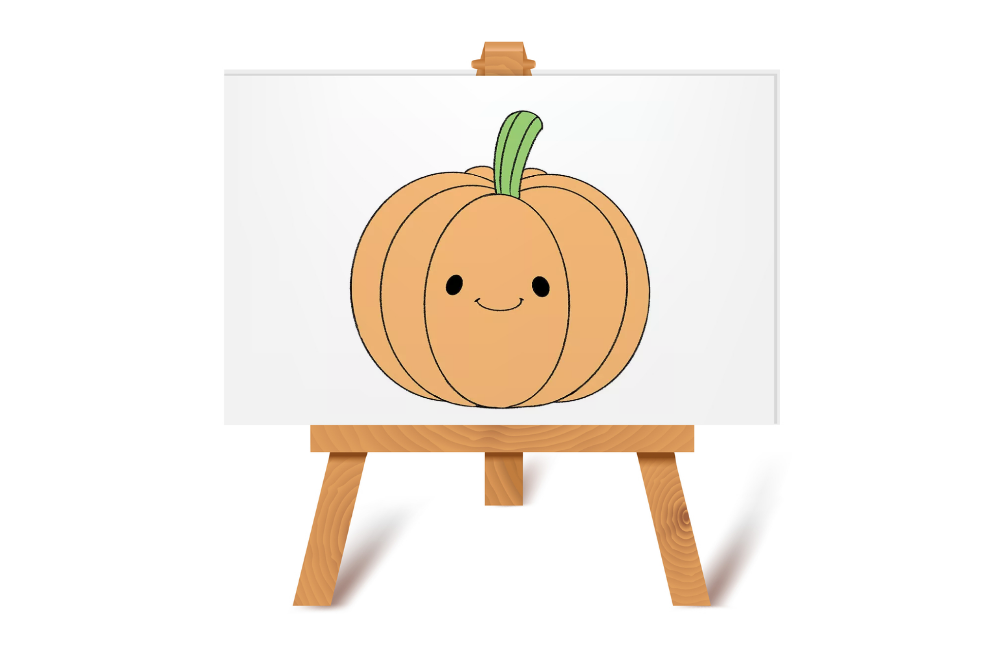
Step 9
Here comes the fun part. Fill in the cute pumpkin with colors of your choice.
It’s best to use orange for the body and green for the stalk of the cute pumpkin, as shown below:
barbaliss/Shutterstock.com
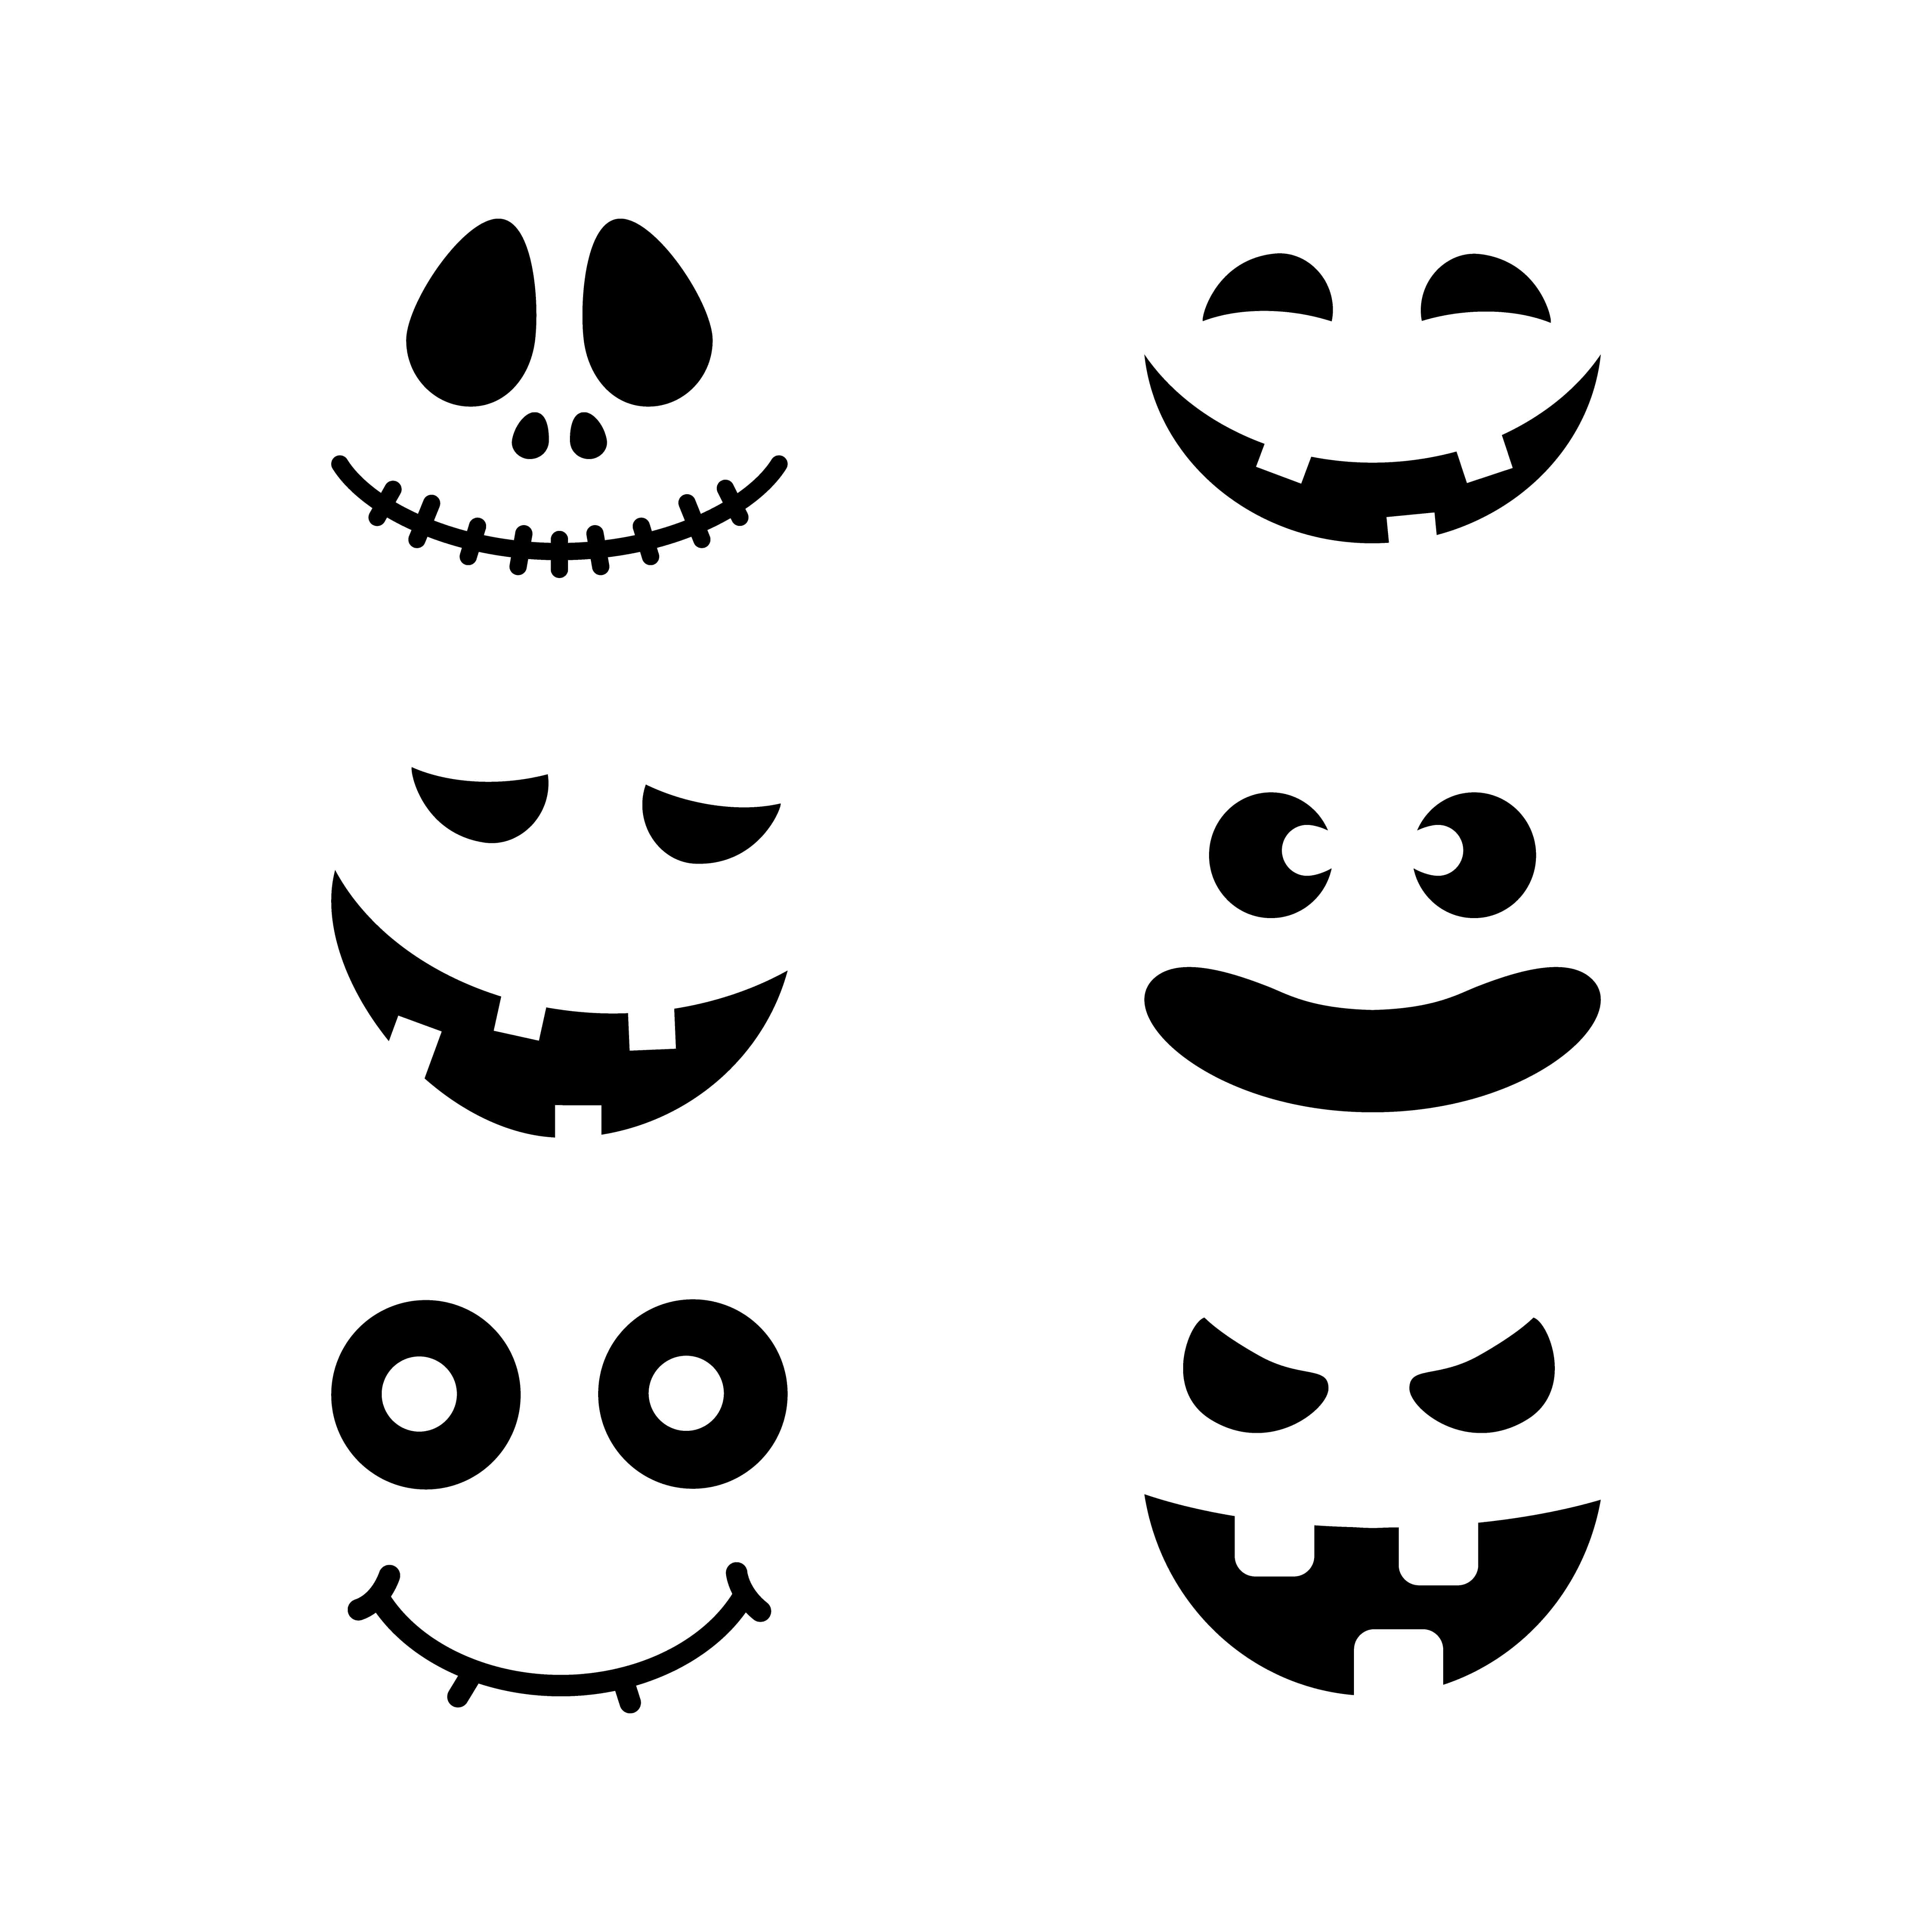
You can also find and download various design references and stencils for cute faces on the Web that you may use as inspiration for drawing a pumpkin face.
Aygun Ali/Shutterstock.com
How to Draw a Scary Pumpkin: Step-By-Step
Now, that you’ve learned how to draw a cute pumpkin, let us move to the opposite side of the spectrum and draw a scary pumpkin. This will get you on track to creating a variety of spooky pumpkins most suited for Halloween. Let’s get drawing!
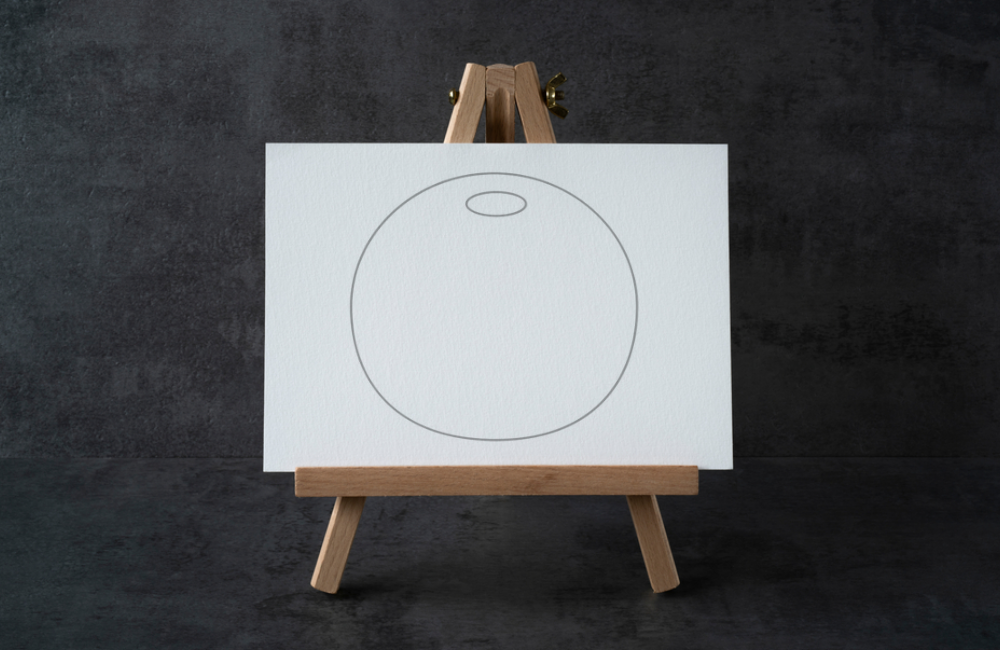
Step 1
To begin, draw a large circle to use as the basic shape of your scary pumpkin. Next, draw another oval shape on the side of the first circle near the top. The root of the pumpkin will be drawn here.
P MICHAEL/Shutterstock.com
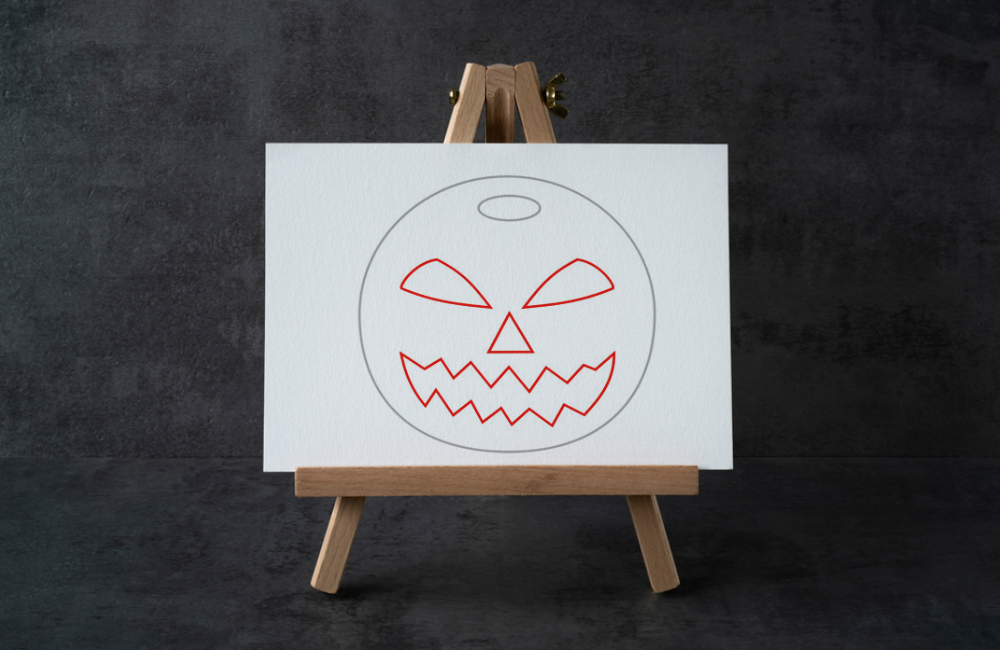
Step 2
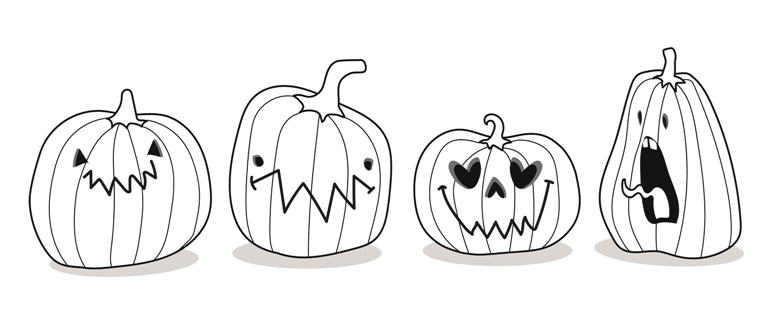
You will now draw the eyes, a nose, and a mouth in the circle shape of the pumpkin. In the reference image below, you can see the traditional style for a scary face. You can go with these or draw shapes according to your own preferences.
P MICHAEL/Shutterstock.com
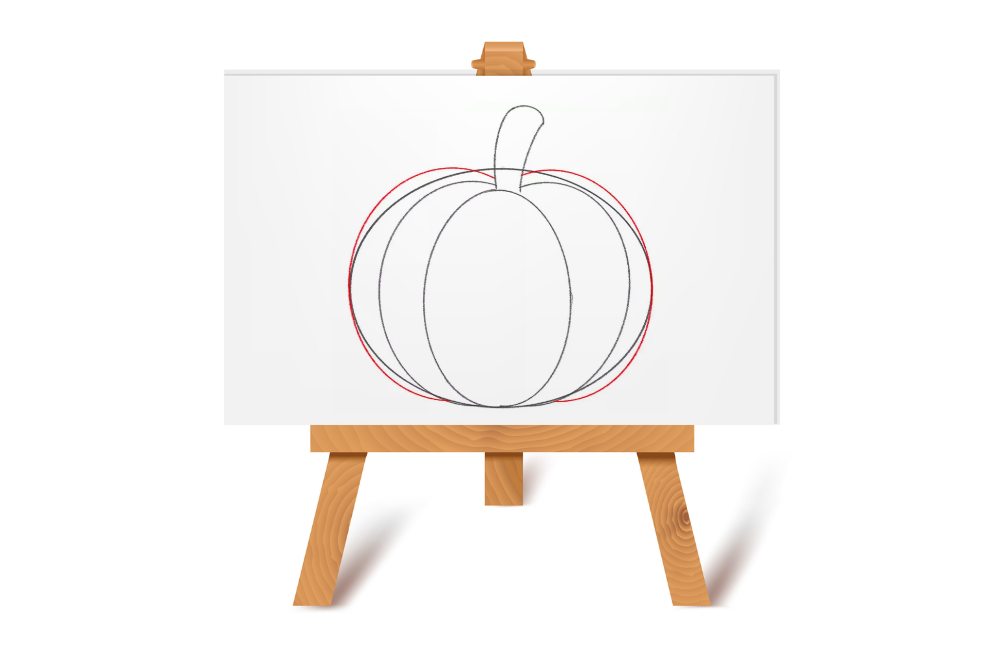
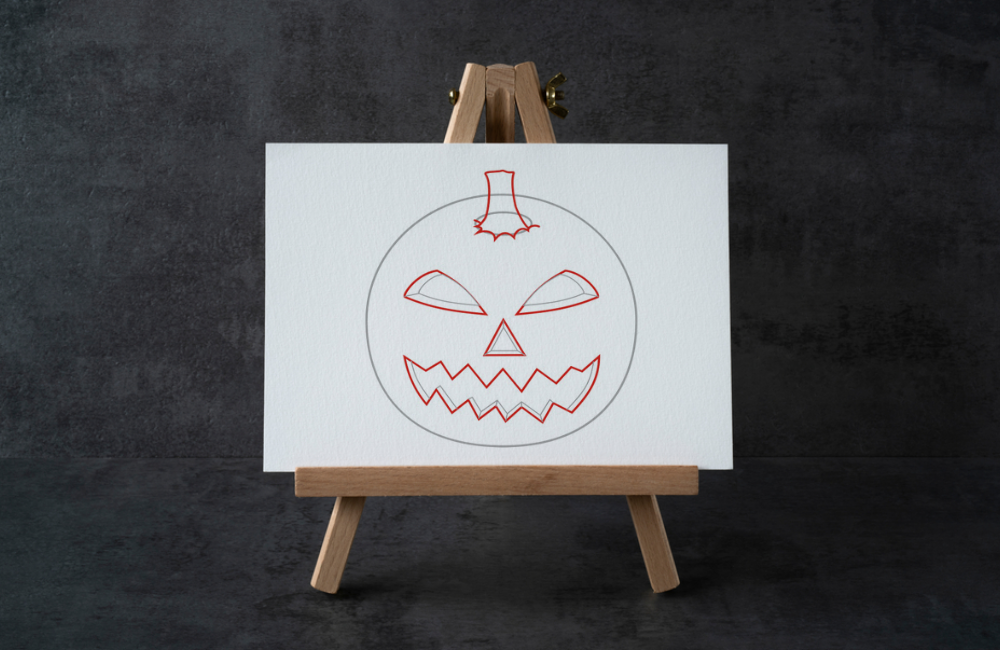
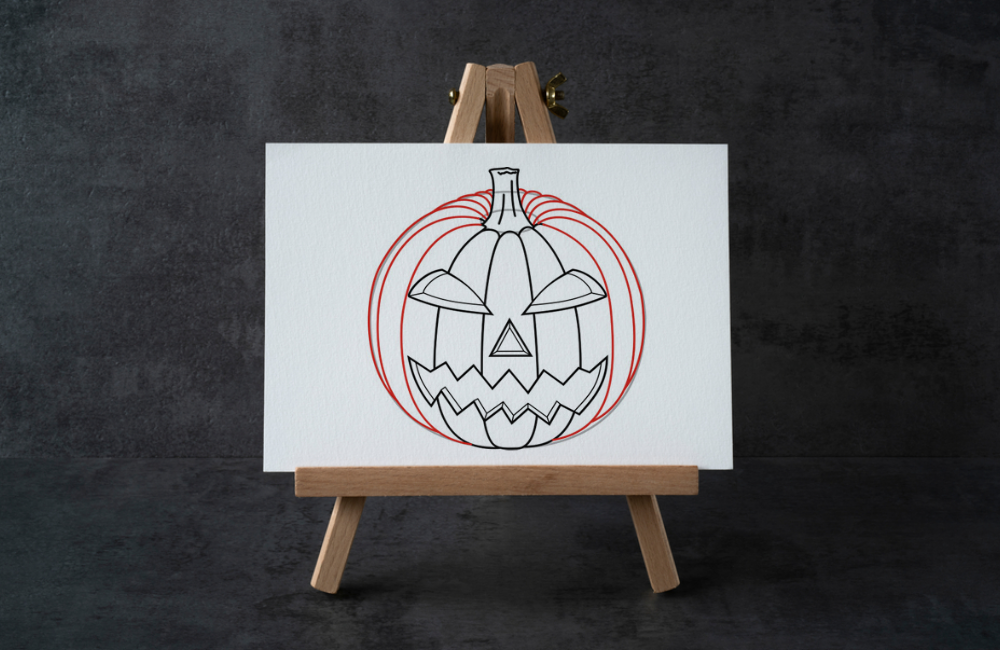
Step 3
Now we’ll add details around the facial features of the pumpkin as highlighted with the red lines shown below in the image.
These details will add depth to the holes for the eyes, nose, and mouth. In this step, we’ll also add a shape that looks like a broken root. This is drawn on top of the pumpkin and starts from the oval shape.
P MICHAEL/Shutterstock.com
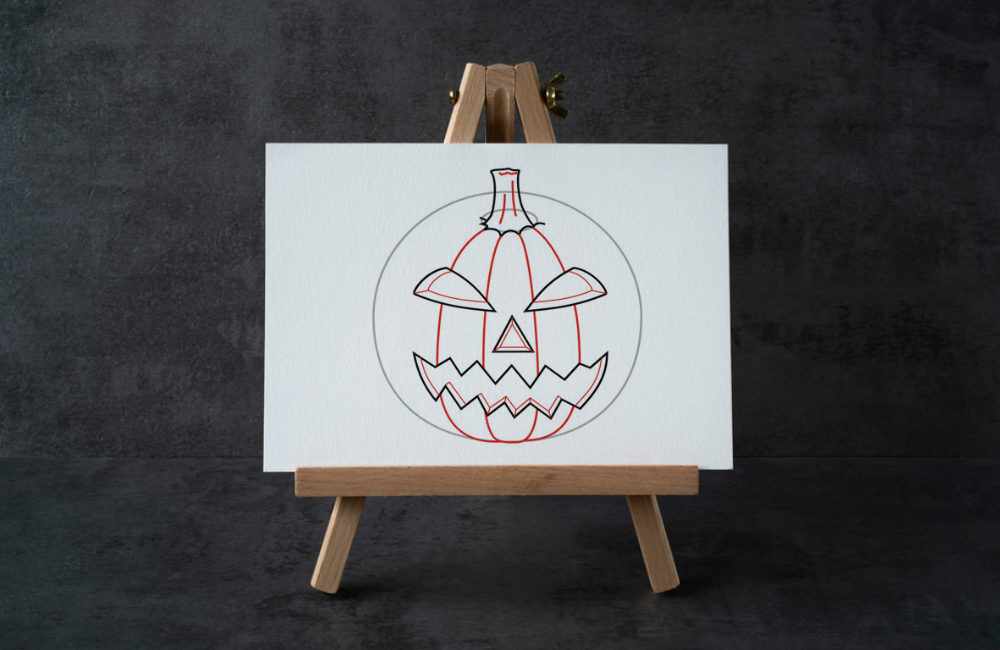
Step 4
Now we’ll add ribbed sections to the pumpkin. Draw four lines down the face starting at the top and down to the bottom point of the pumpkin. For reference see the image above. Don’t forget to leave spaces between each line you draw. Now add a couple of lines on the pumpkin root at the top.
P MICHAEL/Shutterstock.com
Step 5
Now we add some more lines to depict the skin of the pumpkin. Draw these lines from the top down to the bottom. All around the rest of the body of the pumpkin. See image below.
P MICHAEL/Shutterstock.com
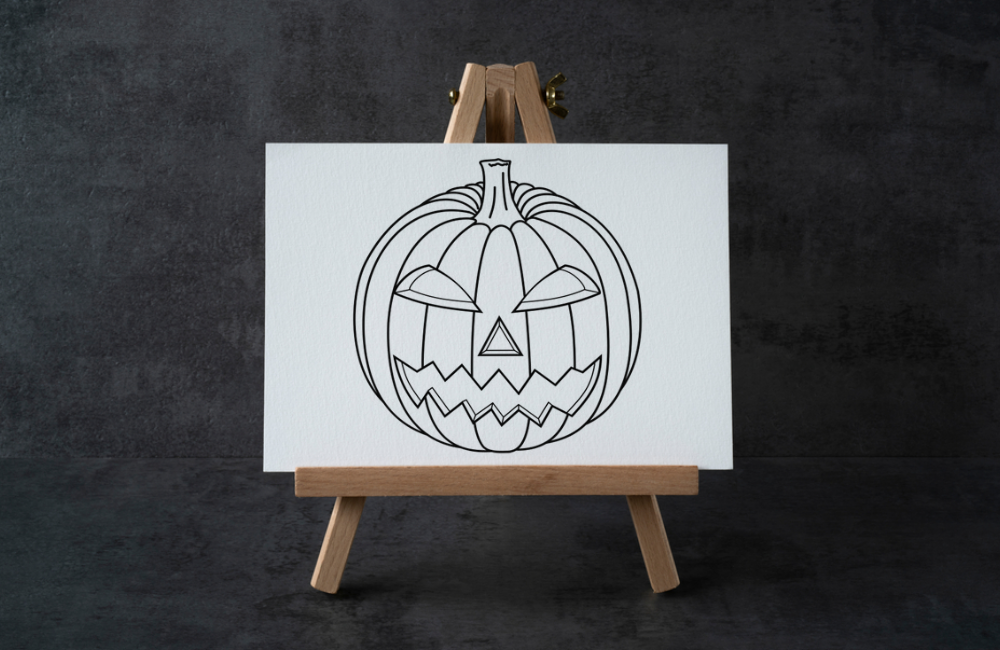
Step 6
The body of your scary pumpkin is now ready. All the lines are clearly showing the details of the body and face of the pumpkin. You must admit that you’ve done a great job!
P MICHAEL/Shutterstock.com
Step 7
Finally, we’ll color the eyes, nose, and the inside of the mouth area with black. This adds the effect of real holes to the face of the pumpkin.
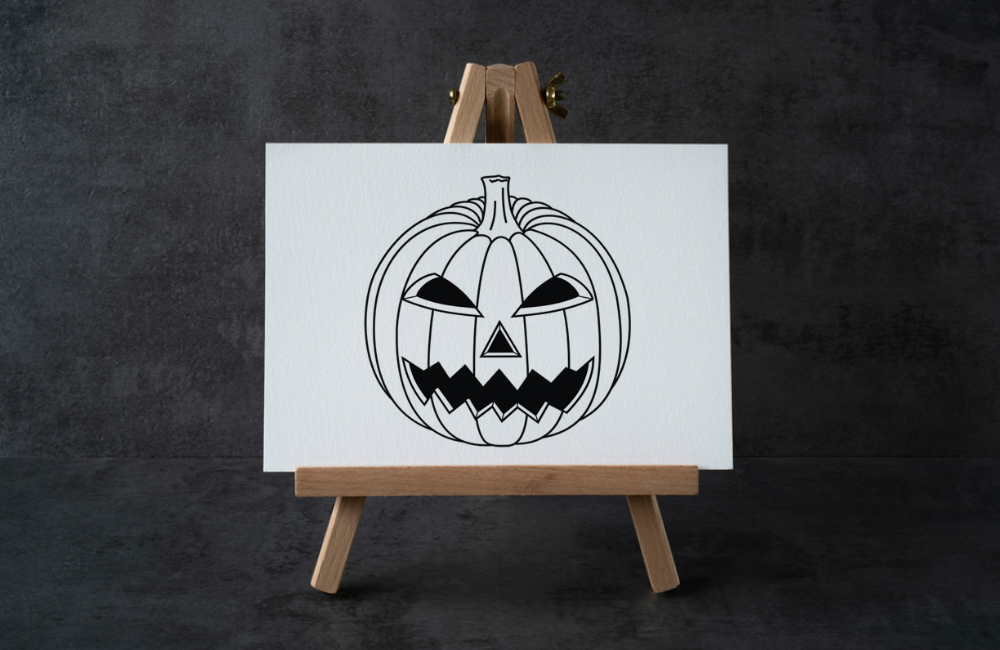
P MICHAEL/Shutterstock.com
And voila! You have completely drawn a heart-stopping pumpkin for Halloween.
Drawing On Pumpkin Ideas
evrymmnt/Shutterstock.com
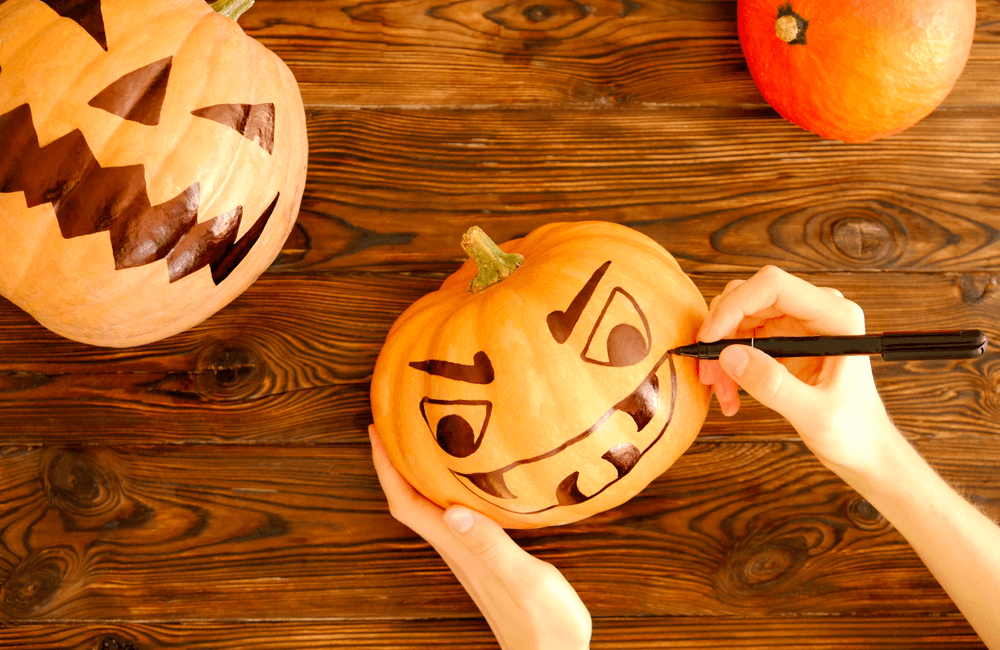
Once you’ve learned how to draw different types of pumpkins on paper, you may want to move on to working with real pumpkins and find more fun and creative ways to prepare for Halloween. Have a look at the following ideas to transform your pumpkins from gourds to pieces of art!
Vampire Face Pumpkin
Evgeny Atamanenko/Shutterstock.com
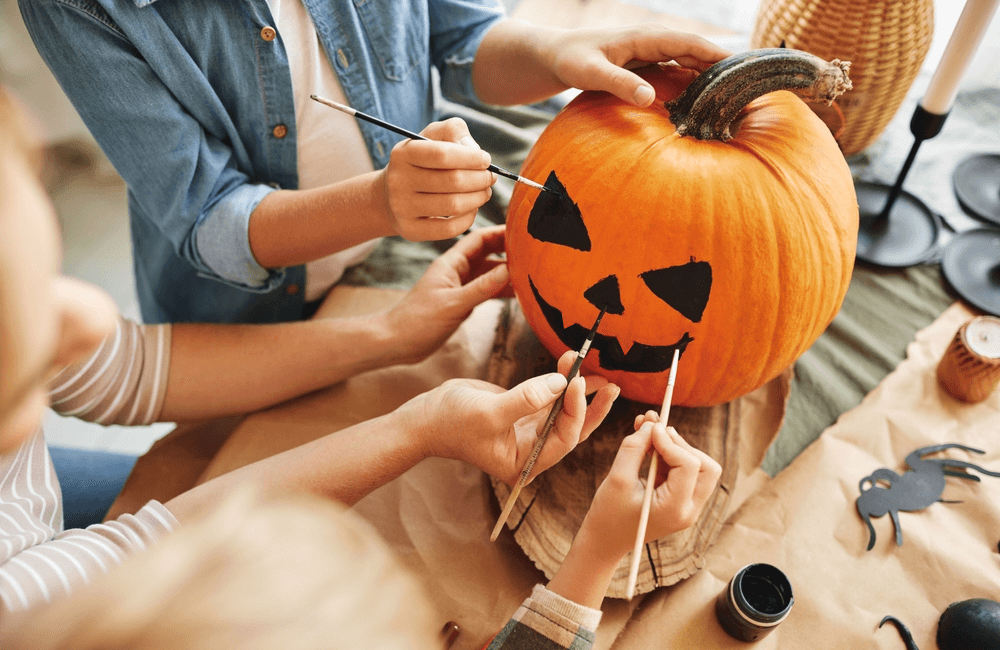
Painting pumpkins is a fun and easy way to get into the Halloween spirit! Now, this is quite different from drawing a pumpkin on paper but not entirely difficult. In fact, painting a vampire face on your pumpkin is fun and easy. With just a few simple supplies, you can prepare a spooky pumpkin fit for Halloween.
- Begin by painting the entire pumpkin white. This will be the basecoat for the vampire’s face. Let the paint dry completely before moving on to the next step.
- Once the white paint is dry, use black paint to draw two small triangles on the pumpkin for eyes and draw a small nose, and a wide mouth.
- Next, fill the mouth with black paint, making sure to leave space at the mouth’s top for the vampire’s fangs.

- Now, paint two vertical lines of white paint coming down from the top of the mouth and fill in between these lines with small triangles of white paint. You have now painted a vampire mouth with sharp and scary teeth!
- Finally, use red paint to dot some “blood” around the mouth.
Once you’ve finished painting your Vampire pumpkin face, let it dry completely before displaying it proudly for all to see!
Chalkboard Paint Pumpkin

TierneyMJ/Shutterstock.com
Now if you’re looking for another fun DIY pumpkin designing idea, why not try making a chalkboard pumpkin? All you need is a pumpkin and some quality chalkboard spray paint.
- Simply spray on multiple coats, letting each one dry before adding the next.
- Once your pumpkin is fully painted, use chalk to write spooky messages or draw Halloween designs on it. You can also doodle on the pumpkin’s surface using colored hot glue streaks.
This creative pumpkin decoration can be reused every year and easily customized for any holiday or occasion. Give it a try and impress your friends with your creative pumpkin decorating skills! Did we mention that it is the perfect Halloween decoration idea for people who love black?
Poured Paint Pumpkin
Olga Chapova/Shutterstock.com
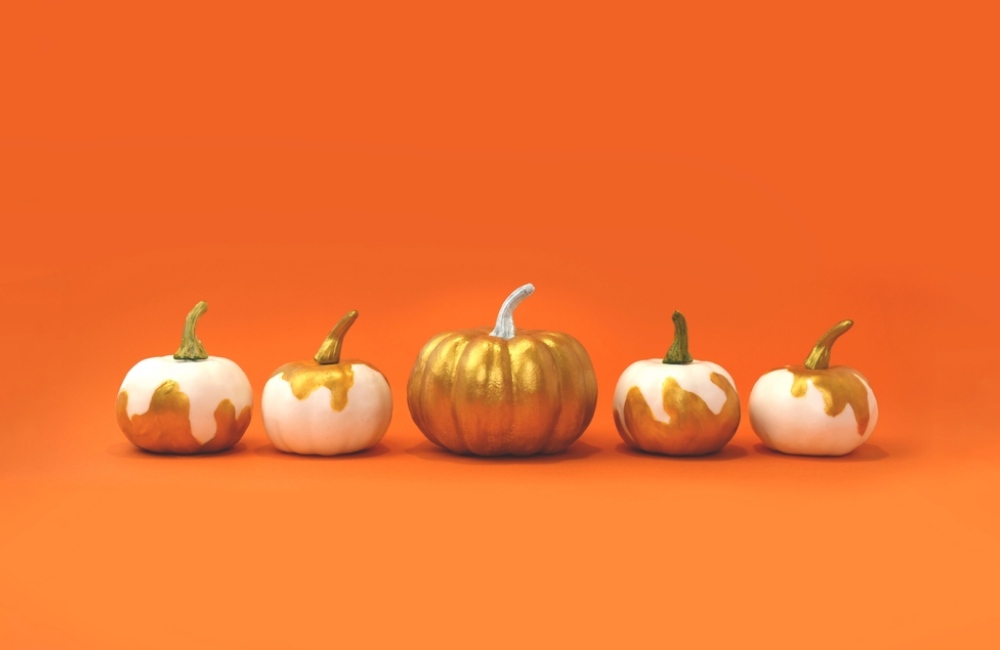
If you’re looking for a unique pumpkin decoration for Halloween, try making a poured paint pumpkin. It’s easy to create with just a pumpkin, acrylic paint, and some cardboard or plastic drop cloths to protect your work surface.
- Begin by pouring different colors of paint onto the pumpkin and tilting it in various directions to achieve a drip effect.
- Use a toothpick or wooden skewer to move the paint around and create interesting designs.
- Once you’re satisfied with the design, let the pumpkin dry completely before displaying it on your front porch or inside your home as festive decor.
With this DIY pumpkin, you’ll definitely stand out from the traditional carved jack-o-lanterns on Halloween night.
Splatter Paint Pumpkin

LightField Studios/Shutterstock.com
Another unique but very easy pumpkin design is the splatter paint pumpkin! All you need is a pumpkin, some tubes of paint in various colors, and a paintbrush.
- Spray paint the entire pumpkin with white color to create a base. Once the entire pumpkin is completely dried, move to the next step.
- Begin by coating the end of the paintbrush with the first color of paint. Make sure to use enough quantity of paint so that it will easily splatter.
- Next, hold the brush over the pumpkin and flick the tip with your index finger to create a splatter effect.
- Repeat with different colors, layering on more paint until you’re satisfied with the design. You can also experiment with using objects like toothbrushes or sponges to create different patterns and textures.
This DIY pumpkin design is sure to stand out among traditional carved Halloween pumpkins!
Read also How to carve a pumpkin for Halloween: simple and effective ideas.
We’re quite hopeful that our easy step-by-step tutorials will help kids and their parents learn how to draw impressive pumpkins and have fun while doing so. Moreover, there are many creative pumpkin decoration and drawings ideas! The options for decorating your Halloween pumpkins are endless. Whether you want to go classic with a vampire’s face or try something new by utilizing acrylic paints or spray paints, we hope these tutorials have inspired you.
Ensure that kids use colored markers and paints only under the supervision and guidance of adults.
Do share your own pumpkin designs with us on social media (#findmypumpkin) — we can’t wait to see them! Happy Halloween!
The picture on the front page: Natalia Duryagina/Shutterstock.com
Проверьте электронный ящик