How to Make a Pop It: DIY Ideas for Kids
Contents:
- What is a Pop It?
- Paper Pop It
- Pop It with Foam
- Pop It From Plastic Chewing Gum or Medicine Packaging
- Kinetic Sand Pop It
- Pop It Inspiration
- Pop It Decorations
- Accessories From Pop It
- FAQs
What is a Pop It?
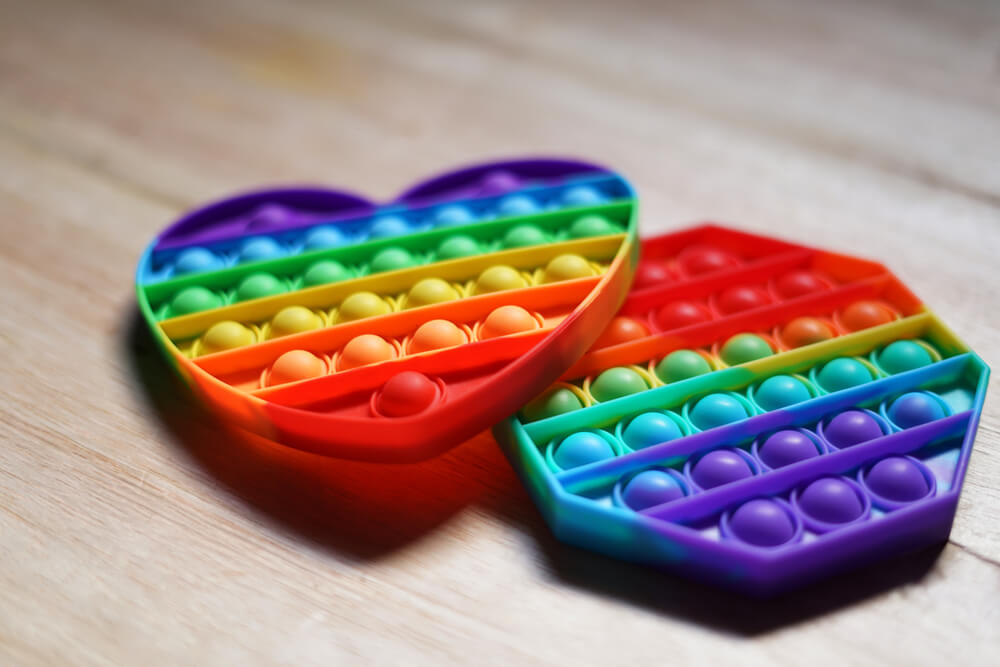
Herwin Bahar/Shutterstock.com
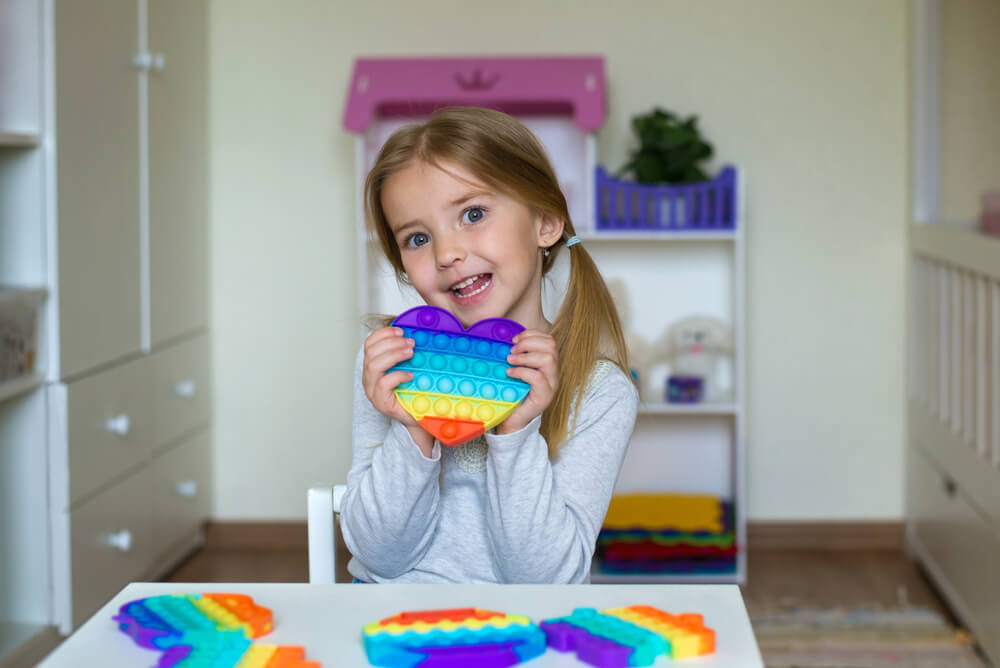
Pop Its are silicone fidget toys, that have bubbles that can be flipped from side to side. They come in a variety of different sizes, colors, and shapes.
Fidgeting is a great and natural way to regulate one’s emotions and this is also why it is so popular among kids and teachers alike. Pop It fidgets are amazing for classrooms too, as they do not make a noise like many other fidgets.
Simple Dimples and Pop Its are similar, but they do have some differences. Pop Its are made from silicone and the entire thing is flexible. All the bubbles are the same size.
Simple Dimples are made of plastic, and the frame around the bubbles is hard. The bubbles are also often different sizes and unlike the Pop It which has a lot of bubbles (around 30) the Dimple often only has 2-5.
Now that you know what a Pop It is, let’s get stuck into how to make a homemade Pop It fidget toy by yourself.
Paper Pop It
KatMoy/Shutterstock.com
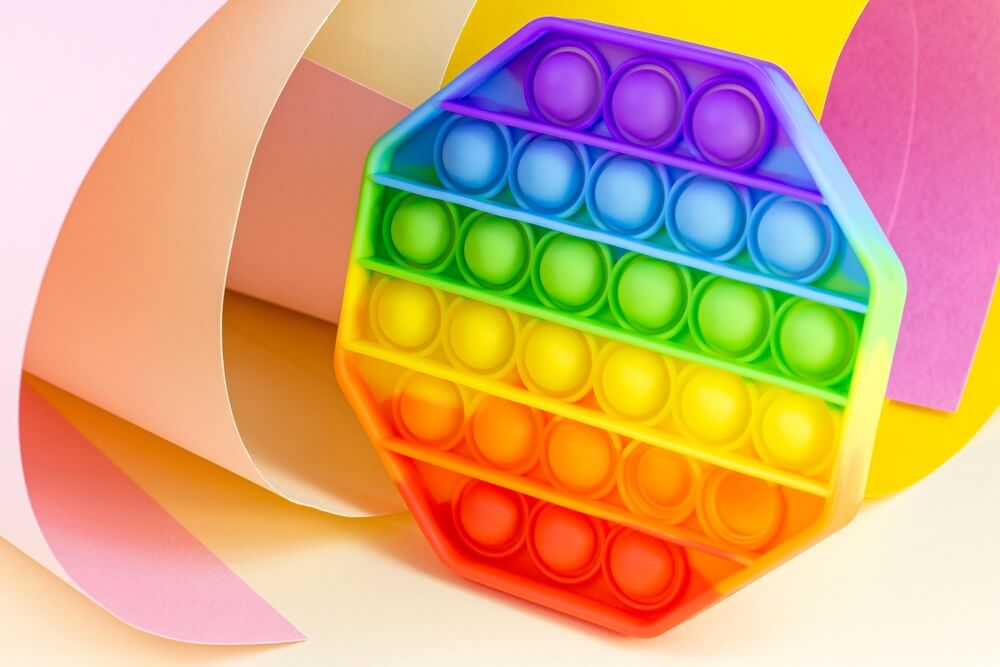
The best thing about this Pop It is that it only uses paper, so you don’t need a whole bunch of supplies. You can choose any colors you like to make your Pop It. If you love origami, you’ll love making this craft, believe us!
What you need:
- colorful paper;
- glue;
- scissors.
Instructions:
- Cut your paper into squares of 10×10 cm.
- Follow the video to see how to fold the paper into a bubble, which will form part of your fidget. This looks a lot more complicated than it actually is.
- Now, glue the different bubbles together to form the Pop It. You can use your own creativity and decide which colors to put where.
Pop It with Foam
This Pop It made of foam has a lovely texture and feel to it. This Pop It also doesn’t need a lot of supplies and is much faster to make than the paper Pop It.
What you need:
- marble or a small bouncy ball;
- washy tape (the inside should be just a little bigger than your ball so that the ball fits inside);
- foam craft sheets;
- cardboard;
- glue;
- hair straightener;
- scissors.
Instructions:
- Cut the foam sheets into the correct size to fit over your ball with some space around it.
- Use the straightener to warm up the foam so that you can mold it.
- The ball and washy tape form the mold you need to shape the foam into the bubbles for your Pop It. Place the foam sheet over your ball and push down over it with your washy tape as a frame. This will shape the bubble.
- Cut around the bubble leaving a small frame for the glue.
- Repeat the above steps until you have the required number of bubbles.
- Next, make the shape for your Pop It. Start by using the inside of the washy tape to trace circles onto your cardboard. Cut the circles out keeping the area around them intact.
- Then, cut the shape that you would like your Pop It to be, out of the cardboard around the circles. This will become your inner frame.
- Use your cardboard frame like a stencil and trace this shape onto two foam sheets and cut it out.
- Now it’s time to assemble your Pop It fidgets. Put some glue on the frame of the foam bubbles and stick your bubbles into place on the cardboard frame that you have made. Follow this up by sticking the foam frames onto your Pop It.
- The only thing left to do is decorate and play with your Pop It!
Video:
Tip: If you love glitter, you can replace the foam sheets with glitter foam. This makes a beautiful shiny Pop It.
Pop It From Plastic Chewing Gum or Medicine Packaging
The great thing about this Pop It is that the packaging used for the Pop It gives a nice crinkly pop sound.
What you need:
- chewing gum (dentine ice) or medicine packaging;
- cardboard (a cereal box works well);
- template of the shape you are making;
- glue;
- paint/acrylic markers.
Instructions:
- Start by painting your packaging with your color of choice.
- While that dries, use your template to trace your shape onto the cardboard box and cut it out. Repeat this step as you need two shapes.
- Paint and decorate both parts of your frame which form the front and back of your Pop It.
- Glue the packaging into place on your cardboard frame, followed by sticking the two frames together. Now you are ready to go.
Video:
Kinetic Sand Pop It
This Pop It is a nice variation to the standard ones we’ve looked at so far. This is not one to carry around with you but is a lovely sensory activity. This is perfect for sensory-seeking kids as it has so many sensory experiences which include touch, and visual and auditory stimulation.
What you need:
- kinetic sand (you can use a variety of colors);
- square cookie cutter;
- half circle/half ball plastic mold;
- (optional) 2 different-sized circle cutters that will fit on your square. This is more for decorative purposes. 2 Plastic lids will work well.
Instructions:
You can let the kids help you make this one too, as making it will also be a lovely sensory experience:
- Start by unpacking the kinetic sand and making square shapes with your cookie cutter. Make sure that it is nice and compact so that it keeps its shape well.
- (Optional) Use your circles (lids) and lightly press on the kinetic square, this is to indent the pattern on top. Then gently take the square out of the cookie cutter.
- Fill your half-circle mold with kinetic sand. This will form the dot of the Pop It. Take the kinetic sand out of the mold. Be careful not to break the shape and place it on top of the kinetic sand square.
- Repeat these steps with different colors until you have enough to pack them next to each other and make a shape.
- Now it is playtime. Each Pop It dot can be squashed and played with, but unlike the other Pop Its, it can only be popped once.
Video:
Pop It Inspiration
If you enjoy crafts there are more ideas for you. Look at our list for some more fun Pop It master classes:
Pop It Dress Up Costume
Have some fun with this simple costume idea. It is easy and fun to make and will be a hit for any dress-up party.
Video:
Super Simple Pop It
This Pop It is great for tweens to make. It only uses paper and tape and can be made in a variety of colors and shapes. You can use either colored craft paper, white paper that you can color yourself, or even newspaper.
Video:
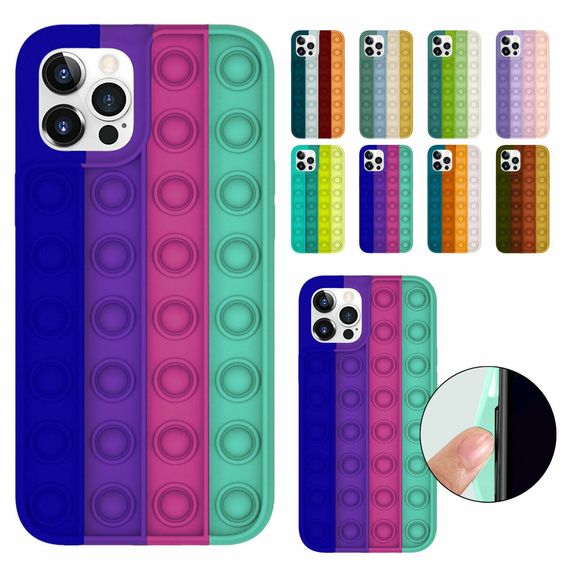
Phone Case
Take your Pop It everywhere with this cute DIY phone case. It also uses foam craft sheets instead of looking for one to fit your phone. You can make one that is the perfect size and color for you.
Video:
Choc Packaging Pop It
This is similar to the one using chewing gum packaging. This one comes out bigger and is great for little fingers to improve finger strength.
Video:
Lego Pop It
This easy Lego Pop It will be a hit for young and old alike, so why not give it a try?
Video:
Fidget Spinner
Now, this Pop It is one of my favorites as it combines two awesome fidgets in one little gadget. The fidget spinner and Pop It.
Video:
Pop It Decorations
Pop Its can easily make a fun theme for a party. You can make a gigantic Pop It for the wall decoration. Make your party packs look like a Pop It for friends to take home. Best of all, simply stick your favorite Pop It on a skewer or craft stick to use it as a cake topper.
Video:
If you are up for the challenge, you can make a cupcake Pop It prop. This will look amazing as a room or party decoration.
Video:
Accessories From Pop It
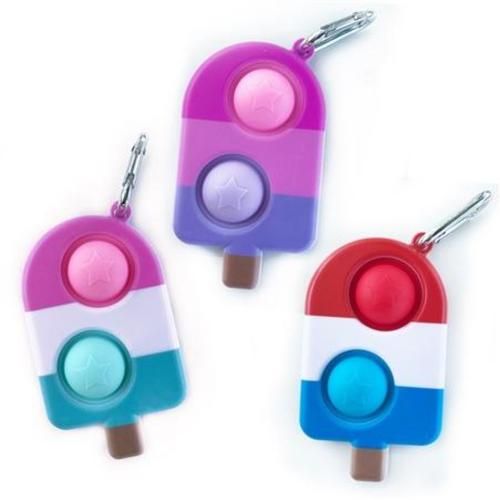
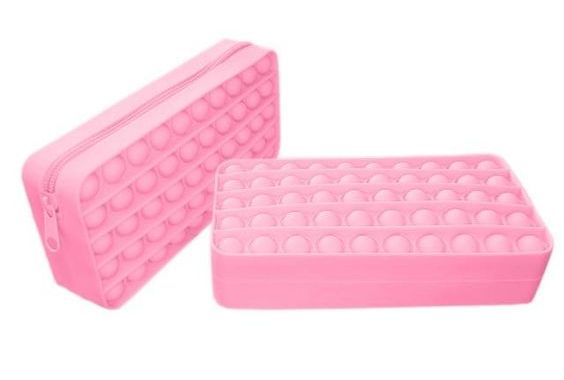
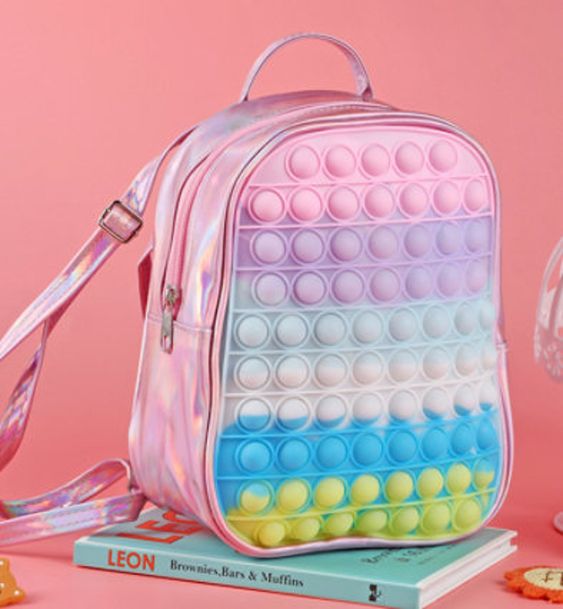
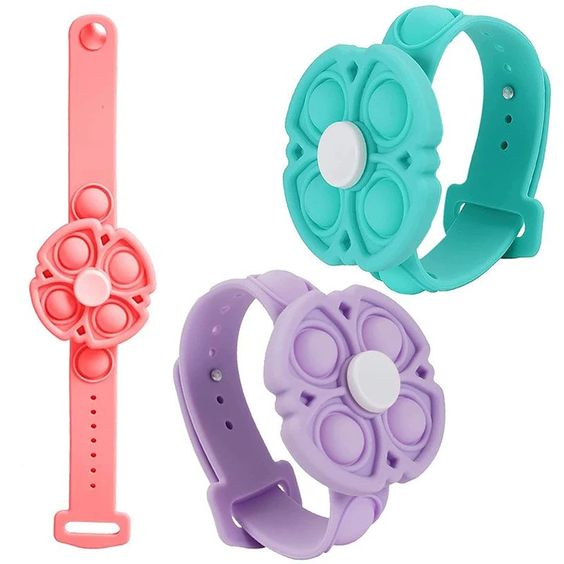
There are many accessories that one can purchase:
Key chains:
Pencil case:
Bags of various sizes:
Arm-bands:
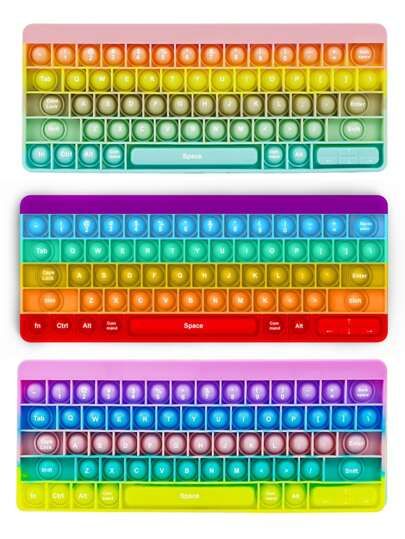
Keyboard:
And of course, cell phone covers:
Love them or hate them, the new fidgets that have taken over TikTok are all around. They are mostly inexpensive to purchase, but are super fun to make, so why not try your hand at one of our craft ideas listed?
FAQs
What Is a Pop It Made Of?
Most Pop It toys are made from silicone, a soft, flexible, and durable material that provides a satisfying popping sensation. This material is safe, non-toxic, and easy to clean, making it ideal for fidget toys used by both kids and adults.
How to Make a Pop It at Home?
To make a pop-it at home, use cardboard as a base and cut out a shape with circular holes for the bubbles. Attach flexible material like bubble wrap behind the holes and cover the front with paper slits to form domes that can pop. You can also try an origami version by folding paper into a structure that mimics the popping effect. These DIY methods are simple, fun, and great for kids’ creativity.
How to Make a Homemade Fidget?
You can create a homemade fidget toy using common household items. Some simple ideas include:
- Paper Fidget Spinner: Fold paper into a sturdy shape and attach a button or a small bearing in the center.
- Balloon Stress Ball: Fill a balloon with flour, rice, or slime and tie it shut.
- Bead and String Fidget: String some beads onto an elastic cord to roll between your fingers.
- Bottle Cap Popper: Glue a piece of rubber or foam under a bottle cap to create a mini pop effect.
How to Make a Poppet Out of Foam?
To make a Pop It style toy from foam, follow these steps:
- Cut a piece of craft foam into your desired shape.
- Cut small, round circles in the foam where you want the bubbles.
- Glue a piece of bubble wrap or another flexible material behind the cut-out circles to create a pop effect.
- Secure the edges with glue or tape and let it dry.
- Test your homemade poppet and enjoy your DIY fidget toy!
The picture on the front page: Skarynka Alena/Shutterstock.com
Проверьте электронный ящик


