


Every parent knows how beneficial swimming is for children. But not everyone knows how to teach a child to swim correctly, quickly and without causing unnecessary stress. To learn how not to scare the child and how to instill the love for water and healthy outdoor activities in a teenager, we invite you to consult this article. We will study together the main techniques and analyze the mistakes that should not be made. After reading this article, you will be able to safely proceed to the practical part!
Contents:
- Starting from what age is it possible to teach your child to swim?
- How to overcome the fear of water?
- The swimming pool or an open body of water?
- The foundations of swimming in different styles
- How to teach the child to swim?
- Errors in the teaching process
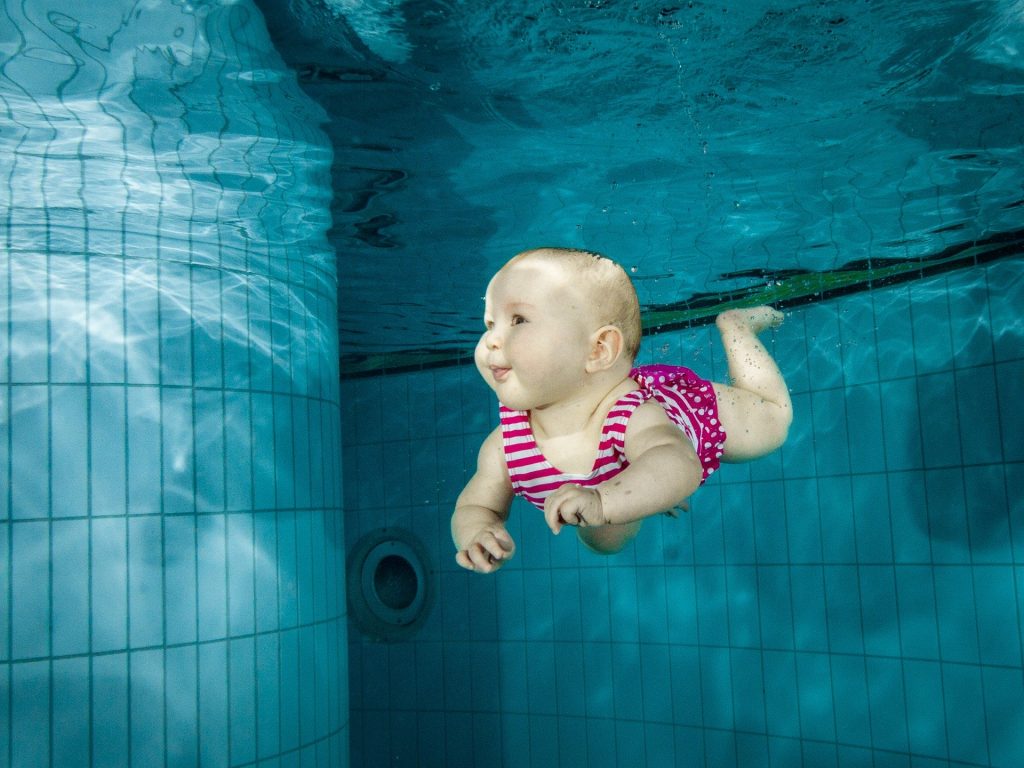
Starting from what age is it possible to teach your child to swim?
Prostock-studio/Shutterstock.com
Physiologically, a child has the ability to swim from birth. While in the womb, babies “float” in the amniotic fluid for nine months. Post-partum, the child can hold their breath and perform rowing movements with their hands on an instinctive level. Here, however, there is one peculiarity: if this reflex is not maintained during the first two months, it will fade away.
Studies have demonstrated that swimming for children of early age allows them to reduce stress levels, and, as a consequence, to strengthen their immune system and increase their body responses to external “attacks”. The best results are shown from swimming for 30 minutes three times a week.
Going back to the question of age – learning to swim should be initiated when the parents are ready for it. After all, they have to overcome difficulties with the child, hand-in-hand, and get rid of fears. As a rule of thumb, the older the child is, the easier it is to negotiate with them. In most cases, they are already aware of the benefits of swimming and are interested in learning.
When it comes to raising a professional swimmer, precious time at the early age should not be wasted. Sports coaches recommend to start training at the age of 4. It is during this period that a natural thirst for new things and the physiological ability of the brain to quickly master coordinated movements of the legs and the arms are learned.
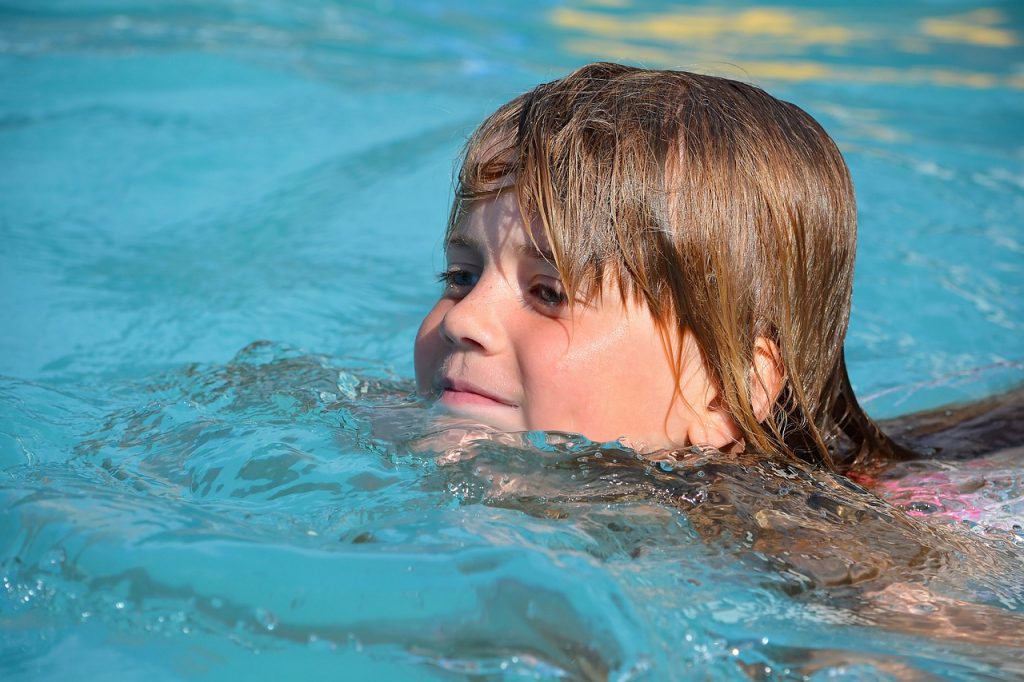
How to overcome the fear of water?
Prostock-studio/Shutterstock.com
If the “student” is afraid of water, do not convince them otherwise. To achieve a quick result, it is crucial that the lessons take place in a comfortable and safe environment. Parents should focus not on overcoming fear, but rather on creating a sense of security. This can be done in the following ways:
- give them an opportunity to get used to the water. When the child gets acquainted with it, they will no longer be distracted by new sensations, hence it is worth explaining the properties of water to them. Using language that is understandable for their age, tell them that water with the correct position of the body will keep them afloat, will “push” them up to the surface. Show them that the ball does not sink in water, and explain why this happens. The absence of fear will allow you to quickly achieve the desired result;
- make them feel the ground underneath their feet. Do not rush to immediately bring the child deep into the water. The height of water up to the chest is optimal in the first stages of training. Invite the prospective swimmer to play games. The “Fountain” exercise helps children to get comfortable with the water: have them bend their knees slightly so that the lips are in the water. In this position, have them blow out the air with their mouth until bubbles start appearing. This activity will certainly entertain the child and help them to cope with anxiety. In the future, it will be possible to go in at the depth of the height of the water up to the collarbones.
When teaching, it is important to keep calm, not to rush the child, and not to raise your voice. A parent should be a “lifeline”, a “guide” on the way to the unknown. When the fear of water is left behind, it is time to start learning to stay afloat. This moment should not be delayed, as it allows to get used to being in the water and touching the bottom.
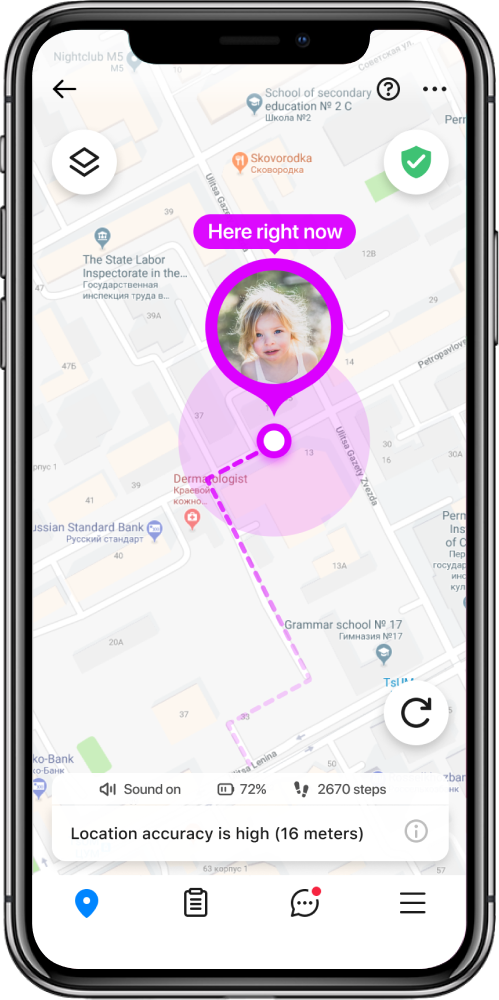
Remain calm and be a confident guide for your child, not only during swimming lessons but also in any other situation. Always know where your child is and what is going on in their surroundings, so that you can provide timely assistance or support to them. Download the “Findmykids” app from the AppStore and GooglePlay.
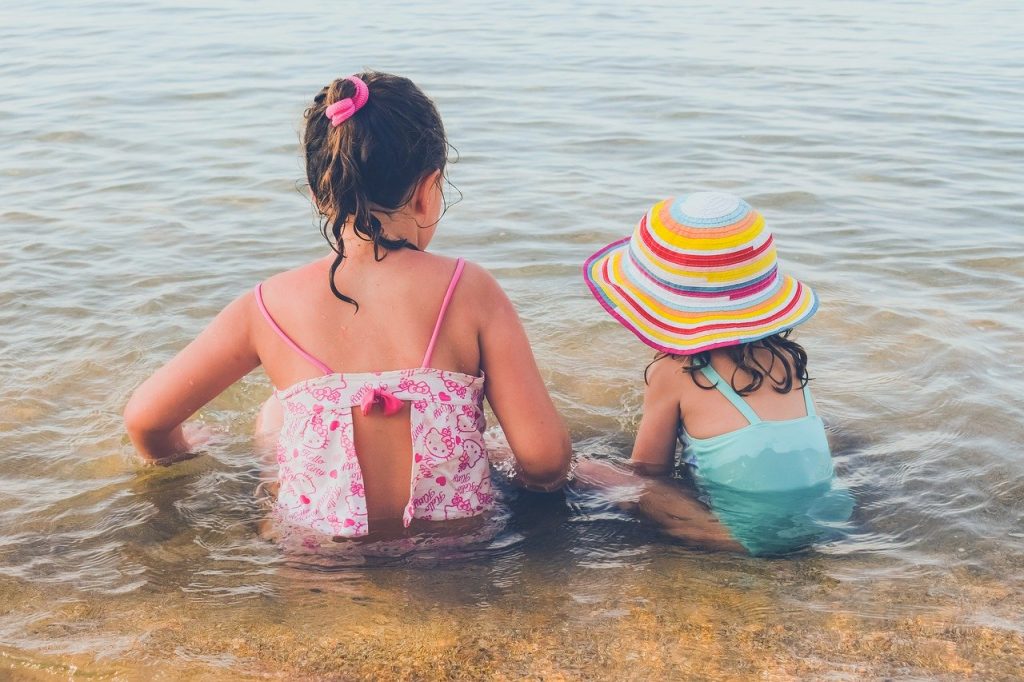
The swimming pool or an open body of water?
Prostock-studio/Shutterstock.com
Overcoming the fear of water may be done in the swimming pool. There is less open space, a comfortable temperature, and an area with borders, which all add to the feeling of security. Judging by the survey of parents, about half of the children successfully master swimming in the pool. This way, the young swimmer is not affected by external distracting factors (fish, rocks, saltwater, etc.). If necessary, an instructor or other safety officer, such a lifeguard, can be pointed out to the child to reassure them further.
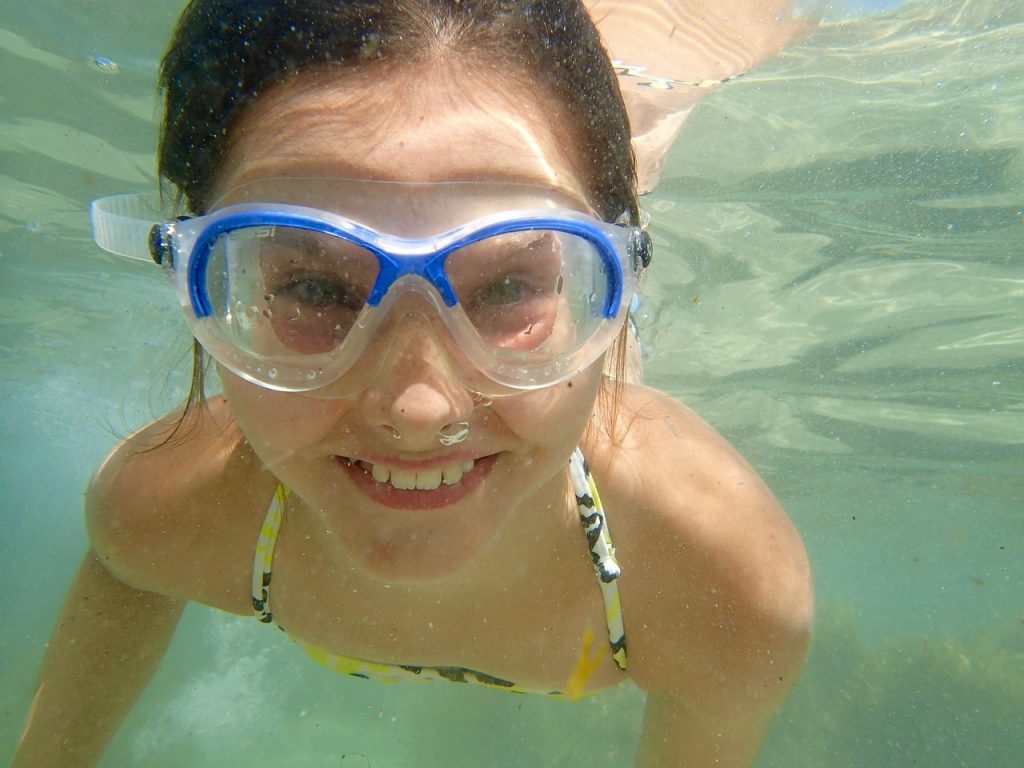
Transparent water will help the learning child to control their movements, observe the position of their legs, and simply not to be afraid of what may be hiding in the opaque river. It is recommended to start learning to swim in open water starting from the age of at least 4 years old. In any case, it is best to refer to each concrete situation and to be responsive to the child’s condition.
The foundations of swimming in different styles
Regardless of the age at which the skill is mastered, it is important to know: the correct body position is in line and horizontal with the face lowered into the water. It is instinctive for a person to lift their head up. However, a lowered face helps to maintain balance and prevents overfatigue of the cervical vertebrae during prolonged exposure to water.
This position increases the ability to float in water and adds speed to any swimming style. Therefore, when you teach to swim “from scratch”, it is better to work out the correct position right away, so that later you do not waste time and effort on having your child learn the new correct technique.
In the swimming sport, 4 main styles may be distinguished:
- Butterfly. This style is not suitable for children who have just begun learning. It requires great physical effort and good movement coordination. During the movement, the swimmer “flies” over the water, making simultaneous swings with their arms and a splash of legs, similar to dolphin movements.
- Breaststroke. Hands perform wide, “pushing” movements, and legs push off the surface of the water.
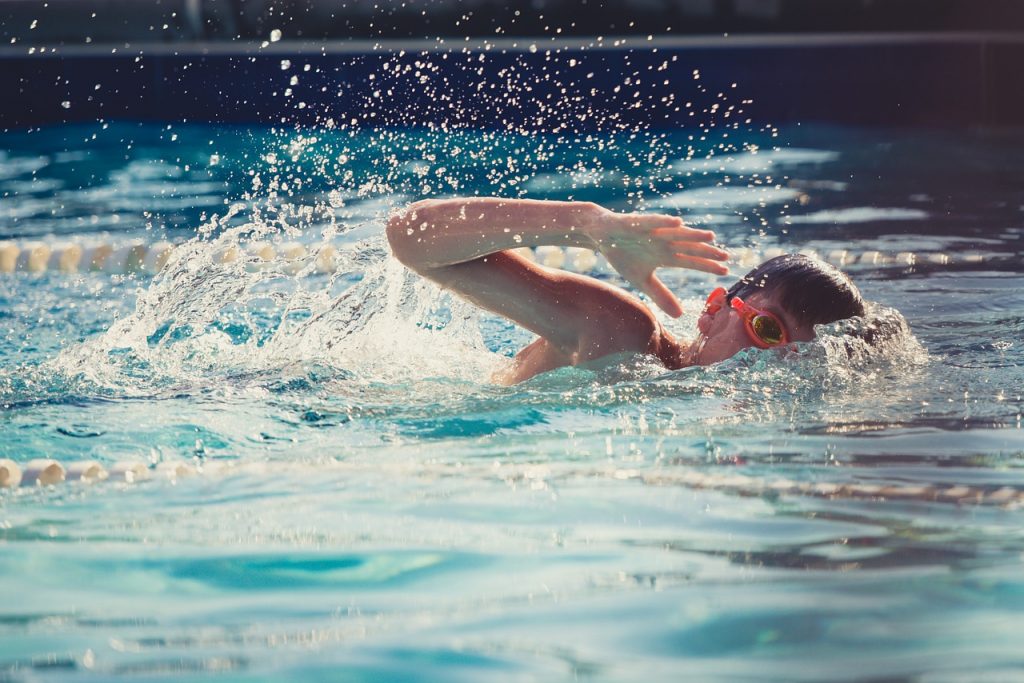
- Front crawl. The quickest style: the arms perform sweeping strokes, and the legs perform alternating scissor-type swings. Most of the time, the swimmer’s face is submerged in the water. In this case, the breathing takes place at the turn of the head.
- Backstroke. The movements are identical to the front crawl, however, in here, the swimmer is on their back. This is a clearly advantageous style for children who are not comfortable with putting their face into the water.
If you are not raising a professional athlete, it is not necessary to immediately accustom them to one particular style. First of all, what needs to be mastered, is the breathing technique, as well as the work of the legs and the arms.
How to teach the child to swim?
Prostock-studio/Shutterstock.com
In the event of daily practice, it is pretty likely to achieve the desired result over the course of a seven-day vacation. There are even express methods, developed by experienced instructors, that allow to master basic movements within the matter of one to two days. The most important thing here is not to force anything and to focus on the degree of readiness of your child.
The learning process also depends on what is desired to be achieved as a result: whether you just need to teach the child to stay afloat or immediately get acquainted with the desired style. If you are more inclined towards the latter option, professional swimmers recommend starting with the crawl style.
Naturally, when choosing exercises, it is important to focus on the child’s age. Next, we will consider the basic techniques that correspond to age-related physiological and psychological characteristics.
Teaching pre-school age children to swim
Prostock-studio/Shutterstock.com
It is impossible to force a young individual to swim without desire, there is no point in this. At the age of 3-4 years old, the child becomes familiar with the world through a game format. Therefore, in a playful way, you can instill the main skills in kids, and the swimming technique will be worked on as they grow up.
We bring a couple of exercises that would allow to learn the correct movements, to your attention:
- “The mill”. Starting position: standing in water up to the chest, with the elbows half bent. It is necessary to perform circular movements with the arms, immersing them in water whilst lowering them. It is important to focus on the correct diving technique: the wrists need to be the first ones to enter in contact with water, followed by the forearms, the elbows, and the shoulders.
- “Scissors”. This task focuses on footwork. Holding on the borders of the pool or to the bottom (at shallow depth), the child will need to lie down on water and make alternating leg swings up and down.
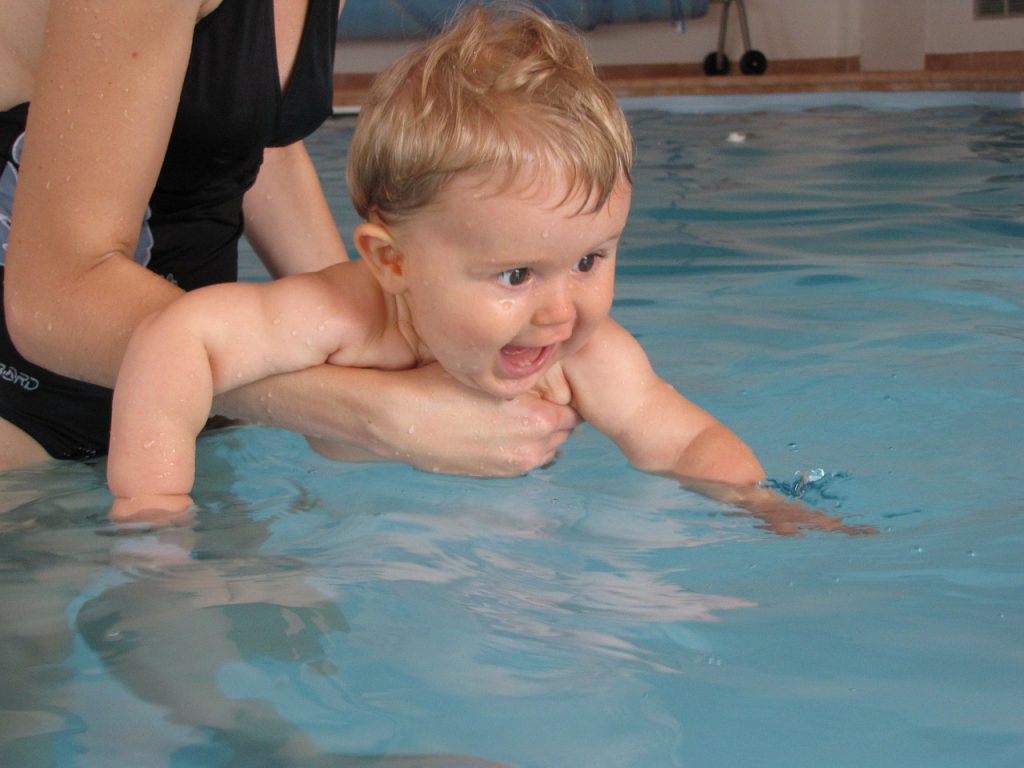
- “Jellyfish”. Holding the student under their chest, ask them to lie face down in the water. The neck, legs and arms have to be as relaxed as possible. This position teaches them to stay afloat and not be afraid to dip their face into the water.
- “Starfish”. The position of the body is similar to the one in the “Jellyfish” exercise, with the difference of arms and legs extended to the sides. The task can be made more complex by adding an exhalation into the water. If the child is not ready to lie face down, they can start the exercise from the supine position.
- “Heart”. Starting position: standing, arms extended forward. Ask your child to “draw” a heart by spreading their arms to the sides and joining them at the bottom. Their shoulders and arms should be immersed in water.
- “Frog”. The child holds on to the adult with their arms, making movements with their legs, as if they were pushing off from the water.
- “Jumps” in water. Invite your baby to sit down and then jump up, performing the two previous exercises at the same time. Be prepared to provide physical assistance (hold, catch) and psychological support, to the learner swimmer.
- “Float”. Starting position: standing. It involves going down to the bottom whilst taking a deep breath and adopting a sitting position. Let your child know beforehand that they will need to hold their breath. As an incentive to perform, a bright toy can be dropped to the bottom of the pool.
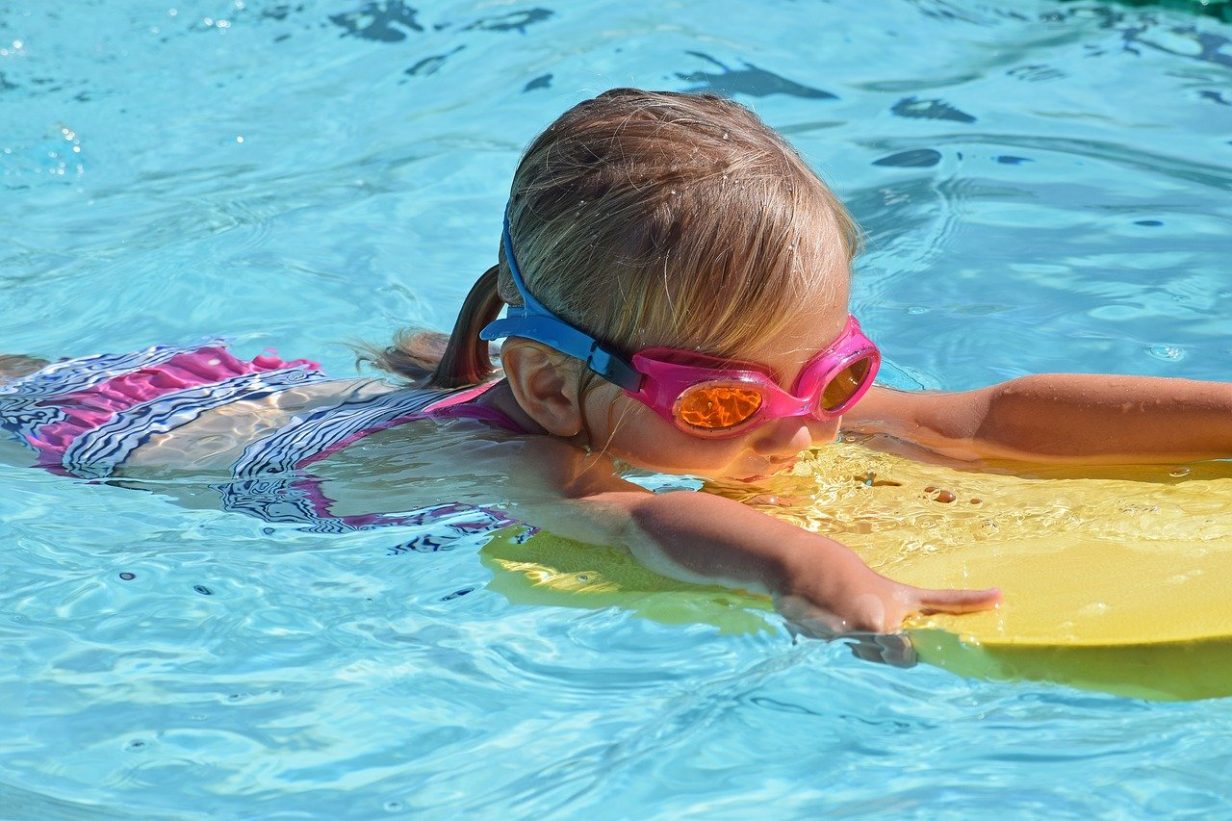
Such exercises will help your child get used to the water, and to not cry when drops of water get into the eyes or the nose. Protective equipment, such as glasses, a cap and other accessories, may be used to create maximum comfort for your child.
If the training session is referred to as a fun activity with parents, the child will look forward to new exciting lessons. By the way, such exercises have a good preventive psychological effect and allow to relieve muscle and emotional tension.
“Аcademic” method of teaching children of primary school age
Prostock-studio/Shutterstock.com
The age frame from 7 to 10 years old is characterized by awareness when performing the exercise. There is no longer a need to invent enticing playful activities. Young learners are ready to master swimming based on their own initiative. Of course, parents should not forget that motivation at this age still depends on external factors. Therefore, as with babies, it is important to create an atmosphere that stimulates, arouses interest and brings positive emotions. Praise the child frequently and avoid ridicule.
Now let’s get down to practice. Performing the exercises described below will ensure that your child learns to swim:
- Breathing in water. Starting position: standing, with the face plunged into the water, hands holding on the handrails. In this case, the child needs to exhale the air through their nose or mouth until the water starts to “bubble”. 10 to 15 repetitions of such exercise need to be performed before starting the session.
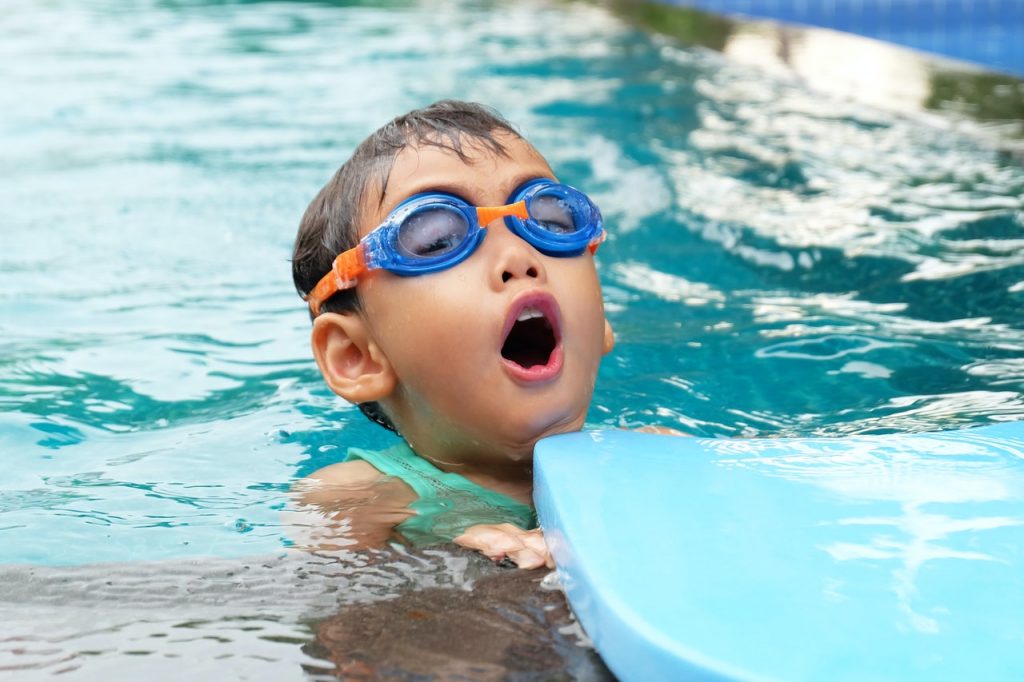
- Swimming with a board. Starting position: lying position on the water, holding onto the board. The arms are extended. The face needs to be lowered into the water. Forward movements need to be carried out by the legs. The legs are engaged from the hip onwards, without bending the knees. It is important to observe the breathing technique here: for inhalation, the face needs to be lifted up, and the exhalation needs to be performed into the water. It can take from one to several lessons to master the technique of swimming with the board, depending on the readiness of your child.
- “Arrow”. The exercise is similar to the one with the board, the only difference being that it doesn’t involve additional equipment. This task is a kind of test: if the child coped with it, then it is worth moving on to the next stage.
- Engaging the arms. There may be three options of it:
- if the leg movements were performed in the breaststroke style, then the arm movements need to be performed in the same style. This way, it will be a full-on breaststroke, the only thing to be left is for you to master your skills;
- if legs follow a crawl style, breaststroke movements with the hands are allowed. In this case, the child will master the dog-paddle technique, which is intuitive and is allowed at the initial stages;
- the third option: if legs are using the crawl, hand strokes need to do so as well. With correct parallel training of breathing to the side, the child will fully master this style.
Of course, it is too early to talk about the ideal technique of performing the exercise at this stage. However, the child will already know how to float on the surface of the water and move forward.
Teaching your child to swim before going on a holiday? Do not worry about them not only on water, but also on land. To prevent your child from getting lost in a place that is unknown to them, download the “Findmykids” app with GPS function and LIVE-listening functions from the AppStore and GooglePlay.
“The quick method” for primary school students
Prostock-studio/Shutterstock.com
If you find the above method too difficult or time-consuming (especially when summer is in full swing and you want to teach your child to be at ease with swimming in a matter of days), try a different option. It will allow you to achieve results in a short time period, without focusing on mastering the technique.
The essence of the lessons comes down to several exercises:
- Starting position: lying position on the water, hands resting on the bottom. The face needs to be submerged into the water for 10 repetitions and neck muscles need to be relaxed. Naturally, the exercise can be performed only at a shallow depth.
- Performing the same exercise, whilst removing one arm from the bottom of the pool.
- Performing the same exercise whilst alternating the lifting up of the arms from the bottom.
When the child has mastered the third task, ask them to remove two hands at once. In this way, they will learn to “float” on water. However, that is only half of the task. After that, they need to be taught to move forward. This can be done with the use of the following exercises:
- Starting position: lying position on the water, arms smoothly extended forward. Remember that there is no need to rush or make abrupt movements.
- While being on the water with arms extended, have the child push off the side of the pool with their feet and “slide” forward. When this works out, incorporate leg movements (just wiggle them without placing the emphasis on the technique). Having mastered the movement with the legs, engage the child’s arms without being bound to a specific style. Let the child perform the movements they are comfortable with. The only requirement is not to put the hands behind the body so that it is possible to lift the face above the water without losing balance.
- Lifting the head up. First, the head should be raised without inhaling. It is important to master the sequence of actions. As soon as this is done, have the child add a breath above the water.
This method is claimed to be highly effective with the result that may be achieved after only one lesson.
Middle school and high school age
Prostock-studio/Shutterstock.com
You can teach your teenager using the methods outlined above. After 12 years of age, it is easier for children to complete the described tasks and they follow the instructions easily. Difficulties arising in learning, most often, can be caused by psychological factors:
- strong fear of water (as a consequence of earlier unsuccessful swimming attempts);
- the absence of a good emotional connection with the person teaching the child;
- the strong unwillingness to study.
Here, an adult needs to find an approach to an older child, motivate them to acquire new skills, and demonstrate the benefits of swimming. Once a relationship of trust is established, the training sessions may start.
Errors in the teaching process
Prostock-studio/Shutterstock.com
In addition to following the techniques and rules described above, it is important not to make other mistakes. Please note that the following needs to be avoided during lessons:
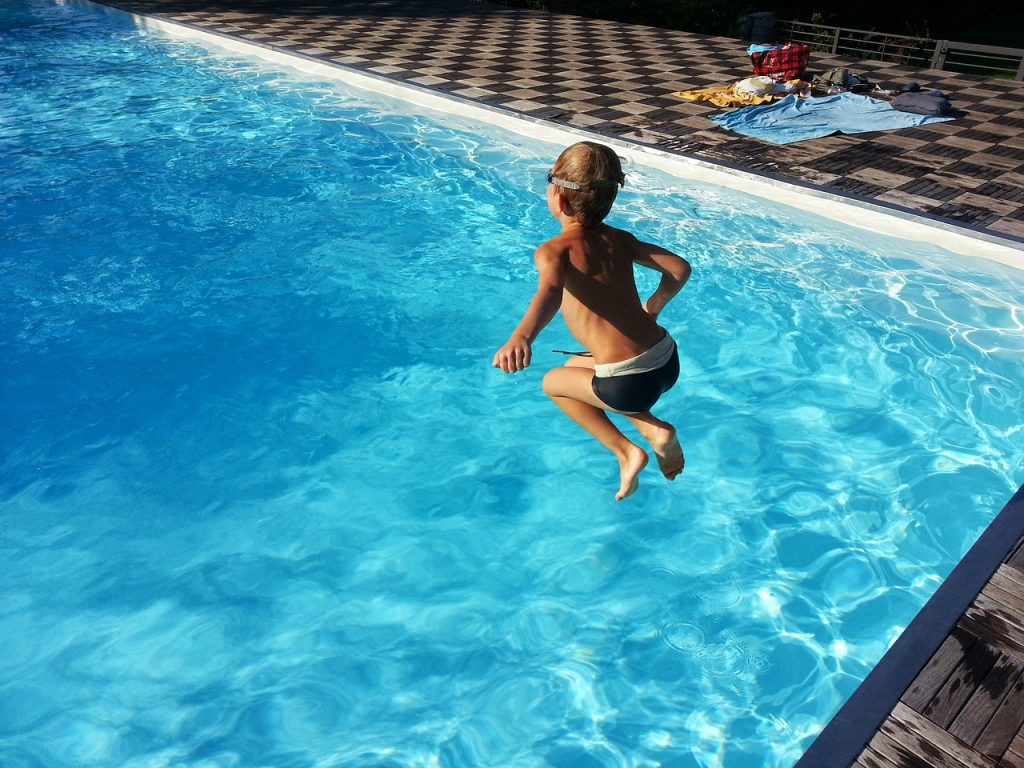
- do not turn to extreme methods. Throwing the child into water in the hope of engaging their natural instincts has nothing to do with learning. Such archaic methods can have serious psychological consequences: from a persistent fear of water to not trusting parents (much depends on the age at which a person experienced the situation as such);
- do not ignore the child’s mood. If they are worried, anxious or upset about something, listen to them and have them decide whether they would like to continue the lesson;
- do not provide negative assessments for unsuccessful attempts;
- focus on successes. They surely must be some;
- do not expect the child’s movement coordination to be identical to that of an adult. Consider age-related physiological capabilities;
- do not use lifesaver rings. They form the wrong habit of standing upright. To protect the baby and reduce the load, it is better to use vests or inflatable oversleeves (and if possible, it is better not to use any of these at all).
That, perhaps, is everything that parents need to know when beginning to master the task of being a personal trainer for their children. Help your child to fall in love with water, teach them some basic movements, practice the coordination of arms and feet, as well as proper breathing. Do not rush to start a new stage if the child has not learned and consolidated their existing skills. During classes, follow the recommendations described in the article, take into account the age and the psychological characteristics of your child, maintain a positive attitude and believe in yourself!
Проверьте электронный ящик