


Learn the ins and outs of utilizing iPhone Guided Access to restrict app access, ensuring a more focused and secure user experience.
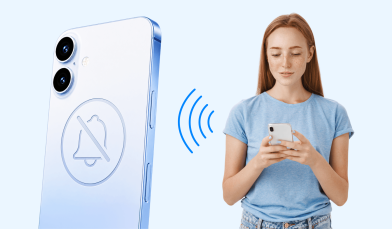
Sharing devices like an iPhone or iPad is common, especially among families with young children.
But have you ever stopped to think about the apps you don’t want your kids to see?
Here’s the good news. If you allow your kids to use your iPhone or iPad to play games or watch videos, you can use a unique feature called Guided Access to keep them out of other apps.
Curious to know how? Here’s a complete guide on how to use the Guided Accessibility feature on iPhone and iPad.
Contents:
- What is Guided Access?
- Options You Can Set within Guided Access
- Why Use Guided Access for Parents?
- How to Use Guided Access
- Tips for Using Guided Access for Parents
- FAQs
What is Guided Access?
Guided Access is a great way to ensure that whoever uses your device can’t get into any other apps.
With this feature, when you pick up your favorite device, your settings will enable Face ID, Touch ID, and even a six-digit password to ensure you, and only you, have access to all the apps on your device.
In short, the feature locks other users out of any other app when they use your device to play a game, watch a video, and more.
What Devices are Available?
The Guided Access feature is available on iOS, so it’s available on iPhone or iPad devices.
However, it’s important to note that this feature is only available on iOS 11 or later, which means you need an iPhone 5s or later. For iPads, this means you need an iPad (4th generation), iPad Pro, iPad Air 2, iPad Air, or later. Even the newer generations of the iPod Touch are compatible.
Learn more about setting up the accessibility shortcut on different iOS devices from Apple Support.
Unfortunately, Android currently does not have an easy-to-use control feature. Instead, Android uses Screen Pinning, a more cumbersome process and method for achieving the same results.
Where to Find Guided Access?
Here’s where you can find Guided Access on your iPhone or iPad:
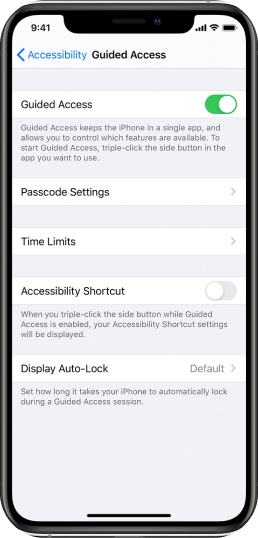
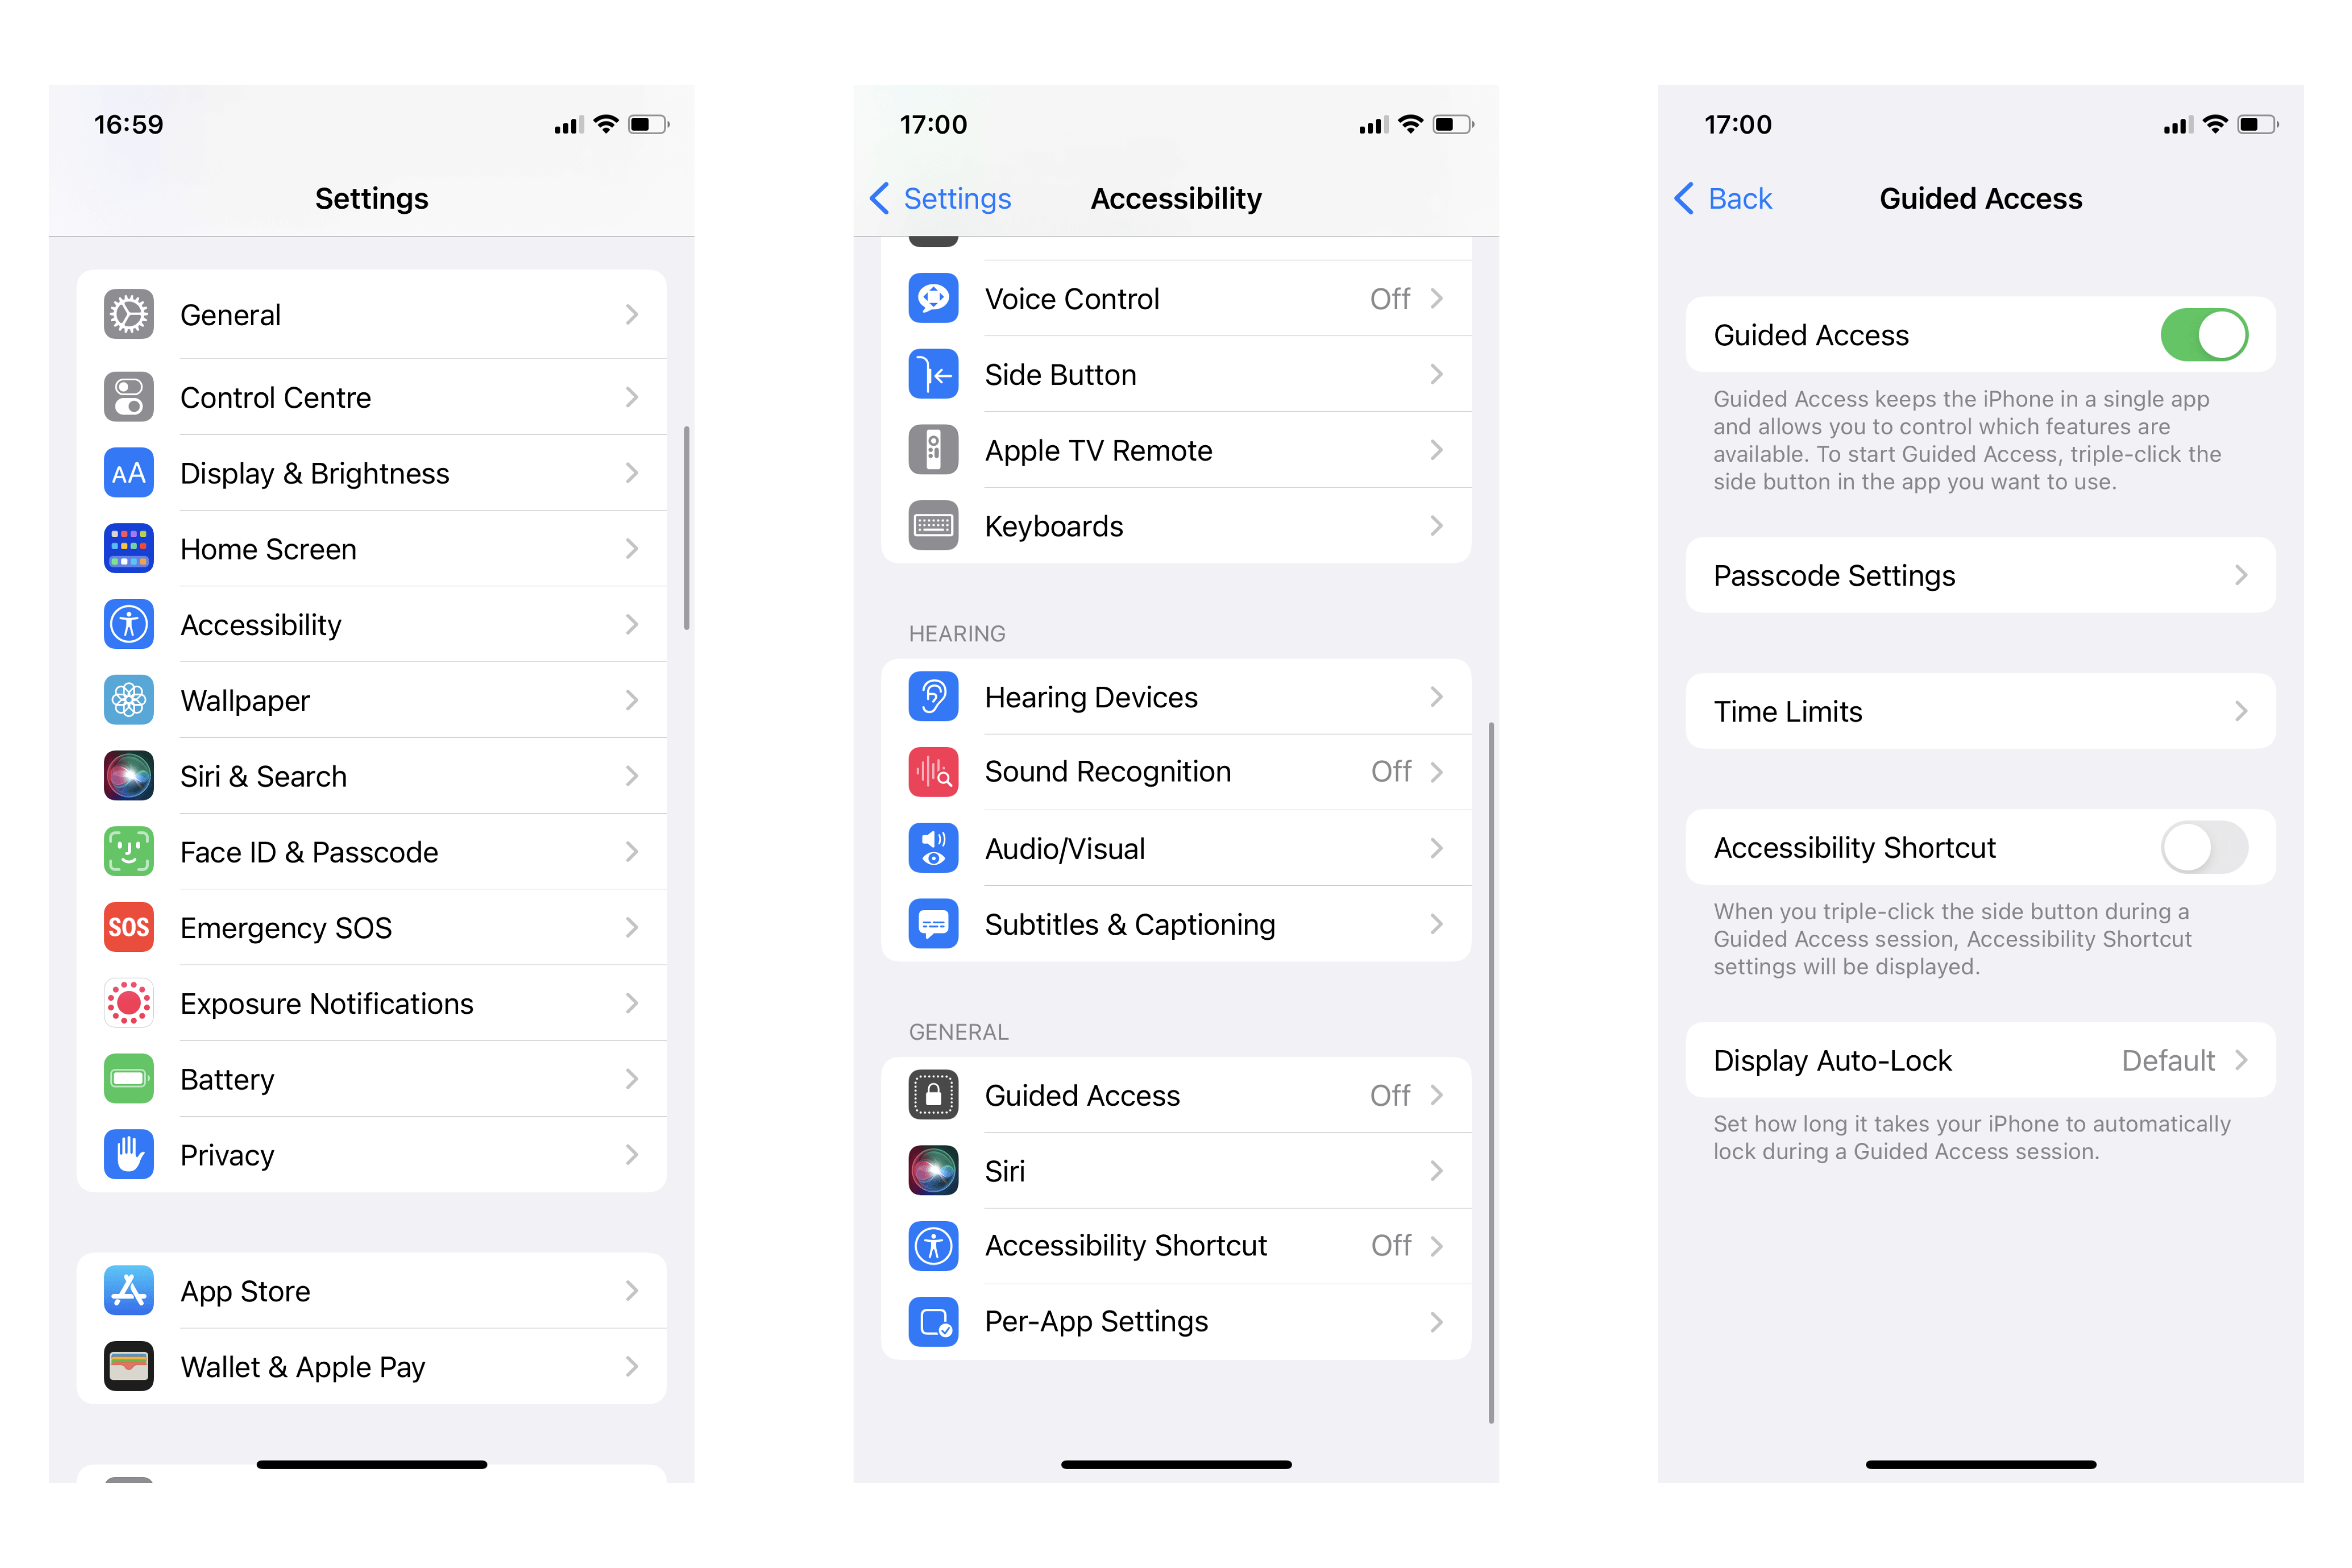
Settings > Accessibility > Guided Access
Keep reading this article for step-by-step instructions on how to set up and use it.
Options You Can Set within Guided Access
It’s possible to set up many different options with this feature.
For example, you can turn off all the touch commands, which ensures your device only displays page content and prevents your child from interacting or trying to switch apps.
Here’s a complete list of the wide range of options you can set on your iPhone or iPad:
- Unlock using Face ID
- Unlock with Touch ID
- Time Limit
- Keyboard Availability
- Enable a six-digit password
- Disable volume buttons
- Turn off the wake/sleep button
- Turn off all touch commands
- Display Auto-Lock
- Disable motion (to keep the screen from turning when shaken or tilted)
Why Use Guided Access for Parents?

Every parent knows how difficult it can be to keep children away from iPads and iPhones, much less control device usage. And that’s not a bad thing. There will inevitably be times when these devices make for the perfect distraction.
However, problems occur when parents share their devices with kids who want to snoop, tap on other apps, or even make large purchases.
This is especially important if your child is handling your business-owned devices. The last thing you want is your child sending an email or making purchases from business devices that don’t have control settings set up!
In general, there are three reasons why parents need to use Guided Access on their iOS devices:
1. To Set a Time Limit
It’s challenging to monitor how much time your child spends on a device. However, with the Guided Access feature on your iPad or iPhone, it’s possible to define a time limit. To do this, simply tap the time limit in the feature’s options.
Once reached, your device will lock your child out, and they’ll know it’s time to move on to another activity.
This is especially useful on busy days, road trips, or while waiting in long lines—when a quick screen-time session is fine, but you want a clear boundary in place.
2. To Keep a Child Focused
You might want your child to use your iPhone or iPad to watch an educational video or even for homework. The feature is an incredible tool if this is the case.
You can set the feature to keep your child from leaving the app they can use. iPhone Guided Access will help keep them focused instead of distracted by other apps, features, educational settings, and tools.
It’s also helpful for neurodivergent children or kids with attention challenges, where limiting distractions can greatly support their ability to stay engaged.
This comes in handy when your child is:
- Watching a cartoon, so they can’t accidentally click on ads or close the video
- Using a learning app, so they can’t switch to games or messaging apps
- On a long flight or car ride, so accidental touches don’t interrupt the activity
3. To Stop a Child from Accessing Features
Some apps aren’t meant for children, and the same goes for features. If you want to limit your child from accessing the camera, your social media, or loading page content, this control feature can help.
The best part? The Guided Access feature also prevents your children from making purchases from the App Store, Music Store, food delivery apps, and more.
You can even disable specific parts of the screen or hardware buttons (like volume or motion sensors)—perfect for preventing accidental taps or curious poking around during video calls, games, or media playback.
How to Use Guided Access
Setting up controlled access on an iPhone or iPad is simple, and there are many helpful guides online (like this one!).
Use the following steps to use Guided Access.
How to Turn On and Set Up Guided Access
- To use Guided Access, tap on Settings > Accessibility > Guided Access.
- Tap the toggle to turn it on.
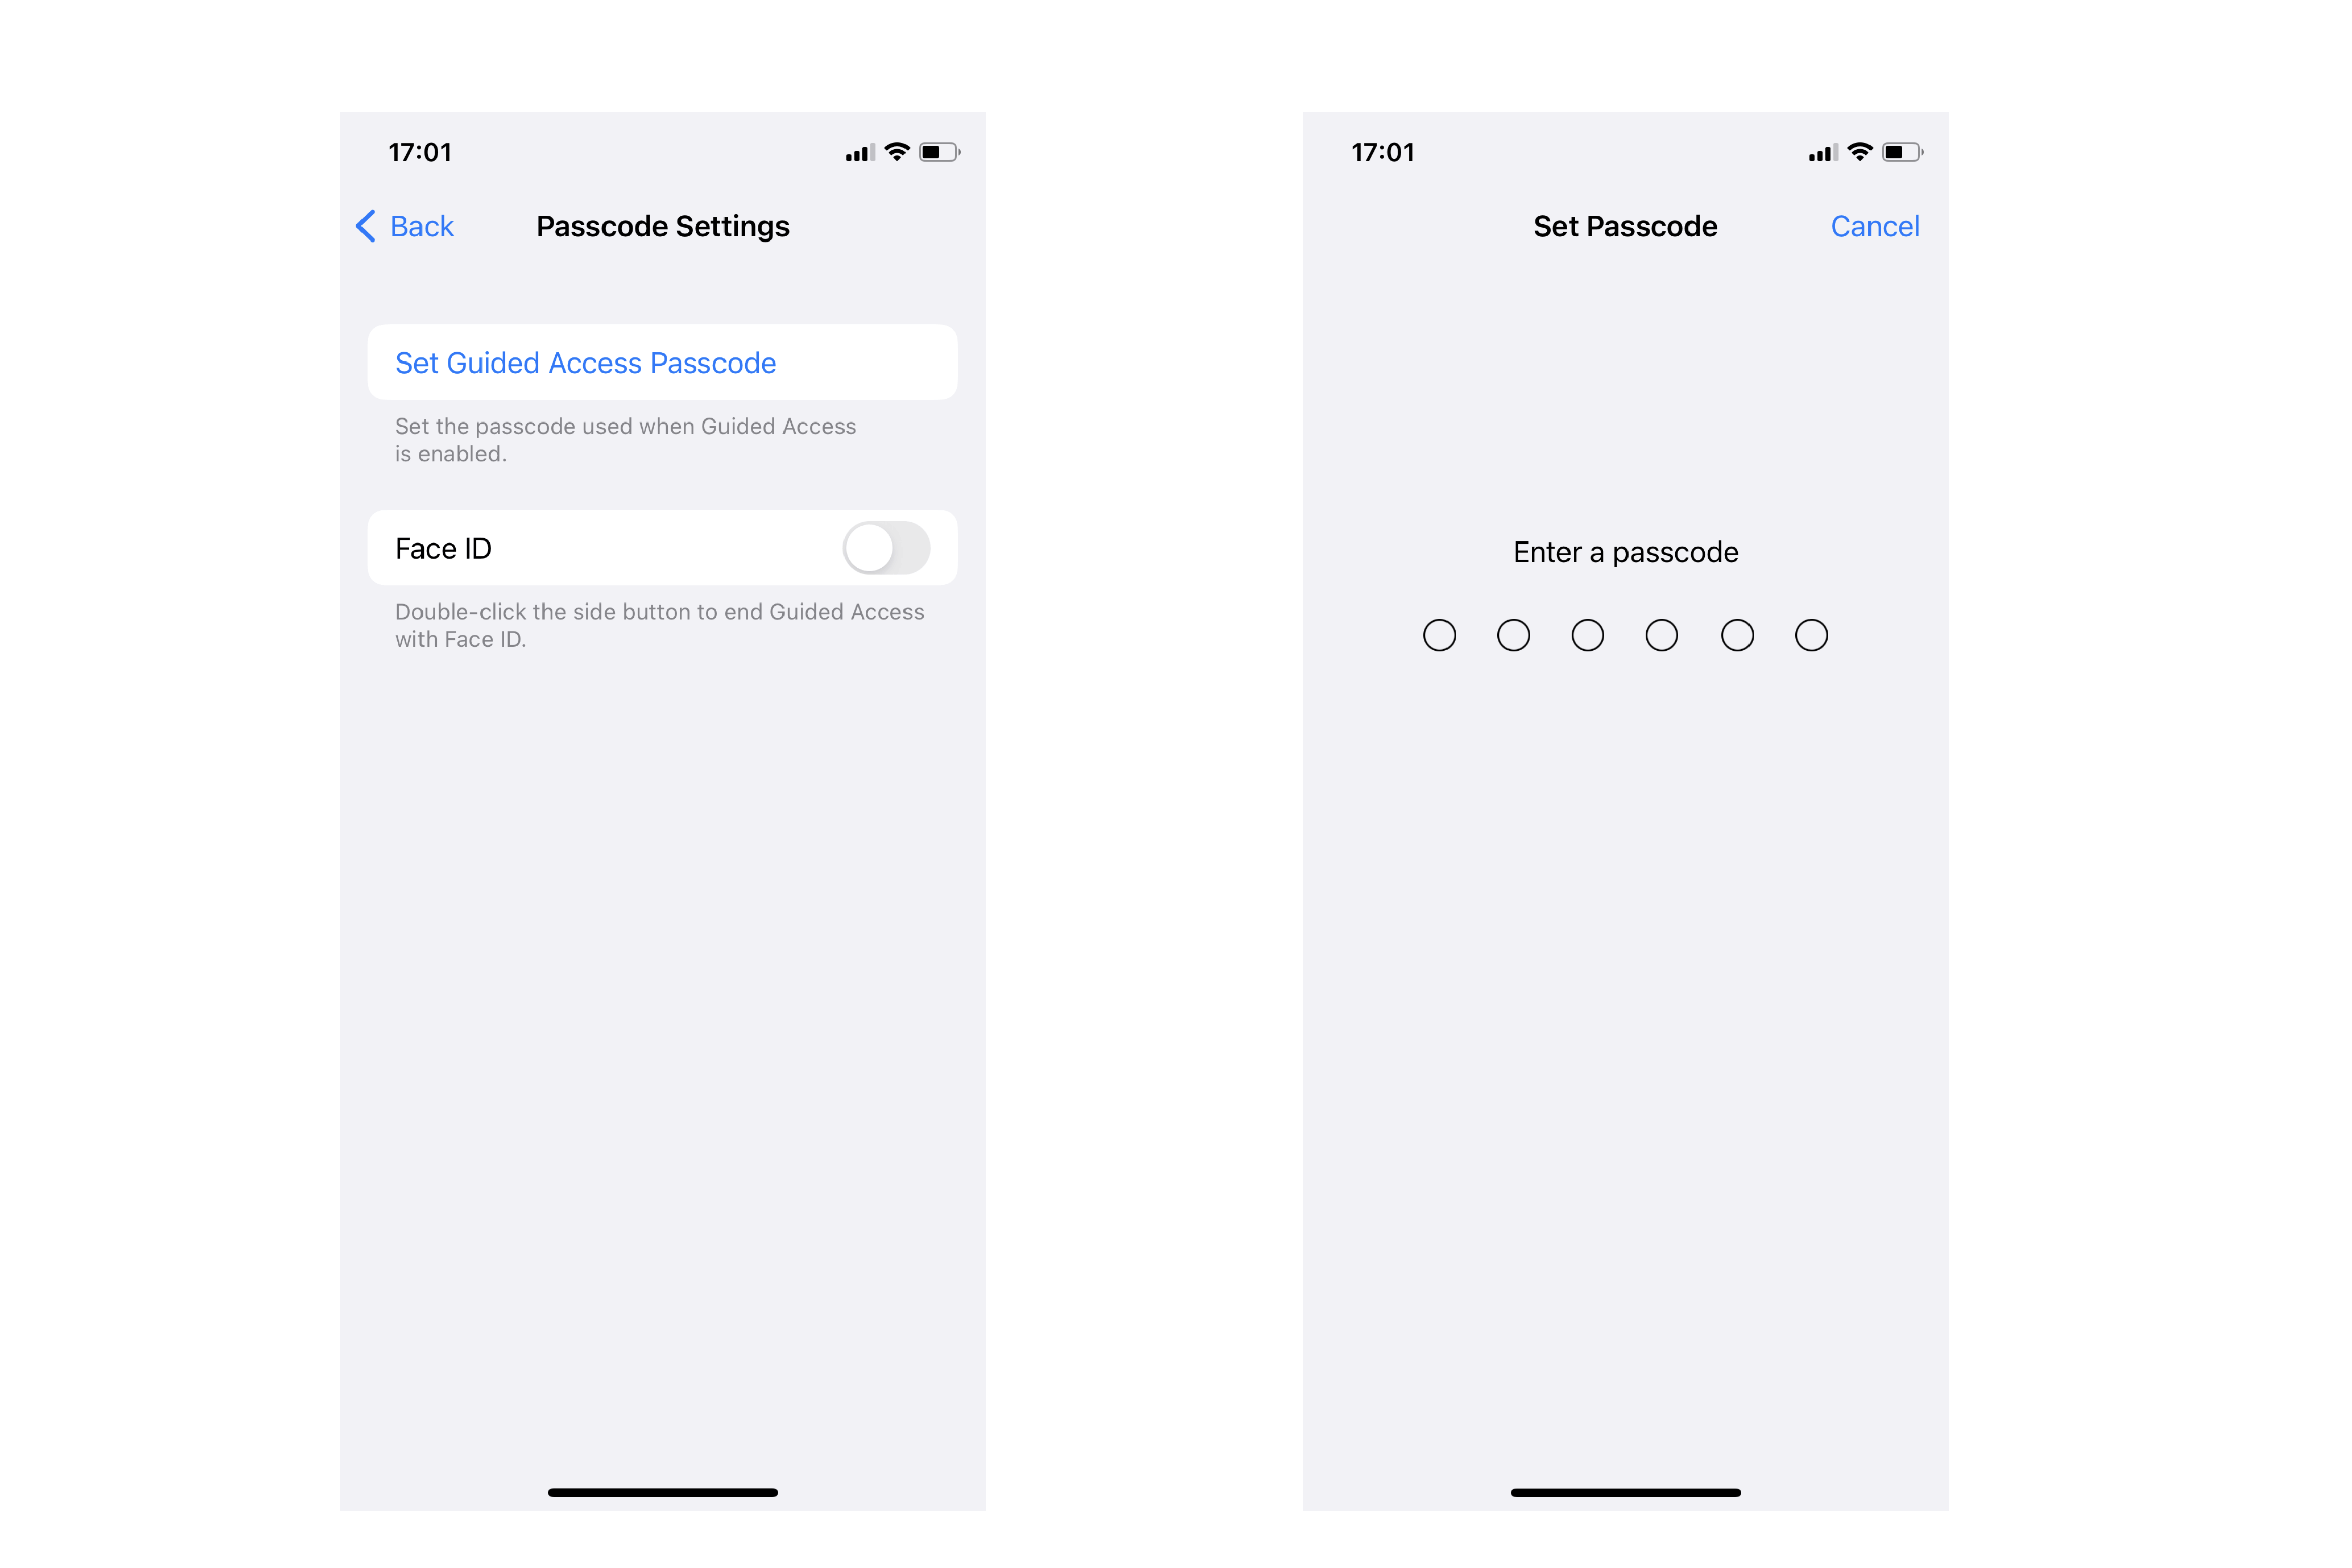
- Tap Passcode Settings to set a password.
Note: Doing this later is possible, but it makes other steps easier if you do it immediately.
- Select Set Guided Access Passcode.
- Enter a passcode and re-enter the passcode to confirm.
Do you think your child might guess your password? Consider also tapping the toggle to turn on the Touch ID and Face ID security features. You can also change your code when you tap passcode settings at any time.
How to Start and End a Guided Access Mode Session
- Open the selected app.
- Triple-press the side button to open Guided Access. If you’re using an older phone, triple-tap the home button.
- To restrict your child from using touch, use your finger to draw a circle around those areas.
- When finished, tap Start. The controlled session will start.
- Triple-press the side button or home button to Exit the session.
How to Find Other Guided Access Options
- Open the selected app.
- Triple-press the side button (or home button) to open the feature.
- Tap Guided Access to turn the feature on.
- Tap Options (located on the lower left-hand side of the screen). All available control options will appear in a list, including,
- Locked side button
- Lock volume button
- Stop the screens from turning (locking screen)
- Lock keyboards
- Prevent touch actions
- Set a time limit
- Slide the toggle to the on position to turn that option on.
- When finished, tap Done.
How To Set a Time Limit
Guided Access lets you restrict how long your child can use a particular app, helping manage screen time without constant reminders.
- After starting Guided Access, tap Options in the bottom-left corner.
- Turn on Time Limit and set the desired number of minutes.
- Tap Done, then Start to begin the session.
When the time is up, the device will lock automatically, signaling that it’s time to move on
⠀
For more information and help regarding iPhone Guided access and how it works, check out the Apple help page.
Tips for Using Guided Access for Parents

Denis_Zai/Shutterstock.com
The great news is that this feature is built into devices with iOS systems. So there’s no additional cost or download time. It’s available when you purchase your device from the store or on your current iOS 11 device!
But it’s crucial for you, as a parent, to know about Guided Access to keep your kids from snooping or from racking up thousands of dollars in phone app purchases without you even noticing.
It’s also equally important for your child to understand why you’re using access control features.
Here are our very best tips to help you stay on top of Guided Access and other iOS parental controls to keep your kids informed about online safety.
Set It Up Now
Instead of putting your device in a locker, you can start to use parental control features today.
Please don’t wait until your child accesses something they shouldn’t. Ensure this feature is turned on (Settings > Accessibility > Guided Access) and set up the way you want before you hand your iPhone or iPad over to your child.
Also, if you decide to set a passcode, make sure to remember what it is. You will need it to disable the feature.
Parental Control Apps
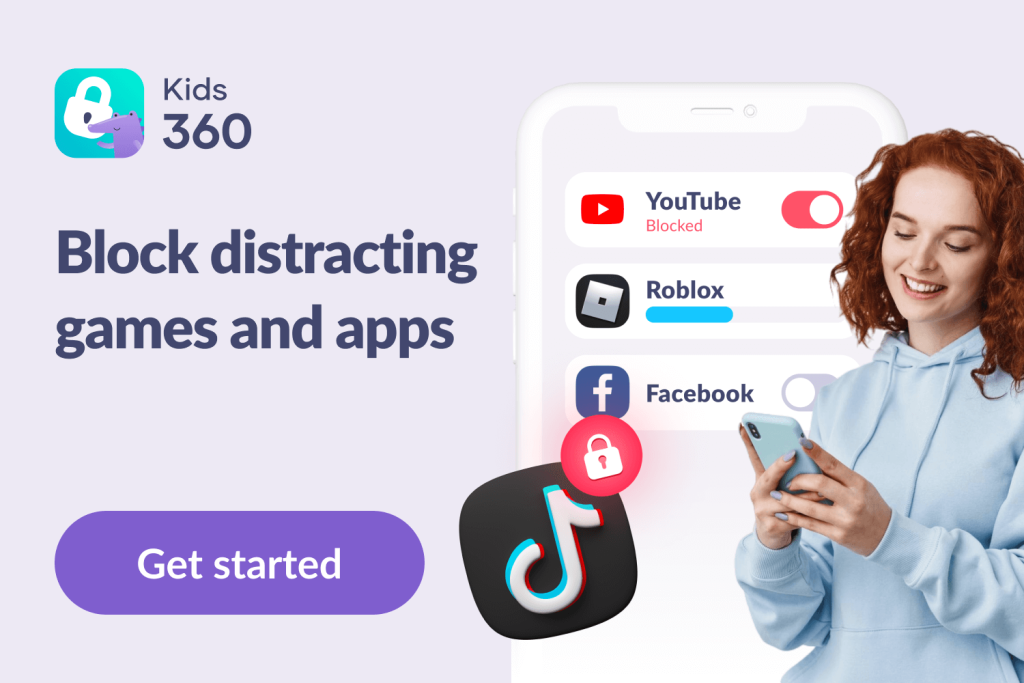
The Kids360 app
In addition to Guided Access, you’ll find some great parental control apps on the market, like Kids360. An application like this helps parents set restrictions on apps like games to get children off their phones and tablets.
Apps like Kids360 come with great features, including,
- Lock the screen after a time limit is reached
- Connect multiple devices so the whole family can benefit from the app
- Uninstall protection to prevent kids from removing the app
- Limit your own screen time (parents need a break, too!)
The best part is that it’s possible to use apps like Kids360 on iPhones, iPads, and Android devices. So, no matter the device you own, you can protect your kids and keep them focused.
Download Kids360 right now to be sure that your kid is protected from dangerous content.
Other iOS Security Features
In addition to Guided Access, parents can also benefit from other security and privacy features available on iOS.
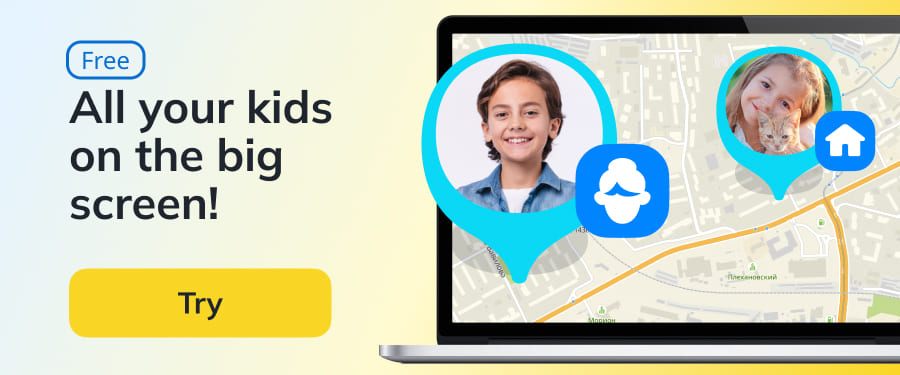
For example, using the Findmykids app, it’s possible to locate family members like your kids, whether they’re at home, school, or elsewhere. And if you lose your device or can’t find it at home, these features significantly increase the chances that you’ll locate your iPhone or iPad again.
Additional Tips
Here are a few additional tips to help make using Guided Access with your kids and family simple and easy:
- Talk to your children about parental controls to help them understand why you’re setting restrictions on iPhone and iPad features.
- Use the time limit feature to decrease the amount of time your kids spend staring at a screen.
- Help your child focus on homework and learning by providing them with safe options.
- Make a list and share a list of apps your child can use. Your kids will then know what’s safe and what’s not.
The good thing about exploring iOS features is that now you know about Guided Access and what it can do to keep you, your kids, and your family safe.
Related: How to Block Apps on iPhone.
It’s Worth It

Julija Sulkovska/Shutterstock.com
When it comes to the safety of your children online and the security of your data and information, using the Guided Access feature on your iPhones and iPads is absolutely worth the few minutes it takes to set up.
It is a built-in feature that’s available on iOS devices like the iPhone and iPad. Setting up this feature before your kids use your phone is incredibly straightforward.
Whether you want to set a restriction for your child, limit screen time, or increase focus, the Guided Access feature is a smart way to protect your family.
FAQs
How do I use Guided Access on my iPhone?
You can set up the feature by going into Settings > Accessibility > Guided Access. Using a passcode, Face ID, or Touch ID, you can limit your device’s functions while your child uses it.
How do I lock my iPhone screen for my baby?
With Guided Access, you can lock the screen on the current app or video so your baby doesn’t close out of it and go into other apps by activating the app and clicking on the “lock screen” option.
How do I get out of Guided Access?
To turn off the control feature, press the side power button or wake button three times and enter your designated passcode. If you use Face or Touch ID, press the side or home buttons twice to the end.
How long does Guided Access last?
As a default, the feature lasts for 20 minutes, but this can be adjusted as needed in Settings.
Cover image: Dmytro Zinkevych/Shutterstock.com
Проверьте электронный ящик